
The transition from day to night often renders the most meticulously designed landscapes invisible, yet the strategic integration of retaining wall lighting preserves the architectural integrity of a property long after sunset. Beyond the obvious aesthetic benefits, built-in illumination serves as a fundamental safety feature that defines boundaries and prevents accidents on multi-level terrains. When a retaining wall is engineered, it acts as the literal backbone of the garden, managing soil pressure and creating usable flat space on sloped lots. Incorporating light fixtures directly into these structures adds a layer of sophistication that post-mounted lights cannot achieve. Professionals must consider the climate, specifically the freeze and thaw cycles that can shift masonry, to ensure that the lighting system remains functional for decades. Properly executed lighting improves curb appeal and extends the hours of outdoor functionality, transforming a dark perimeter into a warm, inviting environment.
Landscape Design Principles
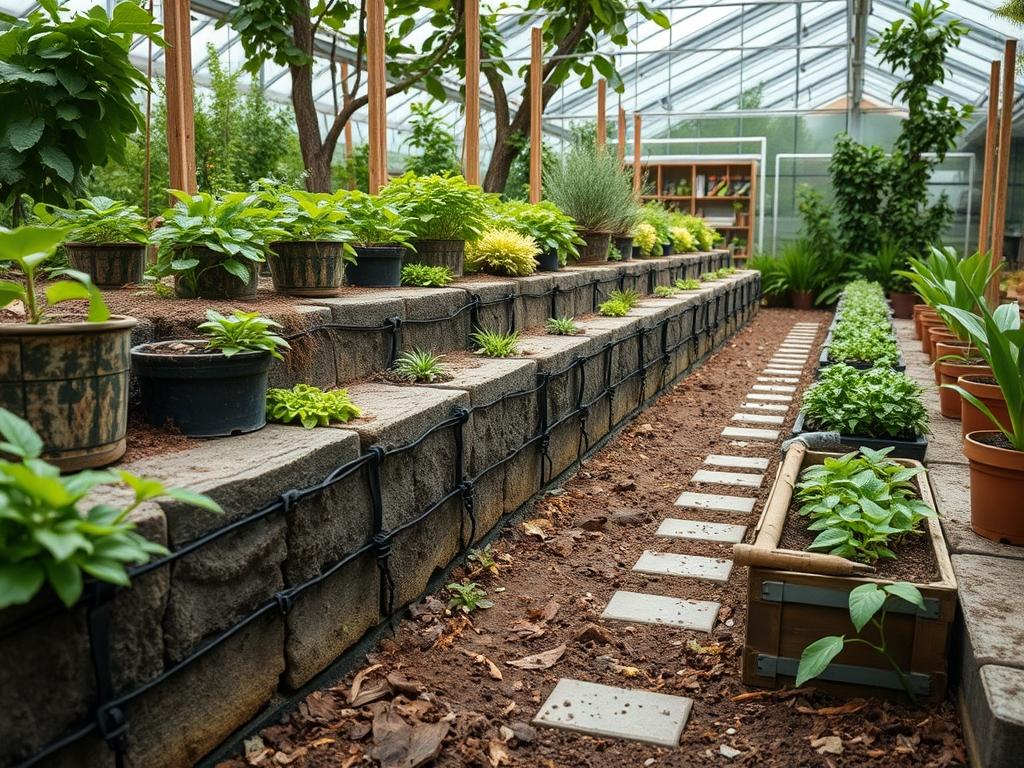
Effective landscape design relies on the balance between hardscaping and softscaping, where retaining wall lighting plays a dual role. Symmetry is often used in formal entries to create a sense of grandeur, but an asymmetrical approach can feel more organic in a natural, wooded setting. For multi-level gardens, designers use elevation layers to create visual depth. By installing LED undercap lights beneath the lip of a retaining wall, the light grazes the surface of the stone, highlighting the texture and casting soft shadows that emphasize the height of each tier.
Focal points are essential to prevent the landscape from looking cluttered. A well-placed wall light can lead the eye toward a specimen tree or a water feature, acting as a guide through the outdoor space. Visual balance is achieved by ensuring the light intensity is consistent along the entire length of the wall. If one section is significantly brighter than another, it creates a disjointed look that detracts from the overall harmony. Furthermore, lighting must be integrated with irrigation planning. Fixtures should be positioned where they are not constantly hit by high-pressure sprinkler heads, as even IP67-rated waterproof fixtures can eventually succumb to mineral buildup and moisture ingress if repeatedly blasted at close range.
Plant and Material Selection
The materials flanking a retaining wall determine the reflective quality of the light. Darker stones like Basalt or Slate absorb light, requiring slightly higher lumen outputs, while lighter materials like Travertine or Limestone reflect light, allowing for softer, more energy-efficient bulbs. The following table outlines plants that pair exceptionally well with wall-centric lighting designs.
| Plant Type | Sun Exposure | Soil Needs | Water Demand | Growth Speed | Maintenance Level |
| :— | :— | :— | :— | :— | :— |
| Japanese Maple | Partial Shade | Slightly Acidic | Moderate | Slow | Low |
| Blue Fescue | Full Sun | Well-drained | Low | Fast | Low |
| Boxwood | Full Sun/Shade | Loamy | Moderate | Slow | Moderate |
| Hostas | Full Shade | Rich/Moist | Moderate | Medium | Low |
| Creeping Thyme | Full Sun | Sandy/Dry | Low | Fast | Low |
| Silver Falls Dichondra | Full Sun/Part Shade | Well-drained | Medium | Fast | Low |
Implementation Strategy
The successful installation of built-in lighting begins during the structural phase of the retaining wall construction. Once the foundation is dug and the first course of Concrete Blocks or Natural Stone is laid, the layout for the electrical runs must be finalized. It is far more difficult to retro-fit lighting into a finished stone wall than it is to build it in from the start.
1. Grading and Drainage: Ensure the area behind the wall is graded away from the structure. Install a 4-inch perforated drain pipe surrounded by 3/4-inch crushed stone to prevent hydrostatic pressure. This also protects the electrical conduits from sitting in standing water.
2. Conduit Placement: Run 1/2-inch PVC conduit through the core of the blocks or behind the wall. This allows for future wire replacements without dismantling the masonry.
3. Fixture Spacing: Space fixtures roughly 6 feet to 8 feet apart for consistent coverage. For walls taller than 3 feet, consider staggering the lights to provide better downward illumination for walkways.
4. Wiring: Use 12/2 Low-Voltage Landscape Wire for most residential applications. Ensure all connections are made using Heat-Shrink Solder Sleeves or Silicone-Filled Wire Nuts to prevent corrosion.
5. Hardscaping Integration: When placing the Wall Capstones, use a Diamond Blade Saw to notch out a small groove for the light fixture to sit flush. This prevents the fixture from being crushed or misaligned.
6. Edging and Mulch: Once the wall is complete, apply a 3-inch layer of hardwood mulch or decorative gravel at the base. This minimizes mud backsplash onto the light lenses during heavy rain.
Common Landscaping Failures
The most frequent mistake in retaining wall lighting is neglecting the “voltage drop” that occurs over long distances. If the Transformer is too far from the final light in the chain, that fixture will appear dimmer than the others. Professionals solve this by using a “hub” wiring method or by increasing the gauge of the wire. Another common failure is poor drainage management. When water is trapped behind a wall without Weep Holes, it creates pressure that can cause the wall to tip or “creep” forward. This movement will eventually sever the electrical lines or crush the fixtures.
Root overcrowding is another silent killer of landscape lighting. Planting aggressive, deep-rooted trees too close to the retaining wall can lead to the displacement of stones and the snapping of conduits. Always research the mature root spread of any plant species before placing it near a structural wall. Finally, over-lighting is a frequent design error. A garden should not look like a stadium. Using high-lumen bulbs creates glare and “hot spots” that wash out the natural beauty of the stone and foliage. Aim for a “moonlight” effect by using 2700K to 3000K warm-white LED bulbs.
Seasonal Maintenance
Landscape management is a year-round commitment that ensures the longevity of both the masonry and the lighting system.
- Spring: Inspect the wall for any shifts caused by winter frost heaves. Clean the lenses of all LED Hardscape Lights with a soft cloth and mild soap to remove mineral deposits. Check the Transformer to ensure the timer is adjusted for the lengthening days.
- Summer: Prune any overhanging foliage that may be blocking the light path. As plants like Boxwood or Hostas reach their peak size, they can easily obscure low-profile fixtures. Check the irrigation system to ensure no heads are spraying directly onto the fixtures.
- Autumn: Clear fallen leaves from the base of the wall. Wet leaves can trap moisture against the fixtures and create a slip hazard on illuminated walkways. This is also the time to check for any exposed wires that may have been uncovered during summer weeding or planting.
- Winter: If you live in a climate with heavy snow, be careful with snow blowers or shovels near the wall edges. Avoid using heavy salts or chemical de-icers directly on the stone caps where lights are embedded, as the runoff can corrode the fixture housings and the electrical internal components.
Professional Landscaping FAQ
How do I choose the right brightness for wall lights?
For most retaining walls, aim for 50 to 150 lumens per fixture. This provides enough light for safety and texture highlighting without causing glare. Higher lumens are only necessary for walls taller than six feet.
Can I install these lights on an existing wall?
Yes, but it requires more labor. You must use a Masonry Saw to cut channels for the wiring and fixtures. Alternatively, you can run surface-mounted conduit, though it is less aesthetically pleasing than built-in options.
What is the best color temperature for outdoor stone?
A temperature of 2700K is ideal for natural stone and warm wood, as it brings out organic earth tones. For modern, gray concrete or slate, 3000K provides a crisp, clean look without appearing too blue.
Do LEDs get hot enough to damage plants?
No, high-quality LED fixtures produce very little heat compared to traditional halogen bulbs. They are safe to install near delicate groundcovers like Creeping Thyme or Dichondra without the risk of scorching the foliage.
How long should a professional lighting system last?
A high-quality, low-voltage system with Brass or Copper fixtures and LED lamps should last 15 to 20 years. The key is using waterproof connectors and ensuring the wall has adequate drainage to prevent moisture damage.