
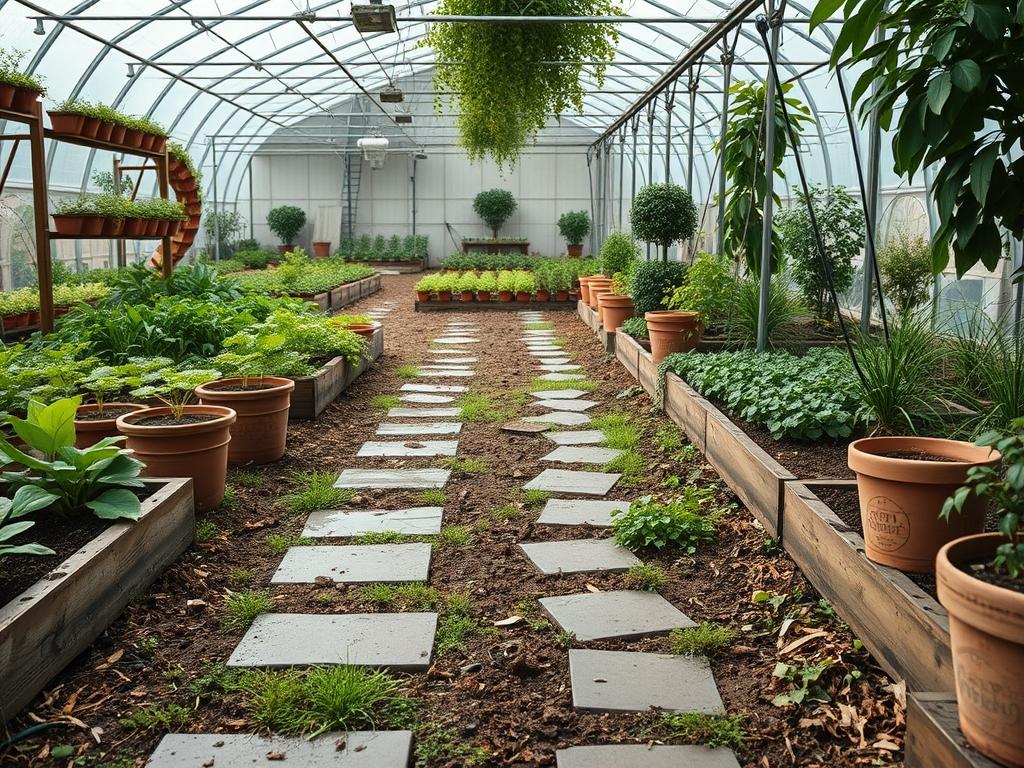
Designing a functional outdoor space requires more than just selecting attractive stones; it demands an understanding of how hardscaping elements interact with the natural environment. A well-planned walkway serves as the skeletal structure of the garden, directing foot traffic while protecting delicate root systems from soil compaction. In high-traffic areas, the choice of Pathway Paver Patterns can determine whether a path remains stable over decades or shifts under the pressure of freeze-thaw cycles and heavy rain. Curb appeal is significantly enhanced when the geometry of the walkway complements the architectural lines of the home; however, the primary goal remains functionality. A path must be wide enough for two people to walk abreast, typically requiring a width of at least 48 inches, while maintaining a slight cross-slope of 2 percent to ensure efficient water runoff. Climate considerations also play a pivotal role in material and pattern selection. In regions prone to heavy frost, interlocking patterns provide the structural integrity needed to resist shifting, whereas in arid climates, permeable spacing allows for deep-root irrigation of adjacent plantings.
Landscape Design Principles
Effective landscape design relies on the balance between symmetry and the organic flow of the land. When utilizing Pathway Paver Patterns, a designer must consider the visual weight of the chosen layout. A herringbone pattern, set at a 45-degree angle to the house, creates a sense of movement and can make a narrow garden appear wider. Conversely, a running bond pattern laid parallel to the longest axis of the yard draws the eye toward a distant focal point, such as a stone fountain or a sculptural specimen tree.
Elevation layers add depth to the environment. Integrating retaining walls constructed from natural ledge stone or modular concrete blocks allows for the creation of terraced gardens. These layers should be planned alongside the irrigation system to prevent water from pooling against the hardscape. Symmetry is often achieved through “picture framing,” a technique where a border of header pavers, usually in a contrasting color or texture, encloses the primary pattern. This not only provides a finished aesthetic but also adds structural stability to the edges. Each walkway should be viewed as a transition zone, connecting distinct outdoor rooms while maintaining a cohesive visual language through consistent material choices and repeating geometric motifs.
Plant and Material Selection
The following selection focuses on species and materials that interact favorably with hardscape borders, providing soft textures to contrast against rigid stone or concrete.
| Plant Type | Sun Exposure | Soil Needs | Water Demand | Growth Speed | Maintenance Level |
| :— | :— | :— | :— | :— | :— |
| Creeping Thyme | Full Sun | Well-drained | Low | Moderate | Low |
| Dwarf Boxwood | Full to Part Sun | Loamy/Neutral | Moderate | Slow | Medium |
| Blue Star Creeper | Part Shade | Moist/Well-drained | Moderate | Fast | Low |
| Mondo Grass | Shade/Part Shade | Rich/Acidic | Moderate | Slow | Very Low |
| Mexican Feather Grass | Full Sun | Sandy/Poor soil | Very Low | Moderate | Low |
| Japanese Forest Grass | Shade | Humus-rich | High | Slow | Medium |
When selecting materials for the path itself, consider travertine, slate, or high-density concrete pavers. Each material reacts differently to sunlight and moisture. Darker stones like basalt retain heat, which can be beneficial in spring but may scorch bare feet in mid-summer. Lighter options, such as limestone, keep the surface cool but require more frequent cleaning to maintain their appearance.
Implementation Strategy
The longevity of any Pathway Paver Patterns installation depends almost entirely on the quality of the sub-base and the precision of the layout. Begin by marking the perimeter using layout strings and marking paint, ensuring the path accounts for the width of the pavers plus the edge restraints. Excavate the area to a depth of approximately 8 inches. This allows for a 4-inch layer of compacted 3/4-inch minus crushed stone, followed by a 1-inch bedding layer of coarse sand.
Use a plate compactor to stabilize the gravel base in several passes, adding water to achieve maximum density. Once the base is level and sloped away from the foundation of the house, set the bedding sand using screed pipes. Laying the pavers requires starting from a fixed corner and working outward. If you are executing a basketweave pattern, use a rubber mallet to seat each stone without cracking the surface.
For the edging, choose heavy-duty plastic or aluminum restraints secured with 10-inch steel spikes every 12 inches. This prevents lateral shifting, which is the most common cause of joint failure. Once the stones are in place, sweep polymeric sand into the joints. This specialized sand contains additives that harden when misted with water, creating a flexible but durable bond that resists weed growth and ant infestations. Finally, apply a penetrating sealer to protect the material from UV damage and organic staining from fallen leaves.
Common Landscaping Failures
The most frequent error in path construction is neglected drainage. If the sub-base is not properly pitched, water will saturate the bedding sand, leading to “pumping,” where moisture forces the sand up through the joints. This eventually causes the pavers to sink or tilt. Another significant issue is root overcrowding. Planting large trees too close to a walkway leads to root heave, where the growing wood physically lifts the 3-inch pavers out of alignment. Always consult the mature spread of a tree species before placement.
Improper spacing during the laying process results in a lack of structural interlock. If the gaps are too wide, even polymeric sand cannot provide enough stability to prevent the stones from rocking. Furthermore, many DIY installations skip the geotextile fabric layer between the soil and the gravel base. Without this barrier, the heavy gravel eventually migrates down into the soft native soil, leading to significant settling and an uneven walking surface. Lastly, failing to account for the height of the finished path relative to the lawn can make mowing difficult. The pavers should sit approximately 1/2 inch above the soil line but slightly below the grass blade height to avoid damage from mower blades.
Seasonal Maintenance
Seasonal care ensures the aesthetic and structural integrity of the walkway remains intact throughout the year. In the spring, inspect all joints for sand loss. High-pressure washing should be avoided, as it can dislodge the stabilizing sand; instead, use a gentle garden hose and a stiff-bristle broom to remove winter debris. Re-apply joint sand in areas where it has settled.
During the summer, monitor the moisture levels of the surrounding plants. Hardscapes can create “heat islands” that dry out the soil faster than open lawn areas. Adjust your drip irrigation timers to compensate for this increased evaporation. Autumn requires diligent leaf removal. Tannins from organic matter, especially from Oak or Walnut trees, can permanently stain porous pavers if left to rot in the rain.
In winter, be cautious with de-icing chemicals. Traditional rock salt (sodium chloride) can cause spalling and pitting on concrete surfaces. Use calcium magnesium acetate or simple sand for traction. When shoveling, use a plastic-edged shovel rather than metal to avoid scratching the surface of the stones. If frost heave occurs, do not attempt to hammer the pavers back into place while the ground is frozen; wait for the spring thaw to assess if the stones settle back naturally or require a base repair.
Professional Landscaping FAQ
Which paver pattern is best for a curved walkway?
The running bond pattern is ideal for curves. By slightly staggering the joints and trimming the edges with a wet saw, you can create smooth, flowing arcs without large, unsightly gaps between the stones or complex geometric calculations.
How do I prevent weeds from growing between my pavers?
Utilize polymeric sand in the joints during installation. This material hardens into a firm barrier that prevents seeds from taking root. Maintaining the integrity of this sand layer is the most effective way to ensure a weed-free surface.
Can I lay pavers directly over an existing concrete sidewalk?
Yes, but it requires a “thin-set” method or a sand-set application with proper drainage holes drilled through the concrete. You must also ensure the additional height does not create a trip hazard or interfere with door clearances.
Should I seal my natural stone pavers?
Sealing is highly recommended for porous materials like sandstone or travertine. A high-quality penetrating sealer protects against oil stains, moss growth, and color fading while allowing the stone to breathe and release internal moisture.
What is the best way to handle a steep slope?
On steep gradients, replace the standard pathway with paver steps or a series of landings. This breaks the vertical rise into manageable segments, ensuring safety for pedestrians and allowing for better control of water runoff through integrated drainage channels.