
Modern residential architecture increasingly blurs the boundary between interior sanctuaries and the raw outdoor environment. As homeowners seek to reclaim their external acreage for year-round utility, the challenge lies in managing the erratic variables of climate, privacy, and aesthetic continuity. Traditional fixed structures often impose a rigid footprint that can stifle the fluidity of a landscape. This is where modern retractable garden screens emerge as a sophisticated solution for the discerning property owner. These systems provide a dynamic architectural membrane, allowing for the instantaneous modulation of wind, light, and visual access. From a professional landscaping perspective, the integration of these screens is not merely about comfort; it is an exercise in functional terrain management. A well-placed screen can mitigate the “wind tunnel” effect often found in narrow side yards or shield a delicate Star Jasmine trellis from the scorching afternoon sun. By treating the outdoor space as a series of configurable rooms, we can enhance curb appeal while significantly increasing the usable square footage of the home.
Landscape Design Principles
Successful garden planning relies on the fundamental tenets of symmetry and visual balance, yet it must also account for the verticality of the space. Retractable garden screens serve as a vertical plane that can be deployed to create symmetry where the natural topography lacks it. For instance, if a property sits on an uneven Elevation, a screen can provide a level visual horizon that aligns with the home’s eaves or a nearby Retaining Wall. Focal points are equally crucial. A screen should not hide the landscape; rather, it should frame it. By using a semi-transparent mesh, a designer can create a “misted” view of a Japanese Maple, adding a layer of mystery and depth to the garden.
Layering is the practice of placing plants and hardscape elements in a way that creates a sense of abundance and scale. Using retractable screens allows for “active layering.” In the morning, the screen may be retracted to reveal a lush border of Boxwood and Lavender. By evening, the screen is lowered to provide a backdrop for a localized lighting scheme, catching the warm glow of LED Path Lights. Furthermore, irrigation planning must be integrated into the screen’s placement. High-tension screen cassettes require stable mounting points, often involving Concrete Footings or reinforced Timber Posts. These mounting zones must be kept clear of subterranean PVC Piping and Drip Lines to prevent accidental punctures during installation or maintenance. Finally, walkways should be designed with the screen’s extension path in mind, ensuring that Flagstones or Pavers remain level to avoid tripping hazards when the screen is in use.
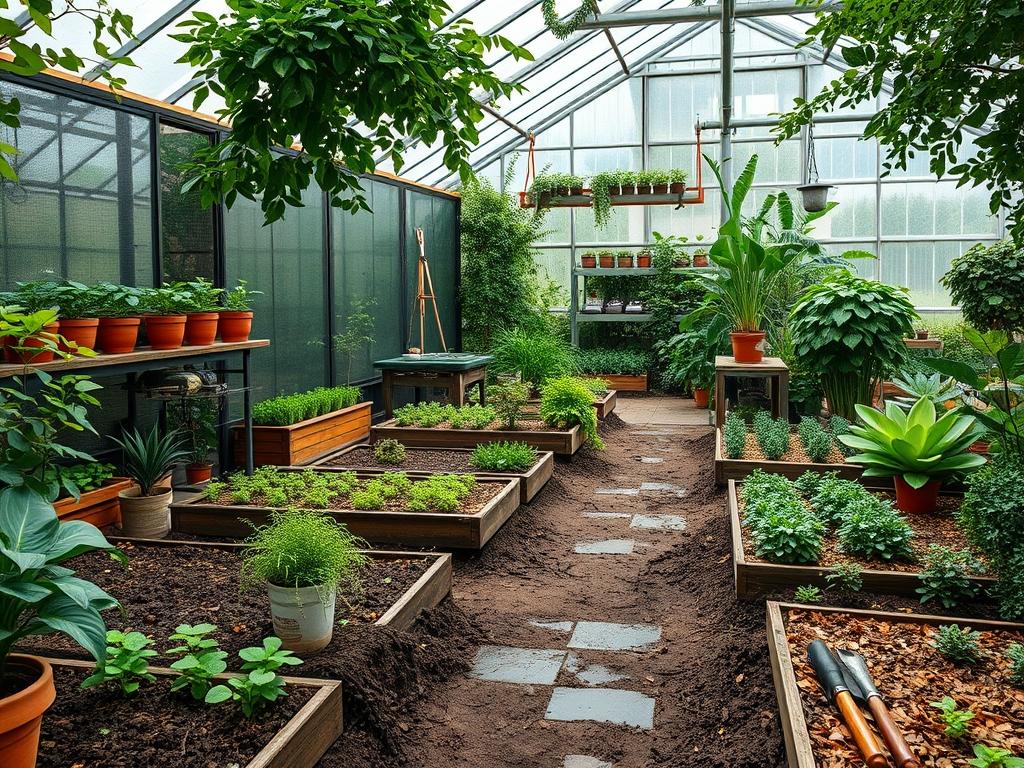
Plant and Material Selection
Selecting the right biological and structural components is essential for a cohesive environment. The following table outlines optimal plant choices that complement the proximity of retractable screen installations, focusing on species that provide texture without compromising the mechanical integrity of the screens.
| Plant Type | Sun Exposure | Soil Needs | Water Demand | Growth Speed | Maintenance Level |
| :— | :— | :— | :— | :— | :— |
| Japanese Maple | Partial Shade | Loamy, Acidic | Moderate | Slow | Low |
| Boxwood | Full Sun/Shade | Well-drained | Moderate | Medium | High (Trimming) |
| Lavender | Full Sun | Sandy, Gritty | Low | Medium | Low |
| Feather Reed Grass | Full Sun | Clay/Heavy | High | Fast | Minimal |
| Star Jasmine | Full Sun/Partial | Rich, Organic | Moderate | Fast | Moderate |
| Blue Oat Grass | Full Sun | Lean/Dry | Low | Slow | Low |
| Dwarf Alberta Spruce | Full Sun | Well-drained | Moderate | Very Slow | Low |
Implementation Strategy
The execution of a modern garden layout begins with a rigorous site analysis. Before any Shovel hits the dirt, you must determine the primary wind direction and the solar arc. For retractable garden screens, the mounting surface is the most critical technical detail. If you are mounting to a deck, ensure the Joists are reinforced to handle the lateral load of the screen in a breeze. If the screen is a free-standing unit, use a Post Hole Digger to reach below the frost line, typically 30 inches to 36 inches depending on your local climate, and secure the posts with High-Strength Concrete.
Once the structural anchors are set, focus on individual site Grading. The ground beneath and around the screen should slope away from the house at a minimum of 2 percent grade to ensure proper Drainage. This prevents water from pooling at the base of the screen unit, which could lead to mechanical corrosion or fabric mold. After grading, install Steel Edging or Plastic Paver Restraints to define the beds. Use a Level to ensure that all hardscape elements are perfectly horizontal. When laying down Mulch, aim for a depth of exactly 3 inches. This thickness is the “gold standard” for moisture retention and weed suppression without suffocating the root systems of your Native Plants. Finally, integrate the screen’s operation into your daily flow by ensuring the pull-handle or remote sensor is easily accessible from the primary Walkway.
Common Landscaping Failures
The most frequent error in modern installations is the neglect of Hydrostatic Pressure. When a solid or high-density screen is deployed, it can act as a sail. If the landscape plan does not include wind-breaks like Permeable Fencing or staggered Shrubbery, the screen may experience excessive wear. Another common failure is root overcrowding. Homeowners often plant Privacy Hedges too close to the screen’s tracks or cassettes. As the roots expand, they can heave the ground, causing the screen frame to warp and the retractable mechanism to jam.
Soil compaction is another silent killer of garden vitality. During the installation of heavy screens and Hardscaping, foot traffic and machinery compress the earth, destroying the air pockets necessary for root respiration. To fix this, use an Aerator before the final planting phase. Additionally, irrigation inefficiencies often arise when screens block the radius of Pop-up Sprinklers. To avoid “dry spots” behind the screen, designers should utilize Drip Irrigation or specialized Micro-sprays that deliver water directly to the soil surface, bypassing the vertical obstruction of the screen.
Seasonal Maintenance
Landscape management is a cyclical commitment that changes with the tilt of the earth. In the Spring, inspect the screen’s housing for debris or pest nests. Use a Soft-bristled Brush to clear away cobwebs and dust. This is also the time to test your soil pH and apply a balanced Fertilizer to your Evergreen Shrubs. In the Summer, focus on hydration. Ensure that the heat radiating off the screen fabric doesn’t desiccate the nearby Perennials. On particularly stifling days, retracting the screen can actually improve airflow for the plants, even if it reduces shade for the humans.
As Autumn arrives, the priority shifts to leaf management. Fallen foliage trapped in the screen’s bottom track can lead to rot and mechanical failure. Use a Leaf Blower or Garden Vacuum to keep these channels clear. Prune back any Vines or overhanging branches that might snag the fabric. During Winter, the most prudent course of action is to keep the screen retracted within its protective cassette. This shields the material from heavy snow loads and ice accumulation. If the screen must be used, ensure it is completely dry before retracting it for an extended period, as trapped moisture will lead to mildew. Periodically check the tension of the Cables and the lubrication of the Roller Tubes to ensure a smooth transition once the thaw begins.
Professional Landscaping FAQ
How do you integrate screens without ruining the view?
Select a mesh with a higher “openness factor,” typically between 5 percent and 10 percent. This provides a transparent veil that maintains the visual connection to your Japanese Maples and Water Features while still providing essential UV and wind protection.
What is the best way to anchor a screen in high-wind areas?
Use Galvanized Steel Anchors or Epoxy-set Bolts into a reinforced Concrete Pad. In high-wind zones, professional installers recommend “wind-sensing” automated systems that automatically retract the fabric into the Aluminum Cassette when wind speeds exceed a predetermined safest threshold.
Can screens be installed alongside climbing plants like Ivy?
Yes, but you must maintain a 12-inch air gap between the screen and the Trellis. This prevents the plant’s tendrils from infiltrating the screen’s tracks or damaging the fabric, while still allowing the greenery to provide a lush, organic backdrop.
Will the screen fabric fade over time in direct sunlight?
High-quality screens utilize solution-dyed Acrylic or PVC-coated Polyester. These materials are specifically engineered for solar resilience. However, applying a UV-protectant spray annually can extend the vibrant color of the fabric and maintain the material’s structural integrity against long-term sun exposure.
How do I prevent drainage issues near the screen base?
Incorporate a French Drain or a Gravel Trench directly beneath the screen’s drip line. This directs runoff away from the mechanical housing and into the main Drainage Pipe, preventing soil erosion and ensuring the surrounding Mulch remains in place.