
Transforming a residential or commercial landscape into a cohesive outdoor environment requires a sophisticated understanding of both biological needs and structural aesthetics. While many property owners focus exclusively on the daytime appearance of their gardens, professional landscape architects recognize that a site exists in a 24-hour cycle. The shift from natural sunlight to artificial illumination defines how a space is perceived, utilized, and navigated. Modern outdoor design relies heavily on Low-Voltage Lighting Tips to bridge the gap between functional safety and high-end curb appeal. By utilizing 12-volt systems rather than standard high-voltage lines, designers can achieve a subtle, layered effect that highlights the architectural features of a home and the organic textures of the foliage. This approach minimizes energy consumption while maximizing the visual depth of the property through strategic shadows and highlights.
Landscape Design Principles
Effective landscape design starts with a commitment to symmetry and balance, ensuring that the heavy elements of the yard do not overwhelm the more delicate plantings. When planning the layout, consider the visual weight of Retaining Walls and Paving Stones. These permanent structures serve as the skeleton of the garden. To achieve a professional finish, one must integrate focal points such as a specimen Japanese Maple or a custom water feature. These elements should be anchored by secondary plantings that provide a sense of rhythm throughout the space.
Elevation layers are another critical consideration for a successful outdoor environment. By creating tiered garden beds using Pressure-Treated Timbers or Natural Stone, you can introduce visual interest even in flat geographies. Each layer provides an opportunity for different types of illumination. For instance, Path Lights can be installed at the lowest elevation to guide foot traffic along Flagstone walkways, while Bullet Lights can be positioned at a mid-tier level to graze the surface of stone walls. This layering ensures that the eye is drawn upward, creating a sense of height and grandeur.
Irrigation planning must go hand in hand with the structural layout. A common mistake is to overlook the path of PVC Piping when installing lighting cables. The goal is to create a symbiotic relationship where the Drip Irrigation lines nourish the root zones while the 12-gauge Direct Burial Cable provides the power for illumination without interference. Visual balance is finally achieved through the concept of “negative space,” where purposefully dark areas allow the illuminated focal points to pop, preventing the landscape from looking like a floodlit parking lot.
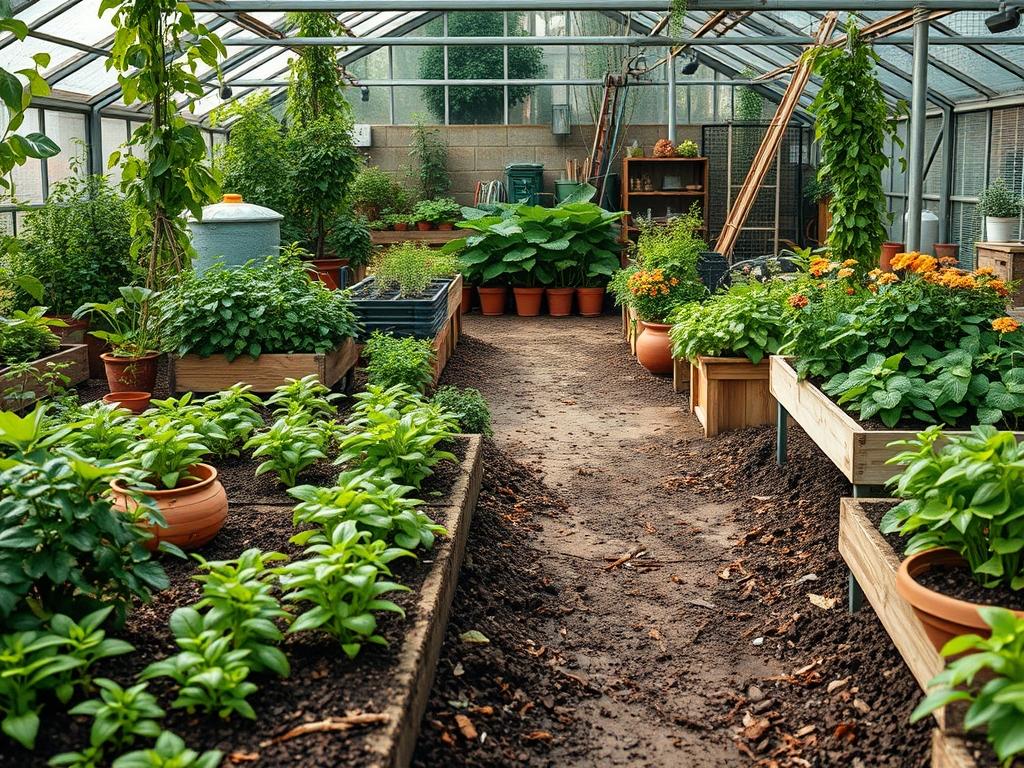
Plant and Material Selection
The following table outlines high-performance selections for a balanced landscape that pairs well with integrated lighting systems.
| Plant Type | Sun Exposure | Soil Needs | Water Demand | Growth Speed | Maintenance Level |
| :— | :— | :— | :— | :— | :— |
| Boxwood Shrubs | Full Sun to Part Shade | Well-drained loam | Moderate | Slow | Low (Requires Pruning) |
| Blue Oat Grass | Full Sun | Sandy, dry soil | Low | Medium | Very Low |
| Hostas | Full Shade | Organic, moist soil | High | Medium | Moderate |
| Dwarf Alberta Spruce | Full Sun | Acidic, well-draining | Moderate | Very Slow | Low |
| Creeping Thyme | Full Sun | Poor to average soil | Low | Fast | Low (Groundcover) |
| Lavender | Full Sun | Well-drained, alkaline | Low | Medium | Moderate |
Implementation Strategy
The successful execution of a landscaping project begins with a comprehensive site assessment. Start by marking the perimeter of the project area using Fluorescent Marking Paint. Identify the locations of existing utilities to avoid costly damage during the grading process. Once the site is cleared, focus on the grading to ensure that water moves away from the home foundation and toward designated drainage zones. A Transit Level is an essential tool for verifying that the slope is at least 2 percent, which is the industry standard for preventing standing water.
After the grade is established, the hardscaping serves as the next phase. Install Edging along the borders of garden beds to create clean, crisp lines between the turf and the planting areas. If you are installs a lighting kit, this is the ideal time to dig your trenches. Most Low-Voltage Lighting Tips emphasize burying the 12-2 Wire at a depth of at least 6 inches to prevent damage from aerators or shovels. Connect the wire to a 300-Watt Stainless Steel Transformer mounted near an outdoor GFCI outlet. When positioning your fixtures, use a Voltmeter to check for voltage drop at the end of the line, as a drop below 10.5 volts can cause LED bulbs to flicker or dim.
Once the infrastructure is hidden beneath the soil, begin the planting phase. Use a Hand Trowel to set smaller perennials and a D-handle Shovel for larger shrubs. Ensure that the root ball is level with the surrounding soil to prevent stem rot. Finish the beds with a 3-inch layer of Double-Grooved Cedar Mulch. This material suppresses weeds, retains moisture, and provides a neutral backdrop that allows the colors of the plants and the glow of the lights to stand out.
Common Landscaping Failures
One of the most prevalent errors in landscape management is the failure to address drainage early in the process. When water pools around the base of a Retaining Wall, it creates hydrostatic pressure that can eventually cause the structure to bow or collapse. This is why the installation of a French Drain behind any wall over 2 feet in height is mandatory. Similarly, improper spacing of plants often leads to root overcrowding within three to five years. While a garden may look full on the day of installation, failing to account for the mature width of Evergreen Shrubs results in a tangled mess that requires aggressive corrective pruning.
Soil compaction is another silent killer of high-end landscapes. During construction, heavy machinery compresses the earth, destroying the air pockets necessary for root respiration. Professionals use a Power Auger or Tiller to break up the “hardpan” layer before planting. In terms of lighting, the most frequent failure is using improper connectors. Standard twist-on wire nuts will eventually corrode in the damp soil. Instead, use Silicon-Filled Waterproof Wire Nuts to ensure the longevity of the electrical connections. Lastly, irrigation inefficiencies, such as over-spraying onto Flagstone surfaces, lead to algae growth and staining, compromising both safety and aesthetics.
Seasonal Maintenance
A landscape is a living entity that requires specific care throughout the four seasons. In the spring, the focus should be on “waking up” the garden. This involves removing winter debris, applying a pre-emergent herbicide to the Mulch beds, and checking the Transformer settings for the shift in daylight hours. It is also the best time to prune dead wood from Deciduous Trees and split overgrown perennials.
As summer arrives, the priority shifts to moisture management. Check the Drip Irrigation emitters to ensure they are not clogged by mineral deposits. Because the sun is more intense, monitor the foliage of Hydrangeas and other broadleaf plants for signs of heat stress. Summer is also when you should clean the lenses of your Path Lights with a soft cloth and mild soap. Dust and hard water spots can reduce the lumen output of a fixture by as much as 30 percent.
Autumn is the season for preparation and planting. The cooler soil temperatures are ideal for establishing the root systems of new Native Trees. Rake fallen leaves promptly, as a thick mat of foliage can trap moisture against the crowns of your plants, leading to fungal diseases. Before the first frost, drain your irrigation backflow preventer and check that all lighting fixtures are firmly staked into the ground to withstand the coming wind and snow.
During winter, the landscape enters a dormant phase, but the lighting system becomes more important than ever due to the long nights. Avoid using salt-based de-icers near garden beds, as the runoff can kill Boxwoods and alter soil pH. If a heavy snowstorm occurs, gently brush the weight off the branches of Upright Junipers to prevent them from splaying. This proactive management ensures that the landscape remains a structural asset to the property regardless of the weather.
Professional Landscaping FAQ
What is the best gauge of wire for outdoor lighting?
For most residential projects, 12-gauge wire is the standard. It is thick enough to prevent significant voltage drop over long runs while remaining flexible enough to navigate around Tree Roots and garden ornaments during the installation process.
How deep should I bury my landscape lighting cables?
Safety codes generally require a minimum depth of 6 inches for low-voltage cables. Trenching to this depth protects the Direct Burial Cable from common garden maintenance tools like lawn edgers, aerators, and handheld weeding implements.
Can I mix different brands of fixtures in one kit?
Yes, as long as the total wattage of the fixtures does not exceed the capacity of your Transformer. Ensure that all fixtures are compatible with the system voltage, which is typically 12 volts for standard residential low-voltage kits.
Why are my LED lights flickering at the end of the run?
Flickereing is usually caused by a voltage drop. If the cable run is too long or has too many fixtures, the power reaching the final light may be insufficient. Using a Multimeter helps identify if you need a higher-capacity transformer.
How often should I replace my mulch?
To maintain optimal soil health and aesthetics, you should refresh your Mulch once per year. Aim for a depth of 2 to 3 inches. This thickness is sufficient to suppress weeds and retain moisture without suffocating the plant roots.