
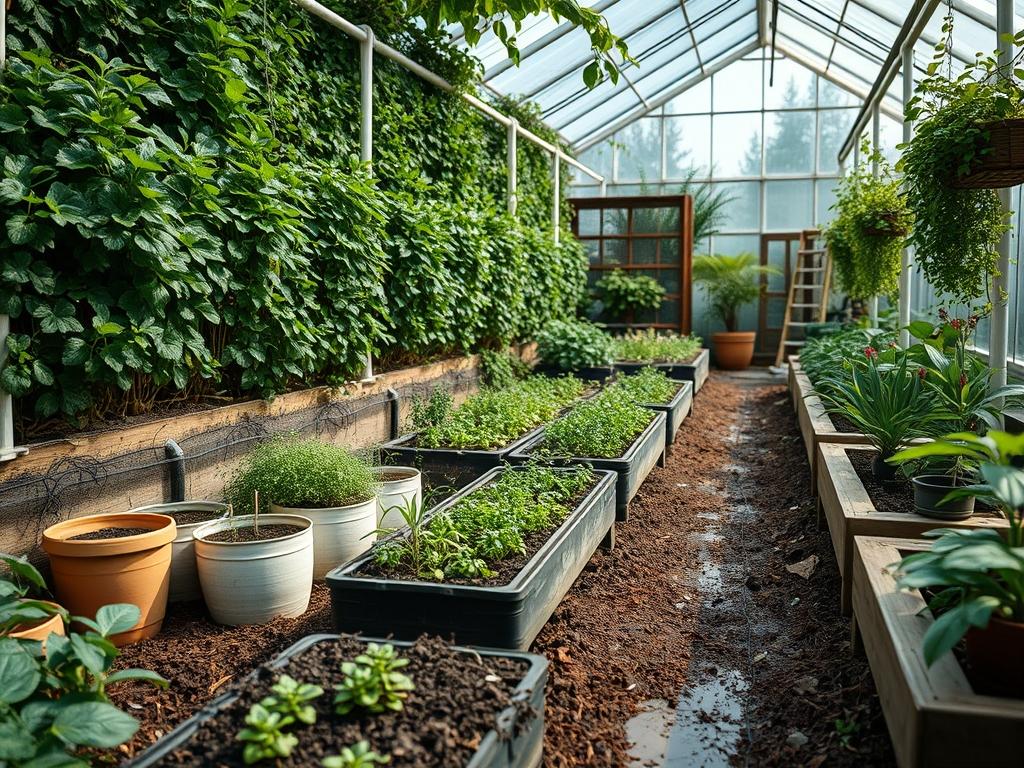
Creating a living boundary is one of the most significant investments a homeowner can make in the long-term value and functionality of their property. Unlike a wooden fence that begins to decay the moment it is installed, a well-planned privacy hedge grows more effective and beautiful with every passing season. Backyard privacy hedge care involves much more than simple pruning; it requires a deep understanding of soil mechanics, hydraulic management, and the specific physiological needs of the chosen species. Professional landscape architecture views these hedges as structural elements that define outdoor rooms, mitigate noise pollution, and serve as windbreaks for more delicate interior plantings. When we design these spaces, we consider the specific microclimate of the yard, the sun’s path throughout the year, and the long-term maintenance requirements that will ensure the hedge remains dense from the ground up to its desired height.
A successful installation serves as the backbone of a yard’s curb appeal while providing the essential seclusion required for modern outdoor living. In high-density residential areas, these green walls act as a psychological buffer against the bustle of the street. However, achieving a thick, lush screen requires a strategic approach to site preparation and species selection. We must look at the topography of the land to determine if retaining walls or specialized grading are necessary to prevent water from pooling at the base of the root systems. Drainage is frequently the most overlooked factor in hedge health; saturated soil can lead to anaerobic conditions that invite root rot and fungal pathogens, effectively killing a decade of growth in a single season. By treating the hedge as a living piece of architecture, we can ensure it survives the stresses of climate flux while providing the privacy and peace homeowners crave.
Landscape Design Principles
In the realm of professional landscape design, a privacy hedge is rarely treated as a standalone feature. Instead, it is part of a larger composition that utilizes symmetry, focal points, and elevation layers to create visual depth. Symmetry is particularly important in formal gardens where a perfectly leveled hedge of Boxwood or Privet establishes a sense of order. For more naturalistic settings, we often suggest a staggered, multi-row approach. This involves planting different species in a zigzag pattern to create a thicker barrier that looks less like a wall and more like a naturally occurring woodland edge. This method also provides redundancy; if one plant suffers from a specific pest, the entire screen is not compromised.
Elevation plays a critical role in how we perceive the garden. We often use the hedge as a backdrop to lower layers of perennial flowers or ornamental grasses. This layering technique prevents the yard from feeling boxed in by a flat green wall. Furthermore, we must plan for irrigation systems early in the design phase. A dedicated drip irrigation line is often the most efficient way to deliver water directly to the soil, reducing water loss through evaporation and preventing moisture from sitting on the foliage, which can lead to leaf spot or blight. Walkways and maintenance paths should also be integrated into the design, allowing at least 3 feet of clearance behind the hedge for pruning and inspection tasks.
Plant and Material Selection
Selecting the right plant material is the most critical decision in the planning process. The choice must be based on hard data rather than aesthetic preference alone.
| Plant Type | Sun Exposure | Soil Needs | Water Demand | Growth Speed | Maintenance Level |
| :— | :— | :— | :— | :— | :— |
| Green Giant Arborvitae | Full Sun to Part Shade | Loamy, Well-drained | Moderate | Fast (3 feet/year) | Low |
| Leyland Cypress | Full Sun | Adaptable, Moist | High | Very Fast (4 feet/year) | Moderate |
| English Laurel | Part Shade to Full Shade | Rich, Acidic | Moderate | Fast (2 feet/year) | High (Pruning) |
| American Holly | Full Sun to Part Shade | Moist, Acidic | Low (Once established) | Slow | Low |
| European Hornbeam | Full Sun to Part Shade | Heavy Clay to Loam | Moderate | Medium | High (Shearing) |
| Privet | Full Sun to Part Shade | Any, Well-drained | Moderate | Fast | Very High |
Implementation Strategy
The implementation phase begins with a precise site survey. We start by flagging the proposed line of the hedge, ensuring it sits at least 5 to 8 feet back from the property line to allow for the mature width of the plants. Grading is the next step. If the area is flat or recessed, we may need to build a slightly raised berm to improve drainage. Before the first shovel hits the ground, we perform a soil test to determine pH levels and nutrient deficiencies. Most evergreen species prefer slightly acidic soil within a range of 6.0 to 6.5.
Once the site is prepared, we perform trenching rather than digging individual holes. A continuous trench allows for better root expansion and ensures that the soil density is consistent across the entire length of the hedge. When placing the root balls, we ensure the top of the root flare is Level with or slightly above the surrounding grade. After backfilling with a mix of native soil and organic compost, we apply a 2-inch to 3-inch layer of organic mulch, such as shredded cedar or pine bark. This mulch is essential for moisture retention and weed suppression, but it must be kept a few inches away from the trunk to prevent bark rot. For the first year, a 5-gallon bucket of water per plant, twice a week, is standard for establishing a deep root system.
Common Landscaping Failures
The most common failure we see in residential hedge care is improper spacing. Homeowners often want an instant screen, so they plant trees too close together. Over time, this leads to intense competition for light and nutrients. The lower branches, deprived of sun, will die back, leaving the hedge with a “leggy” appearance that defeats the purpose of privacy. Another major issue is soil compaction. During construction or heavy lawn maintenance, the soil can become as hard as concrete, preventing oxygen from reaching the roots. We use aeration tools or vertical mulching with an air spade to remediate these conditions in older landscapes.
Irrigation inefficiencies also rank high among common failures. Over-watering is just as deadly as a drought. Many homeowners leave their systems on a timer regardless of rainfall, which leads to root suffocation. Conversely, failing to water during a dry autumn can leave evergreens vulnerable to “winter burn,” where the needles dry out because they cannot pull moisture from the frozen ground. Finally, many people use the wrong pruning tools at the wrong time. Using dull hedge shears can crush the stems instead of cutting them, creating entry points for disease. Pruning should generally occur in late winter or early spring before the new growth begins.
Seasonal Maintenance
Spring is the season of renewal and heavy nutrient demand. We recommend a balanced, slow-release granulated fertilizer high in nitrogen to support the flush of new growth. This is also the time to inspect the irrigation system for leaks or clogged emitters. As we move into summer, the focus shifts to hydration and pest monitoring. Spider mites and bagworms can devastate a hedge in weeks; therefore, a monthly inspection of the interior foliage is mandatory. If the temperature exceeds 90 degrees, we increase the frequency of watering but check the soil depth first to ensure it is dry at least 2 inches down.
Autumn is the best time for foundational care. We apply a fresh layer of mulch to protect the roots from the coming freeze. It is also the perfect time for supplemental planting or replacing any individual specimens that did not thrive during the summer. Winter maintenance is largely passive but involves protecting the plants from physical damage. Heavy snow should be gently brushed off branches with a soft-bristled broom to prevent snapping. For younger hedges in exposed areas, a burlap screen or an anti-desiccant spray can provide a vital shield against harsh, drying winter winds.
Professional Landscaping FAQ
How far apart should I space my privacy trees?
For most species like Arborvitae, space them 3 to 4 feet apart from center to center. This allows for adequate airflow and light penetration while ensuring a dense, seamless screen once the plants reach maturity.
What is the best way to fix a thin hedge?
Thinning usually results from lack of sunlight or improper pruning. Shift to a pyramidal pruning shape, keeping the top narrower than the bottom. This allows light to reach the lower branches, stimulating new growth and filling in gaps.
Do I really need a professional irrigation system?
While manual watering is possible, a dedicated drip irrigation system ensures consistency. It delivers water directly to the root zone, reducing fungal risks on the foliage and ensuring the hedge survives during vacations or extreme heat waves.
When is the best time to prune for maximum density?
Prune in late winter or early spring just before the buds break. This timing encourages vigorous spring growth. For fast growers like Privet, a second light trim in mid-summer helps maintain a crisp, formal shape.
Can I grow a privacy hedge in heavy clay soil?
Yes, but you must modify the site. Use grading to move water away or install a French drain. Selecting clay-tolerant species like Emerald Green Arborvitae or certain Holly varieties will significantly increase your chances of success.