
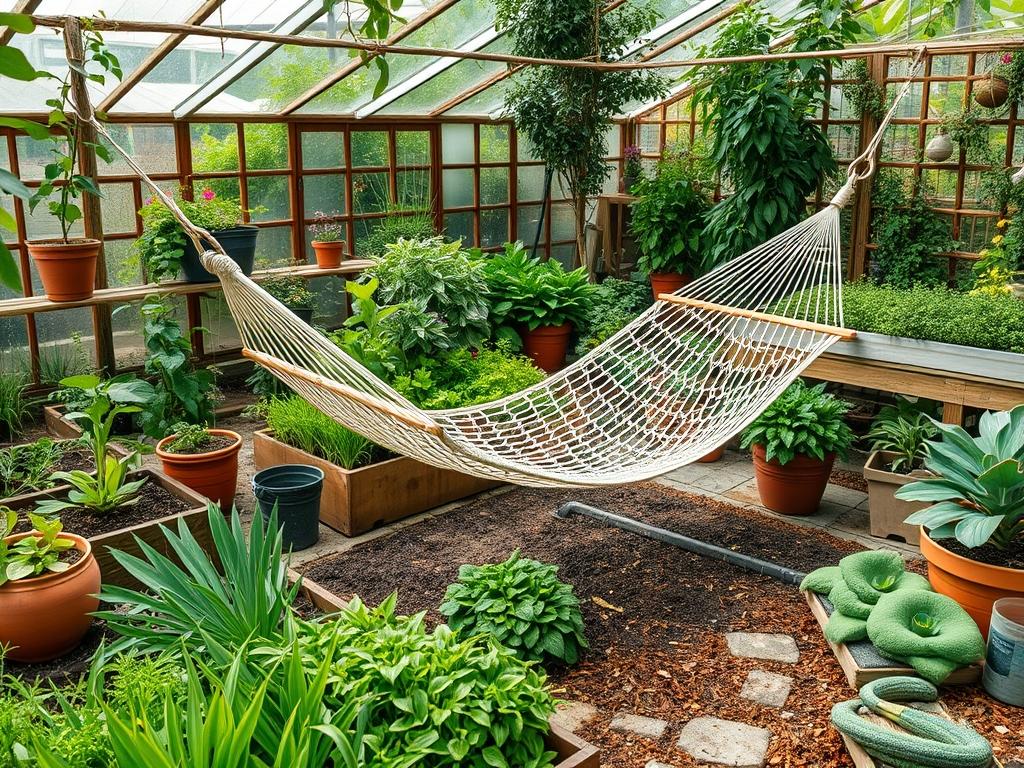
Designing backyard hammock zones requires a sophisticated understanding of spatial flow, environmental stressors, and structural engineering. Homeowners often view a hammock as a secondary accessory, yet from a professional landscaping perspective, it serves as a primary restorative focal point that dictates the surrounding ecosystem. The challenge lies in balancing aesthetic appeal with functional safety. You must consider the prevailing wind patterns, the transit of the sun across the property, and the long term health of the anchor trees. A poorly placed hammock zone lacks privacy and becomes a maintenance liability if it interferes with irrigation lines or creates a mud pit through heavy foot traffic. By integrating these zones into the initial site plan, you enhance the property’s curb appeal while creating a secluded microclimate that feels like an intentional destination rather than an afterthought. Designing for relaxation involves more than just suspension; it requires a deep dive into soil stability, drainage, and the sensory experience of the surrounding vegetation.
Landscape Design Principles
Successful backyard hammock zones rely on the foundational principles of symmetry and visual balance. When mapping out the area, identify a central axis that connects the hammock to other landscape features, such as a water feature or a fire pit. If the terrain is uneven, utilize retaining walls to create a level terrace. This adds a sense of permanence and allows for the installation of built-in planters that can house aromatic herbs or soft grasses. Elevation layers play a critical role in defining the space. By raising the hammock zone slightly above the main lawn, you create a psychological “threshold” that signals a transition into a place of rest.
Visual balance is achieved by framing the zone with a mix of evergreen and deciduous plants. You want to avoid a flat, two-dimensional look. Instead, use the concept of “borrowed views” by positioning the hammock to face the most attractive part of the garden while masking less desirable views, such as utility boxes or neighboring fences, with lattice panels or dense shrubbery. Walkways made of natural flagstone or decomposed granite should lead the eye toward the zone, ensuring the path is wide enough for two people to pass comfortably. These paths also protect the turf from compaction, which is a common issue in high-use relaxation areas.
Irrigation planning is perhaps the most overlooked aspect of the design phase. You must ensure that sprinkler heads do not spray directly onto the hammock material or the hardware. This prevents mold growth and rusting of metal components. Drip irrigation is the preferred method for the surrounding plant beds, as it delivers water directly to the roots without increasing the ambient humidity too much, which can attract mosquitoes to your lounging area.
Plant and Material Selection
The following table outlines the best plant species and materials for establishing a durable and aesthetically pleasing hammock environment.
| Plant or Material Type | Sun Exposure | Soil Needs | Water Demand | Growth Speed | Maintenance Level |
| :— | :— | :— | :— | :— | :— |
| Acer rubrum (Red Maple) | Full Sun | Moist, Acidic | Medium-High | Fast | Moderate |
| Quercus virginiana (Live Oak) | Full Sun | Well-drained | Low | Moderate | Low |
| Liriope muscari (Lilyturf) | Partial Shade | Adaptable | Low | Moderate | Low |
| Buxus microphylla (Boxwood) | Full to Part Sun | Loamy | Medium | Slow | High (Pruning) |
| Decomposed Granite | N/A | Compacted Base | None | N/A | Low |
| Western Red Cedar Posts | N/A | Concrete Footing | None | N/A | Low |
| Trachelospermum jasminoides | Full to Part Sun | Rich, Moist | Medium | Fast | Moderate |
When selecting trees for anchoring, the trunk diameter must be at least 12 inches to ensure structural integrity without harming the cambium layer. For those without mature trees, 6×6 pressure-treated timber posts or powder-coated steel pillars serve as excellent alternatives. Surround these anchors with 3 inches of hardwood mulch to regulate soil temperature and retain moisture for the peripheral plantings. Using native plants is essential for long-term sustainability, as they are already adapted to the local climate and require fewer chemical interventions.
Implementation Strategy
The implementation of backyard hammock zones begins with a precise site survey. Start by marking the footprint of the zone using marking paint. If you are installing posts, use a gas-powered auger to dig holes at least 36 inches deep, or below the frost line in colder climates, to prevent shifting during freeze-thaw cycles. Place 6 inches of crushed stone at the bottom of the hole for drainage before setting the post in high-strength concrete. Ensure the posts are slightly angled away from each other to counteract the tension of the hammock when occupied.
Once the structural elements are set, address the grading. The ground beneath the hammock should have a gentle 2 percent slope to direct water away from the center. If the soil is heavy clay, install a French drain or use a thick layer of pea gravel over geotextile landscape fabric to prevent the area from becoming a bog. Edging is the next step; use steel edging or tumbled brick to create a crisp border between the hammock zone and the rest of the yard. This keeps the mulch or gravel contained and prevents the lawn from encroaching.
Planting should follow a “top-down” approach. Install the largest trees first, followed by mid-sized shrubs, and finally the ground covers. When placing plants, consider the “swing radius” of the hammock. You do not want thorny branches or delicate flowers within 4 feet of the hammock center. Finally, install your low-voltage LED lighting. Downlighting from the tree canopy, often called moonlighting, creates a soft, ethereal glow that makes the zone usable well into the evening hours.
Common Landscaping Failures
One of the most frequent errors in designing backyard hammock zones is ignoring the long term impact of root compaction. Constant foot traffic around the base of anchor trees compresses the soil, cutting off oxygen and water to the roots. To mitigate this, always install a “protection zone” of organic mulch or a raised wooden platform that distributes weight more evenly. Another failure is improper spacing. Hammocks require a specific distance between anchors, usually between 10 and 15 feet depending on the model. Too close, and the hammock will sag excessively; too far, and the tension will be too high, putting dangerous stress on the anchors.
Drainage mistakes can also ruin the experience. If the hammock is located at the bottom of a slope without proper catch basins or swales, it will collect debris and standing water. This leads to pest infestations and a shortened lifespan for the hammock fabric. Furthermore, many designers fail to account for the growth rates of “privacy screens.” Planting a row of fast-growing shrubs too close together can lead to root overcrowding and nutrient competition within three to five years, resulting in a thin, sickly hedge that fails to provide the intended seclusion.
Seasonal Maintenance
In the spring, focus on soil health and structural inspections. Check all carabiners, eye bolts, and straps for signs of wear or rust. Apply a fresh layer of shredded cedar mulch to replenish what decomposed over the winter. This is also the time to apply a slow-release fertilizer to the surrounding ornamental plants to encourage lush growth for the summer.
Summer maintenance is primarily about irrigation management and pest control. During periods of extreme heat, ensure the anchor trees receive “deep watering” at least twice a week to reduce stress. Prune any seasonal growth that threatens to obstruct the hammock path. In the autumn, leaf management is key. Allowing thick layers of wet leaves to sit on the landscape fabric or gravel will lead to weed growth and soil contamination. Use a leaf blower or rake to keep the zone clear.
Winter care involves protecting the structural elements. It is highly recommended to remove the hammock itself and store it in a dry, indoor location to prevent dry rot or UV damage. If you have permanent posts, inspect the concrete footings for cracks caused by ground movement. If the anchors are live trees, prune any dead or weakened branches in the upper canopy to prevent them from falling during winter storms.
Professional Landscaping FAQ
How far apart should I place my hammock posts?
Generally, posts should be spaced 12 to 15 feet apart. This allows for the proper “deep curve” hang angle without putting excessive horizontal tension on the anchors. Always measure the specific hammock length before digging post holes.
What is the best ground cover for under a hammock?
Decomposed granite or wood chips are superior to grass. They provide excellent drainage, do not require mowing in a cramped space, and prevent the soil compaction that occurs with heavy foot traffic in a localized area.
Can I hang a hammock from any tree?
No. Only use healthy, hardwood trees with a diameter of at least 12 inches. Avoid softwoods like willow or shallow-rooted species like certain maples, as they may not handle the lateral load over time.
How do I prevent mosquitoes in my hammock zone?
Ensure the area has perfect drainage to avoid standing water. Incorporate plants like Lavandula or Rosmarinus nearby. Additionally, use a small, outdoor-rated fan to create a light breeze, which disrupts mosquito flight patterns effectively.
Do I need a permit for hammock posts?
Most residential zones do not require permits for simple posts. However, if you are building a pergola or a retaining wall higher than 3 feet to support the zone, check your local building codes and HOA regulations.