
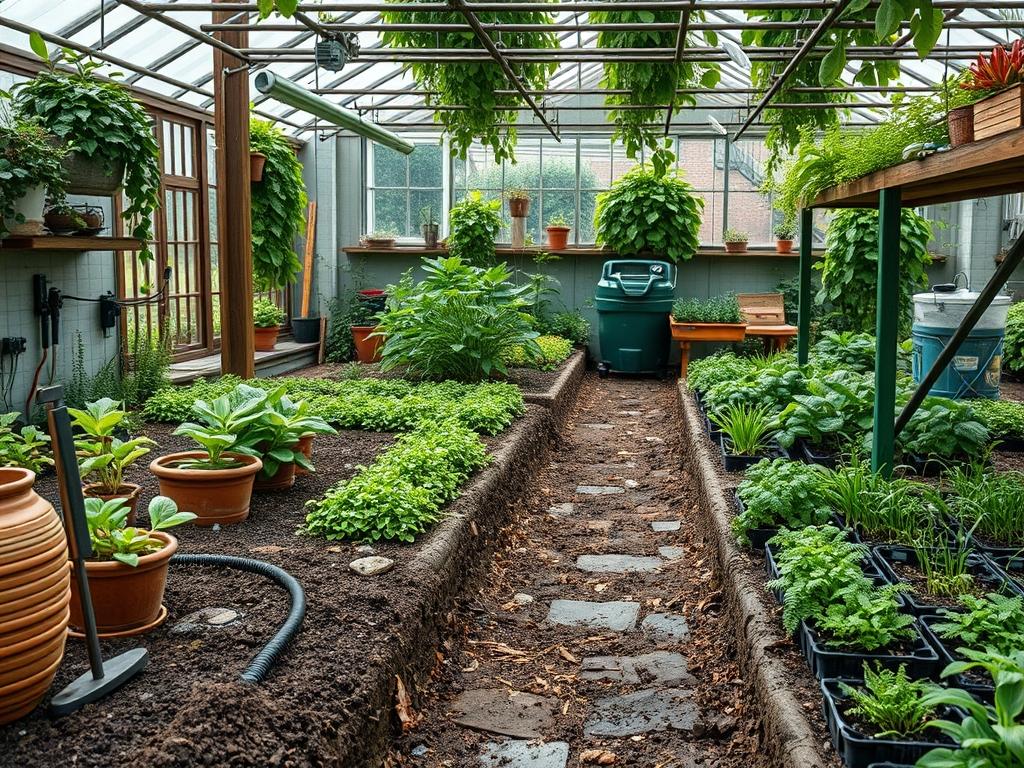
Effective outdoor environments rely on the deliberate interplay between structural boundaries and illumination. When a landscape architect approaches a project, the perimeter often presents the greatest challenge; it defines the property line while frequently creating a visual “dead zone” after sunset. Solar Fence Light Styling has emerged as a sophisticated solution to this architectural vacuum. By integrating autonomous lighting into the vertical plane, we can extend the perceived depth of a yard, enhance security, and highlight the textural qualities of cedar, vinyl, or wrought iron fencing. The modern consultant must consider the ambient climate, as the duration of natural light determines the efficiency of the lithium-ion batteries within these fixtures. High-quality styling is not merely about visibility; it is about creating a rhythmic cadence that guides the eye along the garden’s border, transforming a generic barrier into a luminous backdrop that increases curb appeal and functional square footage for evening use.
Landscape Design Principles
Successful Solar Fence Light Styling adheres to the core doctrines of architectural balance and environmental psychology. Symmetry is often the first consideration. Placing fixtures at equal intervals on every other fence post creates a formal, orderly appearance that mimics a high-end estate. However, in more organic or xeriscaped designs, an asymmetrical approach can highlight specific focal points, such as a specimen Japanese Maple or a bespoke water feature. By varying the height of the light placement, a designer can create elevation layers. Mounting lights higher up on the post casts a wide, functional wash of light, whereas lower placement creates an intimate “puddle” effect that emphasizes the texture of the ground cover and flagstone walkways.
The concept of visual weight is equally vital. If the fence is overly bright, the rest of the garden will appear as a black void. To counter this, lighting should be integrated with irrigation planning and planting. A well-placed solar light should illuminate both the fence material and the foliage in front of it, creating depth through shadow play. This layering prevents the “floating light” syndrome, where the eye sees only the light source rather than the landscape itself. When planning walkway integration, the lights should serve as a subtle guide rather than a glaring distraction, ensuring that the transition from a dark deck to a lit path is seamless and safe.
Plant and Material Selection
The relationship between light and flora is symbiotic. Choosing the right species to sit beneath or beside your fence lights ensures that the photovoltaic cells receive enough sun while the plants benefit from the aesthetic highlighting.
| Plant Type | Sun Exposure | Soil Needs | Water Demand | Growth Speed | Maintenance Level |
| :— | :— | :— | :— | :— | :— |
| Star Jasmine | Full to Partial | Well-drained | Moderate | Fast | Medium |
| English Boxwood | Partial Shade | Loamy | Low | Slow | High (Pruning) |
| Blue Oat Grass | Full Sun | Sandy/Dry | Low | Medium | Low |
| Panicle Hydrangea | Full/Partial | Rich/Moist | High | Fast | Medium |
| Creeping Jenny | Full to Shade | Moist | High | Fast | Medium |
| Lavender | Full Sun | Gritty/Alkaline | Very Low | Medium | Low |
Implementation Strategy
Planning a comprehensive layout requires more than just mounting brackets. The strategy begins with grading the soil around the perimeter. Ensure that the ground slopes away from the fence at a rate of at least two percent to prevent water from pooling around the posts, which can lead to rot or instability. Once the site is graded, define the edge using a half-moon edger or steel edging to create a clean line between the turf and the planting bed.
For the lights themselves, use a spirit level to ensure every fixture is perfectly horizontal. A primary rule for Solar Fence Light Styling is the “staggered height” technique. On a standard six-foot fence, mounting the lights at 52 inches provides optimal light spread for most LED chips. Before final installation, test the solar exposure by placing the units in their positions for a full day. If a section of the fence remains in the shade for more than four hours during the afternoon, consider a model with a remote solar panel that can be positioned in a sunnier spot.
Add a three-inch layer of double-shredded hardwood mulch to the base of the fence. This helps retain moisture for the plants and hides any external wiring if using a hybrid system. If hardscaping is involved, such as a retaining wall, the fence lights should align with the vertical axis of the wall’s joints to maintain architectural harmony.
Common Landscaping Failures
The most frequent error in Solar Fence Light Styling is improper drainage management. When homeowners install lighting, they often neglect the sub-grade conditions. If water collects at the base of the fence, the increased humidity can cause the specialized coatings on the light fixtures to bubble or corrode. Root overcrowding is another significant issue. Planting large-root species too close to the fence to catch the light can lead to structural shifting. As the roots expand, they push against the concrete footings of the fence posts, eventually tilting the fence and the lights.
Improper spacing often results in “hot spots” where the light is too concentrated, followed by “dead zones” of total darkness. A distance of six to eight feet between units is generally recommended for 20-lumen fixtures. Using cheap, plastic fixtures is also a failure of strategy; these materials become brittle under UV radiation and yellow over time, diminishing the light quality. Always opt for powder-coated aluminum or stainless steel housings for longevity. Finally, soil compaction during the installation process can kill the delicate root systems of the very plants you are trying to highlight. Use aeration tools to ensure the soil remains permeable.
Seasonal Maintenance
Landscape management is a year-round commitment. In the spring, focus on cleaning. Use a microfiber cloth and a mild soap solution to wipe the photovoltaic panels on top of each light. Dust and pollen accumulation can reduce charging efficiency by up to thirty percent. This is also the time to prune any overhanging branches that may have grown to shade the sensors.
During the summer, the priority shifts to irrigation. Ensure that your drip irrigation emitters are not spraying directly onto the light fixtures, as mineral deposits from hard water can stain the lenses. In the autumn, clear away fallen leaves that may become trapped between the light and the fence, as these can create a fire hazard if the light generates any residual heat, or simply cause the wood to rot against the fixture.
Winter requires the most diligence in colder climates. Snow should be brushed off the panels after every storm to ensure the batteries do not undergo a deep discharge, which can permanently shorten their lifespan. If the temperature drops below zero degrees Fahrenheit, some designers recommend bringing the units indoors if they are not rated for extreme cold, though most professional-grade solar lights are built to withstand these fluctuations.
Professional Landscaping FAQ
What is the ideal height for mounting solar fence lights?
For standard residential perimeters, mounting fixtures at 52 to 60 inches from the ground provides the best balance of light spread and eye comfort. This height ensures the light illuminates the path without causing glare for seated guests.
How many lumens do I need for effective styling?
For ambient styling, 15 to 30 lumens per fixture is sufficient. If the lights are intended for primary path safety or security, look for professional-grade units that offer 50 to 100 lumens with a warm 3000K color temperature.
Do solar fence lights work in the shade?
Most solar lights require at least four to six hours of direct sunlight; however, high-efficiency monocrystalline panels can trickle charge in indirect light. In heavy shade, use a system with a detached solar collector placed in a sunnier area.
How do I prevent my fence lights from looking cluttered?
Follow the architectural lines of your property. Aligning lights with fence posts or structural pillars creates a cohesive look. Avoid placing lights on every single post; skipping every other post often creates a more sophisticated, rhythmic visual pattern.
How long do the batteries in these fixtures typically last?
High-quality LiFePO4 or lithium-ion batteries usually last between two and three years. To maximize lifespan, ensure the panels stay clean and the fixtures are not submerged in water during heavy rain or irrigation cycles.