
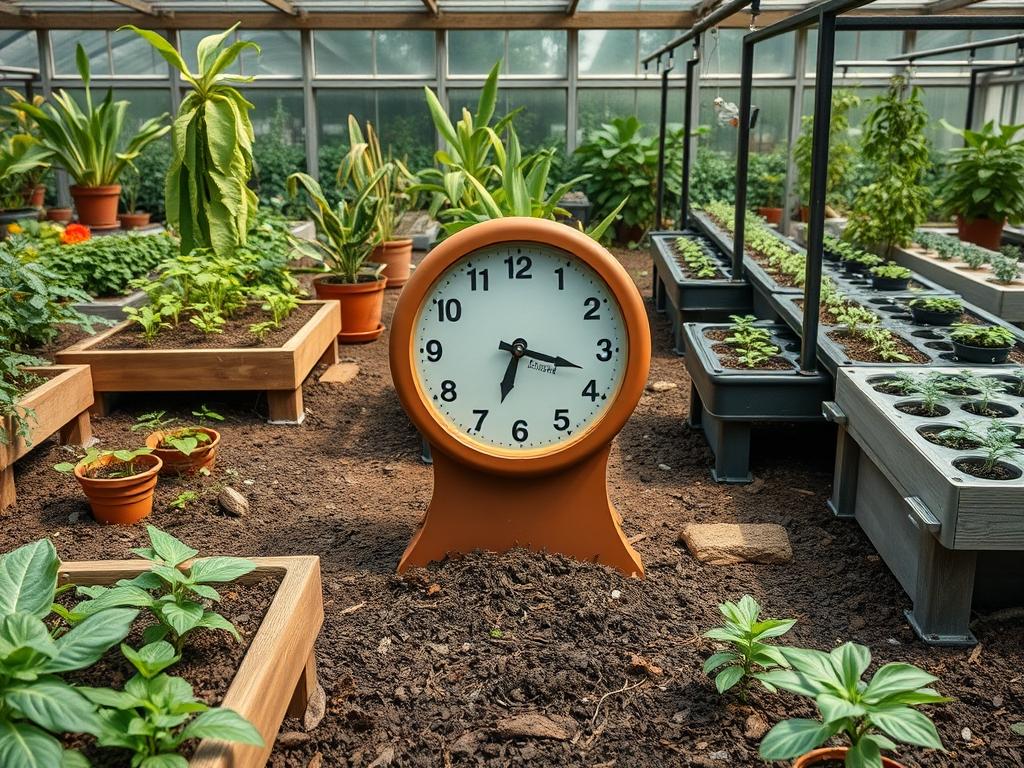
Integrating functional chronometers into a modern landscape requires more than just placing a post in the dirt. It demands a sophisticated understanding of sun angles, site topography, and the symbiosis between hardware and horticulture. When a designer considers various Solar Garden Clock Styles, the primary objective is to transform a simple timekeeping device into a structural focal point that enhances the overall property value. The challenge often lies in the balance between functionality and aesthetic integration. A solar clock requires a minimum of six hours of direct sunlight to maintain its battery reserves, yet placing it in a barren field often looks disjointed. Professional landscape architecture solves this by creating a dedicated environment where the clock acts as the anchor for a cohesive design language. This process involves evaluating the curb appeal from multiple vantage points, ensuring the installation serves the homeowner’s lifestyle while respecting the biological needs of the surrounding flora.
Landscape Design Principles
The success of a landscape anchored by a solar timepiece depends on the application of core geometric and environmental principles. Symmetry plays a vital role in formal gardens, where a central Solar Garden Clock Style might be flanked by identical parterres or rows of Buxus sempervirens. For an informal or contemporary look, designers often use the clock as an asymmetrical focal point, drawing the eye through a series of “garden rooms” defined by varying heights.
Elevation is another critical factor. Placing a clock on a slight grade or atop a small Retaining Wall constructed from Fieldstone or Cast Concrete creates a sense of importance. This elevation serves a dual purpose. It protects the mechanical components from ground-level moisture and ensures that the solar collectors are not shaded by low-growing shrubs. Use a Spirit Level during the installation of any mounting post to ensure the vertical axis is perfectly plumb, as even a minor tilt can distort the visual alignment of the surrounding beds.
Irrigation planning must be handled with precision around electronic fixtures. While the clocks are weather-resistant, consistent exposure to high-pressure sprinkler heads can lead to mineral buildup on the solar cells. A dedicated Drip Irrigation system is the professional standard here. By delivering water directly to the root zones of the surrounding plants through Polyethylene Tubing, you maintain the health of the greenery without compromising the clarity of the clock face or the efficiency of its charging panel.
Walkways should lead the viewer toward the installation without obstructing the view. Using Decomposed Granite or Flagstone Pavers creates a stable path that prevents soil compaction near the clock base. The visual balance is achieved when the scale of the clock matches the volume of the nearby plants. A large, ornate pedestal clock requires the presence of medium-height architectural plants, such as Miscanthus sinensis, to soften the hard edges of the structure while maintaining a professional, layered look.
Plant and Material Selection
Selecting the right companions for your solar features involves more than just color coordination. You must select species that thrive in the same high-light conditions required by the solar panels.
| Plant Type | Sun Exposure | Soil Needs | Water Demand | Growth Speed | Maintenance Level |
| :— | :— | :— | :— | :— | :— |
| Lavandula angustifolia | Full Sun | Well-Drained | Low | Moderate | Low |
| Festuca glauca | Full Sun | Sandy/Loamy | Low | Moderate | Low |
| Sedum spectabile | Full Sun/Part Sun | Gritty | Low | Moderate | Low |
| Rosmarinus officinalis | Full Sun | Poor to Average | Very Low | Slow | Low |
| Salvia nemorosa | Full Sun | Rich/Well-Drained | Moderate | Fast | Medium |
| Pachysandra terminalis | Full Shade | Organic/Moist | Moderate | Slow | Low |
| Liriope muscari | Sun to Shade | Adaptable | Moderate | Fast | Low |
For the hardscaping materials, use Landscape Fabric beneath a 3-inch Layer of Double-Shredded Hardwood Mulch or River Rock. This prevents weed competition and maintains the clean lines necessary for a professional finish.
Implementation Strategy
The implementation of a high-end garden feature begins with a thorough site analysis. Start by observing the path of the sun during the peak growing season. You will need a Measuring Tape to map out the footprint of the installation area, ensuring there is enough clearance from the mature spread of nearby trees.
First, address the grading. The area around the clock base must slope away from the structure at a rate of at least 2 percent to prevent water from pooling at the foundation. Use a Trenching Shovel to dig a hole for the mounting post that is at least 24 inches deep, or below the local frost line. Fill the bottom 6 inches of the hole with Crushed Limestone to provide a stable, draining base for the post.
Second, manage the edging. Use Steel Edging or Paver Restraints to create a crisp boundary between the clock’s mulch bed and the surrounding lawn. This prevents grass from encroaching on the device and simplifies seasonal maintenance.
Third, execute the planting. Place your largest “anchor” plants first, ensuring they are positioned at least 3 feet away from the clock to allow for air circulation and growth. Follow this with smaller ornamental grasses and perennials. When backfilling the planting holes, incorporate Organic Compost to jumpstart root development.
Finally, apply the finishing touches. Spread the mulch evenly around the plants, being careful to leave a 2-inch gap around the stems and the clock post to prevent crown rot. Test the solar charging by allowing the unit to sit in the sun for a full 24-hour cycle before setting the time and final positioning.
Common Landscaping Failures
The most frequent error in garden clock placement is improper drainage. When water accumulates at the base of a decorative post, it causes soil saturation that can lead to leaning or complete structural failure. Many DIY enthusiasts also neglect the impact of soil compaction. During the installation process, heavy foot traffic near the site can crush the soil structure, leading to poor root aeration for the surrounding plants. Always use Plywood Sheets to walk on if the ground is soft during the construction phase.
Root overcrowding is another significant issue. Homeowners often install plants based on their size at the nursery rather than their mature dimensions. Over time, these plants grow to shade the solar panels or physically push against the clock mounting. Reference a plant’s mature height and spread before committing to a location. Furthermore, irrigation inefficiencies often result from hosing down the entire area. Over-head watering can lead to fungal issues on the foliage and unsightly hard water spots on the Solar Garden Clock Styles, which reduces the photovoltaic efficiency over time.
Seasonal Maintenance
Seasonal care ensures that both the biological and mechanical elements of the garden remain in peak condition. In the Spring, focus on soil revitalization. Remove any winter debris and apply a fresh 1-inch layer of compost followed by new mulch. Inspect the clock for any damage from freezing temperatures and clean the solar panel with a soft, damp cloth to remove any fine dust or pollen.
During the Summer, monitoring water needs is paramount. Even drought-tolerant plants may require supplemental water during extreme heat waves. Check the clock’s alignment, as the intense heat can sometimes cause minor shifts in the soil as it dries and contracts.
In Autumn, prune back any perennials that have finished blooming and clear away falling leaves that might block the solar sensors. This is also the time to apply a pre-emergent herbicide to prevent winter weeds from germinating in the mulch bed.
Winter maintenance depends on your climate. In regions with heavy snow, you may need to gently brush off the clock face and solar panel after each storm. For the plants, a layer of Evergreen Boughs can provide extra insulation for the root zones of more sensitive species. Check the structural integrity of the mounting post to ensure that no heaving has occurred due to the freeze-thaw cycle.
Professional Landscaping FAQ
How do I choose the best location for a solar clock?
Select a site that receives unobstructed southern exposure for at least six hours daily. Ensure the location is visible from high-traffic areas like patios or entryways while maintaining a distance from large, fast-growing trees that create deep shade.
What is the best way to clean solar clock panels?
Use a soft, non-abrasive microfiber cloth and distilled water. Avoid using harsh chemical cleaners or abrasive pads, as these can scratch the surface of the photovoltaic cells and significantly reduce the unit’s ability to charge the internal battery.
Does a garden clock require a concrete foundation?
For heavy pedestal styles, a concrete footing is recommended. For lightweight stakes, a deep hole filled with compacted gravel and sand is usually sufficient. Always check the manufacturer’s weight specifications before deciding on the foundation type for your project.
Can I use solar garden clocks in shady areas?
Standard solar clocks will not function reliably in full shade. If your garden is shaded, look for models with a remote solar panel. This allows you to place the clock in the shade while the panel sits in the sun.
How do I prevent my clock from tilting over time?
Ensure the mounting post is installed below the frost line in a well-drained substrate. Use a mixture of crushed stone and soil backfill, tamping it down in four-inch increments to ensure maximum stability and prevent shifting during heavy rains.