
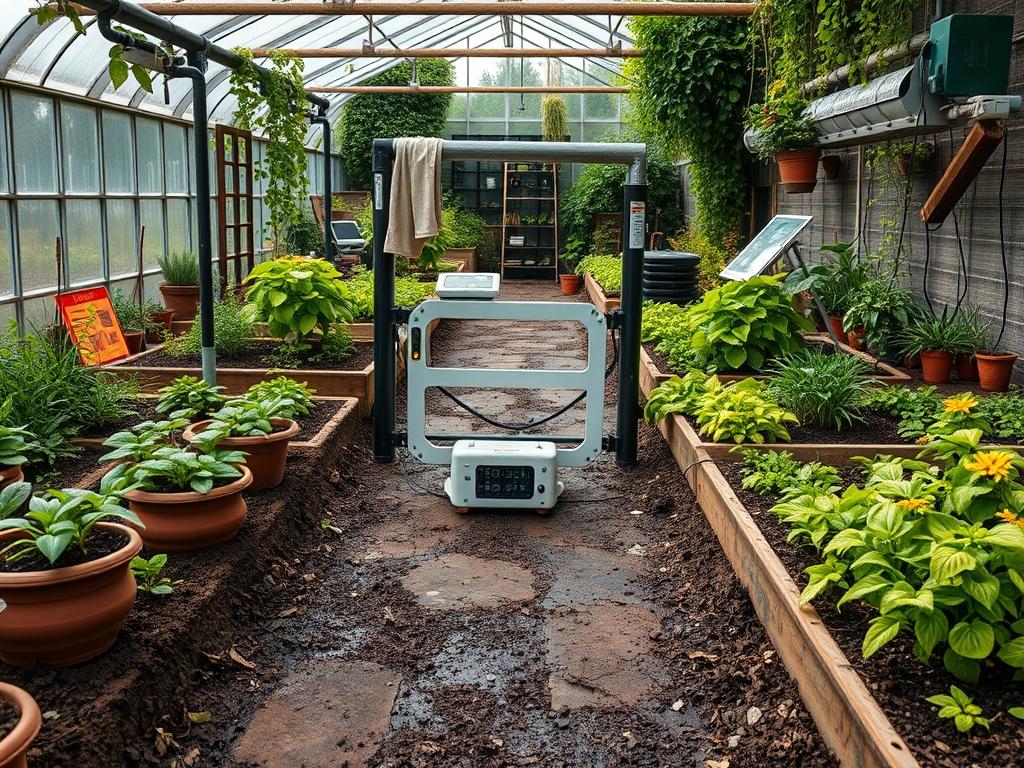
The entrance to a private estate or a rural property serves as the initial handshake between the landscape and the visitor. When planning the installation of Solar Powered Gate Openers, a landscape architect must look beyond the mechanical hardware and consider the entire spatial sequence of the driveway. Modern gate systems offer a distinct advantage in remote locations where trenching for high-voltage power lines would destroy legacy root systems or disrupt established grading. By utilizing solar energy, you maintain the integrity of the soil structure and avoid the high costs of electrical excavation. The challenge lies in harmonizing the technical requirements of the photovoltaic panel with the aesthetic goals of the surrounding vegetation and hardscape features. Proper site orientation is paramount, as the solar collector requires a specific path to the sun that may conflict with the shade profiles of ornamental trees. A successful installation balances the functional security of the gate with a lush, inviting environment that enhances the property’s overall market value and curb appeal.
Landscape Design Principles
Achieving a professional look requires adherence to the principle of axial symmetry, where the gate serves as the central focal point. When installing Solar Powered Gate Openers, the placement of the gate posts must be perfectly plumb to ensure the actuator arms operate without unnecessary friction. We often employ limestone pillars or stacked slate columns to anchor the gate, providing a sense of permanence and weight. These structures should be flanked by transitional planting zones that move the eye from the height of the pillars down to the surrounding grade. This is achieved through elevation layering, placing tally canopy trees in the background, medium-sized shrubs in the mid-ground, and low-growing perennials near the driveway edge.
Visual balance is further maintained by how you conceal the technical components. The solar panel itself should be mounted on a black powder-coated steel bracket and positioned to face south, yet it can be partially screened from the primary driveway view using wispy ornamental grasses. Strategic walkway placement should allow for technician access to the control box without trampling delicate groundcover. Furthermore, the use of decomposed granite or river rock around the base of the gate posts prevents soil splashing during heavy rains, keeping the internal gears and limit switches cleaner over time. Irrigation planning is critical here; spray heads must be directed away from the gate electronics to prevent moisture ingress, utilizing drip emitters for nearby plants instead.
Plant and Material Selection
The choice of plant material around a gate determines how much maintenance the homeowner will face. Fast-growing species may quickly obstruct the infrared safety sensors, while plants with aggressive root systems can heave the concrete footings of the gate posts.
| Plant Type | Sun Exposure | Soil Needs | Water Demand | Growth Speed | Maintenance Level |
| :— | :— | :— | :— | :— | :— |
| Emerald Green Arborvitae | Full Sun | Well-drained | Moderate | Medium | Low |
| Dwarf English Boxwood | Partial Shade | Loamy/Rich | Low | Slow | High (Trimming) |
| Blue Oat Grass | Full Sun | Sandy/Dry | Very Low | Medium | Very Low |
| Creeping Thyme | Full Sun | Gritty | Low | Fast | Low |
| Lavender (Munstead) | Full Sun | Alkaline | Low | Medium | Moderate |
| Japanese Yew | Shade/Partial | Moist/Rich | Moderate | Slow | Low |
Implementation Strategy
The installation process begins with a comprehensive site survey to determine the sunlight hours available at the gate location. Most solar systems require at least 6 hours of direct sunlight to maintain the 12V deep-cycle battery. Once the location is vetted, the first step is the excavation for the gate posts. Dig holes to a depth of at least 36 inches, or below the local frost line, to prevent seasonal heaving. Use a high-strength concrete mix to set the posts, ensuring they are perfectly level. While the concrete cures, focus on the landscape grading. Create a slight swale that directs water away from the gate track or pivot points to prevent pooling near the electric motor.
Next, mount the Solar Powered Gate Openers according to the manufacturer specifications. Use a cordless impact driver and stainless steel lag bolts for a secure attachment to the posts. When wiring the solar panel to the control board, use 16-gauge outdoor-rated wire and house it in UV-resistant PVC conduit if any part of the run is exposed. For the surrounding ground, lay down a geotextile weed barrier before applying a 3-inch layer of hardwood mulch or 3/4-inch crushed basalt. This suppresses weeds that could interfere with the gate’s swing path. Finally, install the low-voltage landscape lighting along the approach. LED path lights can be synced to the gate’s movement or set on a timer to illuminate the keypad and entrance area at dusk.
Common Landscaping Failures
One of the most frequent errors in gate installations is the failure to account for root expansion. Planting a Willow or Silver Maple too close to the driveway will eventually lead to the displacement of the concrete pad or the gate’s underground sensors. Another significant issue is improper drainage. If the area around the gate is the lowest point of the property without a proper drainage pipe or French drain, the control box and battery housing will be subjected to excessive humidity, leading to premature board failure.
Soil compaction is another silent killer of landscape aesthetics around new gates. Heavy machinery used during the installation of the gate posts often packs the earth so tightly that oxygen cannot reach the roots of nearby plants. Always use an aeration tool after construction and supplement the soil with organic compost to restore tilth. Lastly, many DIY installers forget the “swing clearance.” As plants mature, their horizontal spread can trigger the auto-reverse mechanism of the gate, causing it to stall. Always research the mature width of shrubs and plant them at a distance of at least 1.5 times their maximum radius from the gate’s path.
Seasonal Maintenance
Landscape management around a solar gate changes with the seasons. In the spring, the primary focus is on the battery health and pruning. After a dark winter, check the voltmeter readings on your system to ensure the battery is holding a charge. Prune back any winter die-back from your Boxwoods or Arborvitae to keep the sightlines clear. This is also the time to refresh the mulch to keep the soil cool as temperatures rise.
Summer requires vigilant irrigation monitoring. Ensure that your automatic sprinklers are not hitting the solar panel, as mineral deposits from hard water can etch the glass and reduce its efficiency by up to 30 percent. During autumn, leaf removal is the priority. Fallen leaves can accumulate in the gate’s hinges or block the photo-eye sensors, preventing the gate from closing. Use a leaf blower to clear the driveway transition zone regularly. In winter, especially in colder climates, keep the solar panel clear of snow and ice using a soft-bristled brush. If the temperature drops significantly, check that the grease in the gate hinges is rated for low temperatures to prevent the solar-powered motor from straining against the cold.
Professional Landscaping FAQ
How do I choose the right solar panel location?
Place the panel in a spot receiving maximum southern exposure. Ensure no trees or structures cast shadows between 10:00 AM and 3:00 PM. Use a 20-foot extension cable if the gate itself is shaded by heavy tree canopies.
Can I use any battery for my solar gate?
No, you must use a Deep-Cycle Marine or AGM battery. These are designed for repeated discharge and recharge cycles. A standard automotive battery will fail quickly under the constant draw of the gate opener’s control board.
How do I prevent weeds from growing under the gate?
Install a concrete mow strip or a steel edging border filled with river rock. Underlay this with a professional-grade landscape fabric. This provides a clean look and prevents vegetation from interfering with the gate’s bottom edge.
Will the gate opener work during a week of rain?
A properly sized 10-watt or 20-watt solar panel paired with a healthy 35 amp-hour battery should provide enough reserve power for 15 to 20 cycles per day for several days of overcast weather.
How often should I trim plants near the sensors?
Inspect the area every mid-season. Focus on fast-growing ornamental grasses or “volunteers” like weeds that might reach the 12-inch height of the infrared beams. Use bypass loppers for clean cuts that promote plant health.