
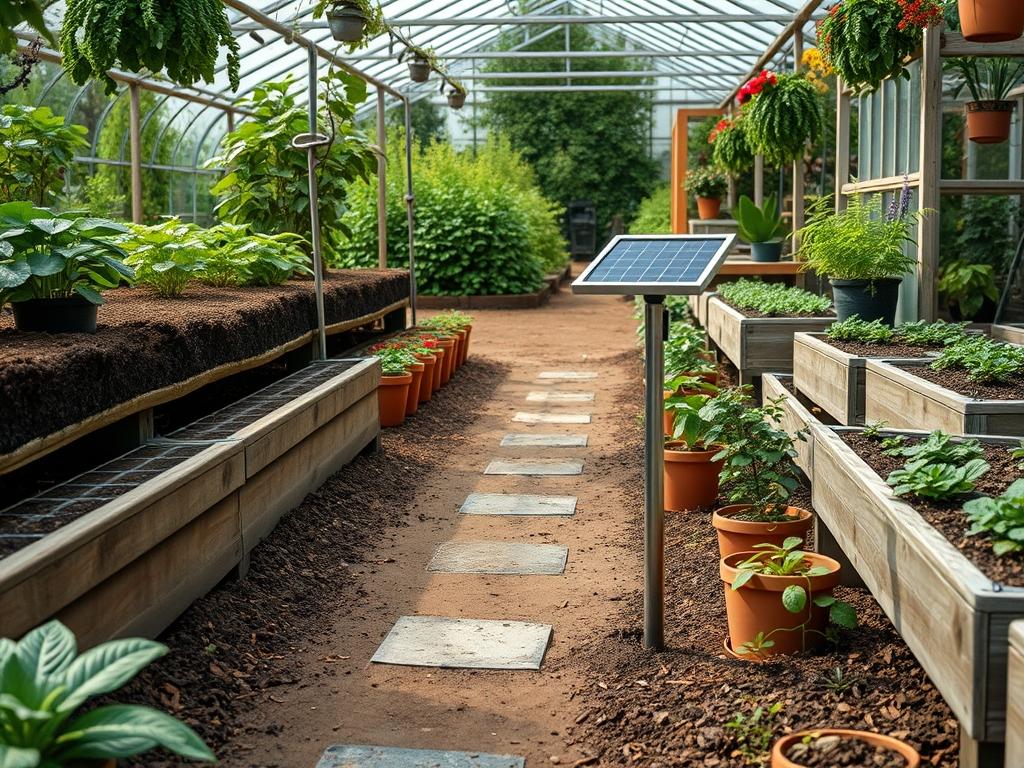
Navigating a landscape after sunset requires more than just a flashlight or a porch light; it requires a deliberate orchestration of light and shadow that ensures safety while enhancing the aesthetic character of the property. For a landscape architect, the transition from daylight to evening represents a critical design phase where the architectural features of the home and the organic lines of the garden must remain legible. Integrating solar path markers into a professional design scheme addresses the dual challenge of functionality and curb appeal without the intensive labor and cost associated with high voltage electrical trenching. However, achieving a professional result involves understanding the nuances of light temperature, placement geometry, and the fluctuating nature of solar energy collection across different microclimates.
Effective outdoor lighting is far more than a luxury; it is a fundamental component of site safety and spatial navigation. When we evaluate a residential or commercial site, we look at how the eye travels along a walkway or towards an entrance. Poorly placed lighting can create glare that blinds the visitor, while insufficient lighting leaves dangerous gaps in visibility over grade changes or near water features. Solar path markers offer a sustainable, low impact solution that can be adjusted as the landscape matures. By mastering Solar Path Marker Basics, a designer can guide the visitor through the outdoor environment, highlighting the interplay between hardscaping and vegetation while maintaining a cohesive nighttime atmosphere.
Landscape Design Principles
In the realm of professional landscaping, lighting is used to reinforce the core principles of symmetry and visual balance. When placing path markers, avoid the temptation to arrange them in perfectly straight, equidistant lines like an airport runway. This approach often feels sterile and disrupts the organic flow of the garden. Instead, utilize a staggered or zigzag pattern that bounces light across the path, widening the perceived space and creating a softer, more inviting journey. This technique also helps to define the edges of planting beds, providing a subtle boundary between the walking surface and the botanical elements.
Focal points are equally essential when planning your lighting layout. A solar marker should not just exist to light the ground; it can be positioned to wash light onto a specific plant, a boulder, or a piece of garden art. Elevation layers play a significant role here as well. By varying the height of your lighting fixtures, you can create a sense of depth. Low profile markers are excellent for highlighting texture in groundcovers, while slightly taller bollard style solar lights can define the structure of mid level shrubbery. This layered approach prevents the landscape from looking flat or two dimensional once the sun sets, ensuring that the garden retains its architectural integrity throughout the twenty four hour cycle.
Walkways must be planned with a clear understanding of traffic patterns and irrigation proximity. When designing a path, consider the width required for two people to walk side by side, typically 36 to 48 inches. The lighting should provide a consistent level of illumination across this width without being obstructed by overhanging foliage. Furthermore, irrigation planning must account for the placement of these markers. Ensure that sprinkler heads are not spraying directly onto the solar panels, as mineral deposits from hard water can significantly reduce the efficiency of the photovoltaic cells over time.
Plant and Material Selection
The success of a lighted landscape depends heavily on the botanical backdrop. Plants should be selected not only for their daytime beauty but for how their textures and colors respond to low level illumination. Silver foliage or white blooms, for instance, reflect light more effectively than dark green or purple varieties, making them ideal companions for solar path markers.
| Plant Type | Sun Exposure | Soil Needs | Water Demand | Growth Speed | Maintenance Level |
| :— | :— | :— | :— | :— | :— |
| Silver Falls | Full Sun | Well Drained | Moderate | Fast | Low |
| White Carpet Phlox | Full Sun | Sandy/Loam | Low | Moderate | Moderate |
| Blue Fescue | Full Sun | Lean/Dry | Low | Moderate | Low |
| Hostas (Variegated) | Part Shade | Rich/Moist | Moderate | Slow | Low |
| Boxwood (Dwarf) | Full to Part Sun | Loamy/Neutral | Moderate | Slow | High |
Selecting the right materials for the path itself is just as critical. Natural flagstone, decomposed granite, and interlocking pavers each interact with light differently. Darker materials like slate may absorb more light, requiring markers with a higher lumen output to maintain visibility. Conversely, lighter gravels reflect light back up, allowing for subtle, lower wattage fixtures that prioritize ambiance over sheer brightness.
Implementation Strategy
Planning a garden layout requires a systematic approach that begins with the ground itself. Grading is the first priority; ensure the site slopes away from the home at a minimum 2 percent grade to prevent water from pooling around the base of your markers or hardscaping. Once the grade is established, use string lines and marking paint to outline the path and the intended locations for each solar unit. This allows you to visualize the spacing and ensure that the markers will receive at least 6 to 8 hours of direct sunlight daily.
Edging provides the necessary definition between the path and the garden beds. Materials such as steel edging, treated timber, or brick headers help keep mulch and soil contained. When installing your markers, pay close attention to the depth of your mulch layer. A typical 3 inch depth of organic mulch is ideal for moisture retention and weed suppression, but you must ensure the solar panel of the marker sits well above this layer to avoid being obscured by stray pieces of bark or debris.
Drainage must be integrated into the hardscaping phase. If your path consists of non porous materials, consider installing a French drain or a gravel filled trench alongside the walkway to manage runoff. During the installation of the markers, use a rubber mallet to set any mounting stakes into the ground, especially if the soil is compacted. For extremely hard soil, it is often necessary to pre drill a hole or soften the area with water to avoid breaking the plastic stakes commonly found on entry level solar fixtures.
Common Landscaping Failures
One of the most frequent mistakes in outdoor lighting is the failure to account for seasonal plant growth. A marker that is perfectly placed in the spring may be completely swallowed by a Hydrangea or a fast growing Ornamental Grass by mid summer. This overcrowding not only hides the light but also prevents the internal battery from charging. Professionals avoid this by researching the mature width of every plant in the design and spacing the markers accordingly, usually leaving a 12 to 18 inch buffer zone between the fixture and the projected drip line of the plant.
Soil compaction and poor drainage are silent killers of landscape projects. When soil is too dense, water cannot penetrate, leading to surface runoff that can dislodge path markers or cause them to lean. Furthermore, standing water around the base of a solar light can lead to seal failure and corrosion of the internal electronics. Always amend heavy clay soils with organic compost or gypsum to improve structure and aeration before finalizing your lighting and planting plan.
Another common failure involves the mismatch of light temperatures. Mixing warm yellow lights with cool blue solar markers creates a jarring visual experience that lacks professional polish. When selecting your path markers, stick to a consistent Kelvin temperature, typically around 2700K to 3000K for a warm, welcoming glow that complements natural wood and stone textures.
Seasonal Maintenance
A professional landscape requires year round attention to remain functional and beautiful. In the Spring, the focus is on cleanup and inspection. Remove any winter debris, prune back dead perennials that might be shading your solar panels, and clean the glass or plastic covers with a damp cloth to remove pollen and dust. This is also the best time to check the alignment of your markers, as the freeze thaw cycle in the soil can often cause them to tilt.
During the Summer, monitoring irrigation is paramount. Ensure that your plants are receiving deep watering, but keep an eye on the solar markers to make sure they aren’t being smothered by aggressive summer growth. In Autumn, falling leaves are the primary obstacle. A single leaf covering a solar panel can prevent the light from functioning that evening. Regularly clear the path and the tops of the markers to maintain maximum efficiency as the days grow shorter.
Winter presents the greatest challenge for solar lighting. With fewer daylight hours and lower sun angles, the batteries may not reach a full charge. In regions with heavy snow, markers should either be cleared after each storm or temporarily removed if they are at risk of being damaged by snow blowers or plows. Check the battery compartments for signs of moisture or corrosion, and replace the rechargeable NiMH or Li-ion batteries every two years to ensure the lights continue to perform through the coldest months.
Professional Landscaping FAQ
How many lumens are needed for path markers?
For standard walkways, markers ranging from 10 to 30 lumens provide sufficient guidance without creating excessive glare. Higher traffic areas or steep grade changes may require fixtures up to 50 lumens to ensure visitor safety and clear visibility of the ground.
Can solar markers work in the shade?
Solar markers require direct sunlight to charge effectively. While some high end models with remote solar panels can function in partial shade, standard markers placed in deep shade will likely fail to illuminate or will only stay lit for a very short duration.
How far apart should I space my lights?
To avoid a runway effect, space markers every 6 to 8 feet. Staggering them on opposite sides of the path creates a balanced wash of light. Adjust the spacing based on the light output and the specific width of your walkway.
Do solar lights work through the winter?
Yes, but their performance decreases due to shorter days and cloudy weather. To maximize winter output, ensure panels are kept free of snow and ice. Position them in areas that receive the highest concentration of winter sun available on your property.
What is the lifespan of a solar path marker?
Quality fixtures can last 5 to 10 years, though the internal rechargeable batteries typically need replacement every 18 to 24 months. Keeping the solar panels clean and preventing water ingress into the housing will significantly extend the life of the unit.