
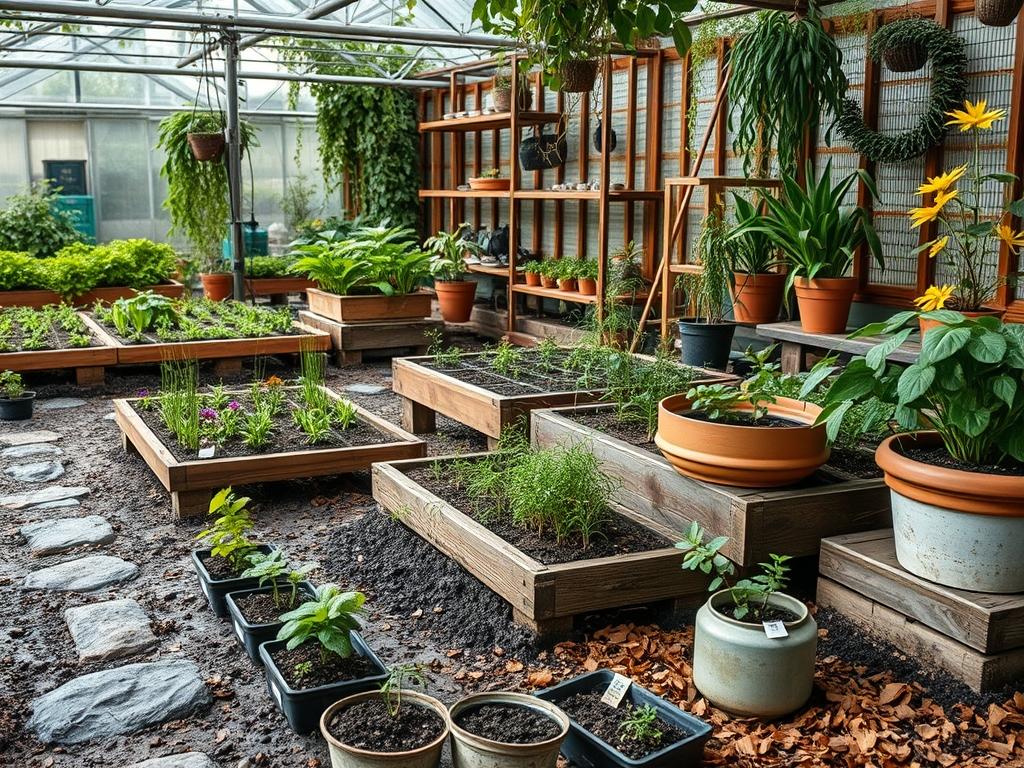
Integrating a detached structure into a residential property requires a sophisticated understanding of spatial dynamics and environmental harmony. The introduction of a backyard studio often presents a dual challenge; the structure must feel accessible from the primary residence while maintaining a sense of secluded destination. Successful backyard studio landscaping begins with a thorough site analysis that accounts for sun path, prevailing winds, and existing topographical features. Climate considerations play a pivotal role here, as the choice of hardscaping materials and plant species must withstand local temperature fluctuations and moisture levels. A well executed landscape plan does more than provide aesthetic value. It increases curb appeal, mitigates stormwater runoff, and defines the functional boundaries of outdoor living zones. By treating the studio as a cohesive extension of the main home rather than a secondary afterthought, homeowners can maximize the utility and market value of their entire property.
Landscape Design Principles
Professional design hinges on the concept of visual hierarchy and balance. Symmetry can be utilized to create a formal, authoritative entrance to a studio, perhaps through the use of mirrored planting beds featuring Boxwood hedges. Conversely, asymmetrical designs offer a more relaxed, organic flow that suits modern or rustic studio styles. Focal points are essential to guide the eye; a well placed Japanese Maple or a sculptural stone water feature can draw the observer toward the studio entrance without making the path feel forced.
Elevation layers are perhaps the most underrated aspect of studio integration. If the studio sits on a slope, the use of Retaining Walls built from Interlocking Concrete Blocks or Natural Fieldstone can create terrace levels that break up the verticality of the landscape. These tiers provide opportunities for varied planting heights, which add depth and texture to the view. Walkways serve as the connective tissue of the design. A path made of Flagstone or Decomposed Granite should be at least 36 inches wide to allow for comfortable passage. Proper Irrigation planning must occur during this design phase to ensure that water lines reach all peripheral beds without saturating the studio foundation. Visual balance is achieved by echoing the architectural lines of the studio in the surrounding hardscape; for example, if the studio features sharp, modern eaves, the use of rectangular Steel Edging and monolithic pavers will reinforce that aesthetic.
Plant and Material Selection
| Plant Type | Sun Exposure | Soil Needs | Water Demand | Growth Speed | Maintenance Level |
| :— | :— | :— | :— | :— | :— |
| Emerald Green Arborvitae | Full Sun | Well-drained | Moderate | Medium | Low |
| Feather Reed Grass | Full/Partial Sun | Loamy/Moist | Low | Fast | Low |
| Japanese Forest Grass | Shade/Partial Shade | Rich/Humus | Moderate | Slow | Medium |
| Star Jasmine | Full/Partial Sun | Fertile/Light | Moderate | Fast | Medium |
| Dwarf English Boxwood | Full/Partial Sun | Neutral pH | Low | Slow | High (Pruning) |
| River Birch | Full Sun | Acidic/Moist | High | Fast | Low |
Implementation Strategy
The implementation process begins with precise Grading. This is the most critical step in protecting the studio’s structural integrity. The ground should pitch away from the foundation at a slope of at least 2 percent, or roughly a 1-inch drop for every 4 feet of horizontal distance. Once the grade is established, contractors use Marking Paint to outline the beds and paths. If the site suffers from poor drainage, installing a French drain using 4-inch Corrugated Pipe and 3/4-inch Crushed Stone will redirect water to a designated rain garden or municipal drain.
After the infrastructure is in place, the focus shifts to Hardscaping. This involves excavating the walkway paths to a depth of 6 inches, laying down a 2-inch layer of compacted Crushed Rock Base, and topping it with the chosen surface material. Edging is then installed to contain the materials and define the transition between lawn and garden. When it is time to plant, the holes should be dug twice as wide as the root ball but no deeper. This encourages lateral root growth. Once the plants are set, a layer of Hardwood Mulch should be applied at a depth of 3 inches. This mulch serves as a moisture barrier and a weed suppressant; however, it must be kept several inches away from the stems of plants to prevent fungal rot. Finally, the installation of Low-Voltage LED Lighting along the pathways ensures that the studio remains accessible and safe after sunset.
Common Landscaping Failures
The most frequent error in backyard studio landscaping is improper Drainage management. When a new structure is built, it changes the way water moves across the land. Failing to account for roof runoff via Gutter Downspouts can lead to basement flooding or soil erosion. Another common mistake is root overcrowding. Homeowners often plant Fast-Growing Privacy Screens too close to the studio walls. While this provides immediate privacy, the aggressive root systems of trees like Leyland Cypress can damage foundations and plumbing over time.
Improper spacing is not just a root issue. It also affects the health of the foliage. Plants placed too close together lack adequate airflow, which invites pests and powdery mildew. Soil compaction is another silent killer. During the construction of the studio, heavy machinery often packs the earth so tightly that oxygen and water cannot reach the roots of legacy trees. Aerating the soil with a Mechanical Core Aerator after construction is necessary to restore soil health. Lastly, irrigation inefficiencies often result from a “one-size-fits-all” approach. Tree zones and perennial zones have vastly different requirements. Mixing them on a single valve often leads to overwatered flowers and underwatered trees.
Seasonal Maintenance
Spring is the season for revitalization and preparation. This is when gardeners should apply a Pre-emergent Herbicide to prevent weed seeds from germinating in the mulch beds. It is also the ideal time for Core Aeration of the lawn and the application of a balanced Granular Fertilizer. As the weather warms into Summer, the focus shifts to moisture management. Deep, infrequent watering is superior to light, daily misting because it encourages deep root systems. Mulch levels should be checked and replenished to maintain that 3-inch protective barrier against the heat.
Autumn is the prime window for planting new trees and shrubs. The cooler air and warm soil provide the perfect environment for root establishment before the winter freeze. It is also the time to prune deciduous trees and remove any dead or diseased wood. In Winter, the landscape management goals are protective. In regions prone to heavy snow, sensitive evergreens should be wrapped in Burlap to prevent windburn and salt damage. Additionally, clearing debris from Drainage Pipes and Catch Basins ensures that the winter thaw does not result in localized flooding around the studio foundation.
Professional Landscaping FAQ
How do I ensure privacy for my studio without building a high fence?
Utilize a layered planting strategy. Combine tall Evergreen Trees for year-round screening with mid-level deciduous shrubs and low-profile perennials. This creates a soft, natural green wall that feels much more expansive and intentional than a standard wooden privacy fence.
What is the best way to manage heavy rain runoff from the studio roof?
Install a French Drain or a dry creek bed lined with River Rock. Direct the downspouts into these features to slow the water velocity and allow it to percolate into the soil naturally away from the studio foundation.
Which materials work best for a low-maintenance studio walkway?
Large-Format Concrete Pavers or Permeable Stone Slabs are excellent choices. They require very little upkeep compared to gravel, which needs regular raking, or wood decking, which requires staining. Ensure the base is properly compacted to prevent shifting over time.
Can I plant large trees near my studio foundation?
It is generally discouraged. Large trees should be planted at a distance equal to at least half their projected mature canopy width. For closer proximity, choose smaller ornamental species with non-invasive root systems to avoid structural interference and clogged pipes.
Does backyard landscaping increase the overall value of my property?
Yes, professional landscaping can increase property value by up to fifteen percent. A studio that is seamlessly integrated into a lush, private garden offers a high-end feel that appeals significantly to buyers seeking multi-functional outdoor living spaces.