
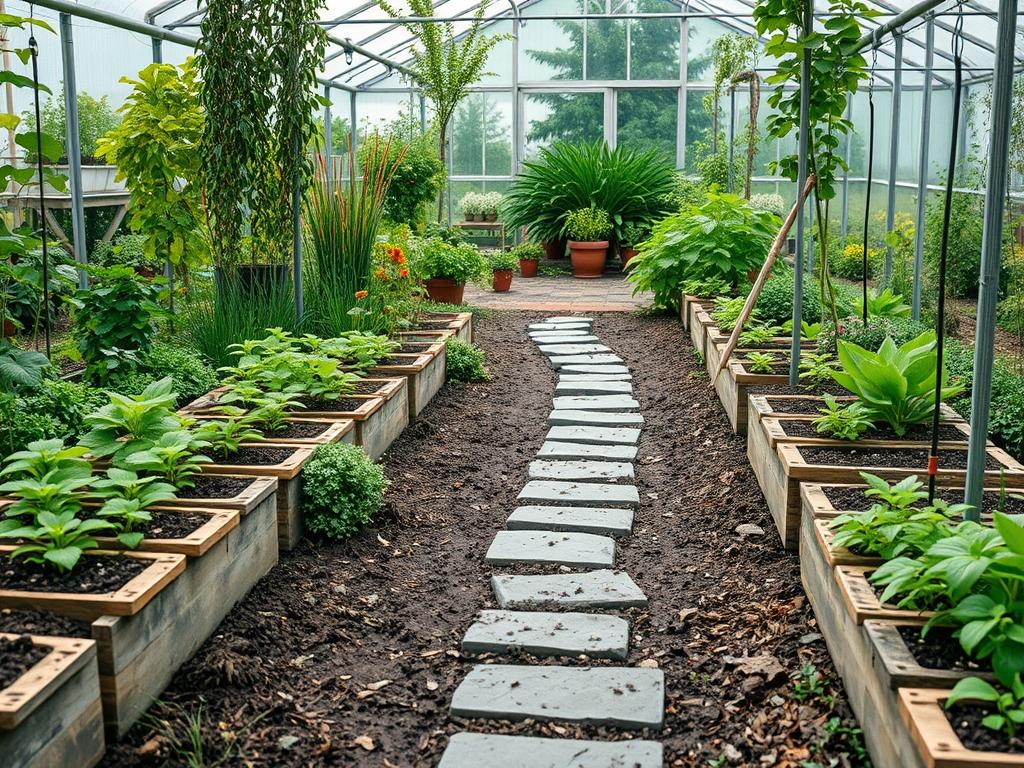
Designing a garden pathway transitions from an aesthetic exercise to a technical necessity when safety becomes the primary objective. As a landscape architect, I look at paths as the circulatory system of the outdoor environment. If these arteries are poorly planned, the entire landscape loses its functionality and accessibility. Homeowners often focus on the floral appeal of their gardens while neglecting the physical foundation of the walk, which leads to hazards during inclement weather or after dusk. A well-designed path must account for local climate conditions, such as high rainfall leading to slick surfaces or freeze-thaw cycles that heave pavers. Improving visibility and safety involves a multi-layered approach that integrates material science, lighting technology, and horticultural management. By addressing these factors, you enhance the curb appeal of the property and ensure that every transition from the driveway to the patio is intuitive and secure.
Landscape Design Principles
Effective garden planning balances symmetry with practical movement. In a formal landscape, straight paths and mirrored planting beds create a sense of order, but they require precise execution to prevent visual monotony. For informal or cottage-style gardens, curved paths offer a naturalistic flow. However, every curve must be wide enough to accommodate foot traffic, typically requiring a minimum width of 36 inches for single-file walking or 48 inches for two people side-by-side.
One critical principle is the management of elevation layers. When a path encounters a slope, the transition must be handled through gradual grading or the installation of retaining walls and steps. Safety dictates that any change in elevation exceeding 0.5 inches should be highlighted through a change in material texture or integrated lighting. Visual balance is achieved by placing focal points, such as a large ceramic urn or a specimen tree like a Japanese Maple, at the end of a sightline. This encourages the eye to follow the path, naturally guiding the pedestrian through the space. Furthermore, irrigation planning should ensure that rotor heads and oscillating sprinklers do not spray directly onto the walkway. Constant saturation of stones or concrete promotes the growth of algae and moss, which creates a significant slip risk.
Plant and Material Selection
Choosing the right components for your pathway involves evaluating the local environment and the intended frequency of use. Low-growing, non-invasive plants should border the path to prevent tripping hazards.
| Plant Type | Sun Exposure | Soil Needs | Water Demand | Growth Speed | Maintenance Level |
| :— | :— | :— | :— | :— | :— |
| Liriope muscari | Full Sun to Shade | Well-Drained | Moderate | Medium | Low |
| Thymus serpyllum | Full Sun | Sandy/Rocky | Low | Fast | Low |
| Dwarf Boxwood | Partial Sun | Loamy | Moderate | Slow | Medium |
| Carex oshimensis | Partial Shade | Moist | High | Medium | Low |
| Blue Star Creeper | Full Sun | Rich/Moist | Moderate | Fast | Medium |
| Ophiopogon planiscapus | Sun to Shade | Neutral | Moderate | Slow | Low |
For the pathway material itself, the choice between flagstone, decomposed granite, and interlocking pavers depends on the desired permeability and grip. Textured concrete or honed sandstone provides excellent traction even when wet. If using loose aggregate like pea gravel, it is essential to install a stable sub-base to prevent the stones from shifting underfoot, which can lead to instability for those with mobility issues.
Implementation Strategy
The construction of a safe pathway begins with proper site preparation. Start by marking the site with layout strings and marking paint to visualize the flow. Excavate the area to a depth of at least 6 inches to allow for a proper foundation. The first layer should consist of 4 inches of crushed limestone or road base, which must be compacted using a plate compactor or a hand tamper. This solid base prevents the path from sinking or shifting over time.
Once the base is set, install heavy-duty steel edging or plastic paver restraints along the perimeter. This edging keeps the materials contained and prevents soil and mulch from spilling onto the walking surface. For the surface layer, if using pavers, apply a 1 inch layer of bedding sand before laying the units. For visibility, integrate low-voltage LED lighting throughout the implementation phase. Use path lights with a bollard design to cast light downward, illuminating the ground without creating glare. Step lights should be recessed directly into any vertical risers to clearly define changes in elevation. Finally, ensure the path has a slight cross-slope of roughly 2 percent to allow water to drain away from the center, preventing puddles.
Common Landscaping Failures
Many safety issues arise from common installation errors. One of the most prevalent is improper drainage planning. When water is allowed to pool on a path, it degrades the structural integrity of the base and creates a drowning hazard for nearby low-lying plants. Another frequent mistake is root overcrowding. Planting large tree species like Acer saccharum too close to a walkway will eventually result in root heave, where the powerful root system lifts the hardscaping, creating dangerous trip points.
Improper spacing of path lights is also a regular failure. Placing lights too far apart creates “hot spots” of bright light followed by deep shadows, which confuses the eye and makes it difficult to judge the terrain. Furthermore, the use of organic mulch like wood chips in high-traffic areas can be problematic. Over time, this mulch breaks down into slippery organic matter or gets tracked onto the path, reducing the friction of the walking surface. Lastly, failing to use polymeric sand in the joints of a stone path allows weeds to take root. These weeds can eventually displace the stones, leading to an uneven and hazardous surface.
Seasonal Maintenance
Maintaining pathway safety is a year-round commitment. In the spring, inspect the entire length of the walk for any shifting caused by the winter frost. Check all irrigation valves to ensure they are not leaking onto the path. During the summer, focus on pruning overhanging branches and aggressive groundcovers that may obstruct the walking width. Use bypass pruners to keep the path clear at shoulder height to prevent eye injuries.
Autumn requires diligent leaf removal. Wet leaves on a stone or concrete path are as slippery as ice and can hide underlying obstacles or holes. Use a leaf blower or stiff-bristle broom to keep the surface clear. In the winter, avoid using harsh rock salt on natural stone or specialty concrete, as it can cause pitting and scaling. Instead, use calcium chloride or a simple coarse sand to provide traction without damaging the materials. Regularly check the transformer for your outdoor lighting system to ensure all bulbs are functioning during the shortest days of the year.
Professional Landscaping FAQ
How can I make my path safer for elderly guests?
Prioritize a wide, level surface using non-slip pavers. Ensure the path is well-lit with 3000K LED lights to provide high contrast. Avoid loose gravel, which is difficult for walkers or canes to navigate safely.
What is the best way to prevent weeds on a path?
Use a professional-grade landscape fabric beneath the base material. For paver paths, fill the joints with polymeric sand, which hardens when misted with water to create a durable, weed-resistant seal between the stones.
How do I light a path without it looking like a runway?
Stagger your path lights on alternating sides of the walkway rather than placing them in straight, parallel lines. Use down-lighting from nearby trees to create a soft, moonlight effect that complements the ground-level fixtures.
What should I do if my flagstone path is slippery?
Apply a slip-resistant sealer designed for natural stone. These products contain fine transparent aggregates that increase surface friction without altering the appearance of the stone. Regularly power wash to remove any accumulated biofilm or algae.
How deep should my path edging be?
The edging should extend at least 4 inches below the surface to prevent the roots of lawn grass from creeping into the path. It should sit approximately 1 inch above the path surface to contain mulch effectively.