
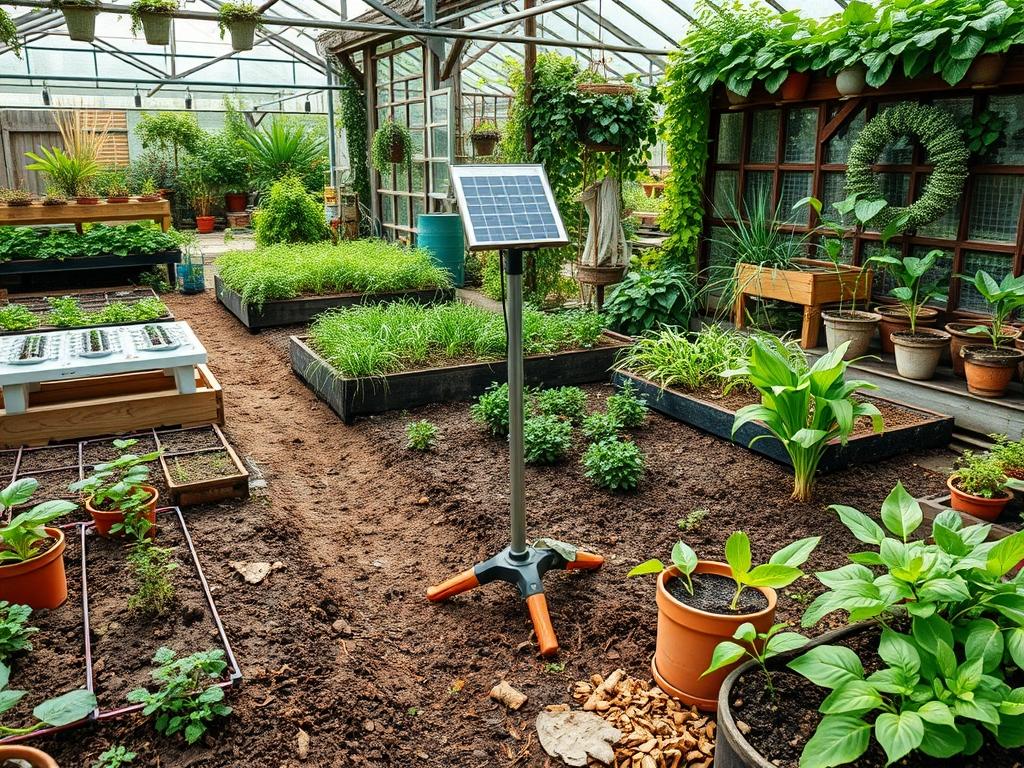
Establishing a cohesive outdoor environment requires more than just a variety of colorful flora; it necessitates a deep understanding of how light and structure interact after the sun sets. For many homeowners, the challenge lies in balancing aesthetic appeal with functional navigation. Professional landscape architecture often utilizes layered lighting to create depth, but traditional wired systems involve significant trenching and electrical costs. This is where mastering Solar Garden Stake Basics becomes essential for a modern, sustainable flower bed. Solar technology allows for a versatile, low impact installation that enhances curb appeal while ensuring safety along pathways. Whether you are dealing with a humid subtropical climate or a high desert environment, the strategic placement of these fixtures can define the perimeter of your living space and highlight the architectural textures of your home facade without increasing your monthly energy bill.
Landscape Design Principles
Effective landscape design relies on the core concepts of symmetry, focal points, and elevation layers. When integrating lighting into a flower bed, the primary goal is to guide the eye through the garden in a logical sequence. Symmetry does not always mean a mirror image, rather it refers to the visual weight of the elements. If you place a large Japanese Maple on one side of a walkway, you might balance it with a cluster of medium sized shrubs and three or four LED solar stakes on the opposite side. This creates a sense of equilibrium that feels intentional and professional.
Focal points are the stars of your garden. A stone fountain, a decorative boulder, or a specimen plant like a Yucca or Hydrangea should be the primary destination for the eye. Solar stakes with a higher lumen output, typically labeled as spotlights, can be used to up light these features. This technique adds verticality to the landscape, making the garden feel larger than its physical dimensions.
Elevation layering involves categorizing plants by height: groundcovers, mid level perennials, and tall background shrubs. Your lighting should follow this same logic. Path lights sit at the lowest level, usually standing 12 inches to 18 inches tall, while taller decorative stakes might peek through the mid level foliage. This creates a multidimensional glow that prevents the garden from looking flat at night. Furthermore, integrating these lights near walkways serves a dual purpose of safety and artistic expression, ensuring that steps and transitions in grading are visible to guests.
Plant and Material Selection
The success of a lighted flower bed depends heavily on the botanical backdrop. Plants with silver or variegated foliage reflect light better than dark green leaves, making them ideal companions for solar fixtures. Below is a selection of plants that work cohesively with integrated garden lighting.
| Plant Type | Sun Exposure | Soil Needs | Water Demand | Growth Speed | Maintenance |
| :— | :— | :— | :— | :— | :— |
| Lavender | Full Sun | Well Drained | Low | Moderate | Prune Yearly |
| Hostas | Partial Shade | Loamy | Medium | Fast | Divide Every 3 Years |
| Blue Fescue | Full Sun | Sandy/Poor | Low | Slow | Minimal |
| White Roses | Full Sun | Rich Organic | High | Moderate | Regular Deadheading |
| Star Jasmine | Full/Part Sun | Adaptable | Medium | Fast | Regular Trimming |
| Boxwood | Full/Part Sun | Well Drained | Medium | Slow | Structural Pruning |
When selecting materials for the flower bed itself, consider the texture of the natural cedar mulch or crushed granite. Darker mulches absorb more light, while lighter colored stones like white marble chips will bounce the light from your solar stakes upward, creating a soft ambient glow.
Implementation Strategy
Planning a backyard layout requires a systematic approach to ensure long term stability and health for both your plants and your hardware. Begin by assessing the grading of your site. If the flower bed sits at the base of a slope, you must address drainage before installing any fixtures. A French drain or a subtle swale may be necessary to prevent water from pooling around the base of your solar stakes, which could lead to internal corrosion or soil shifting.
Once the grading is managed, define your edges using a half moon edger or landscape timber. Edging provides a clean line between the lawn and the bed, preventing grass from creeping into your light sensors. After the edges are set, determine the placement of your primary plants, leaving sufficient room for their mature width.
When you are ready to install your solar garden stakes, do not simply push them into hard ground. Use a hand trowel or a small auger to create a pilot hole. This prevents the plastic or thin metal poles from snapping. Ensure that the solar panel atop each stake is angled toward the southern sky, if possible, to maximize UV absorption. If you are placing stakes in a shaded bed, look for models with a remote solar panel connected by a thin wire, allowing the collector to sit in the sun while the light remains in the shade. Finally, apply a 3 inch layer of mulch, ensuring it does not touch the stems of the plants or the base of the light sensor.
Common Landscaping Failures
One of the most frequent errors in garden planning is improper spacing, leading to root overcrowding. When plants are packed too tightly, they compete for nutrients and water, but they also eventually grow over your lighting fixtures. A solar stake that was perfectly functional in April may be completely obscured by a Butterfly Bush by July. Always research the mature spread of your plants and place lights at least 12 inches away from the expected drip line of the foliage.
Soil compaction is another silent killer. When soil is packed too tightly from heavy foot traffic or construction, oxygen cannot reach the roots, and water cannot drain. This often occurs when people step into the flower bed to adjust their lights. Use stepping stones or a permanent path to navigate through the bed.
Irrigation inefficiencies also plague many DIY landscapes. Overhead sprinklers often spray directly onto the solar panels of the stakes, leaving behind hard water mineral deposits. These spots block sunlight and reduce the charging capacity of the internal NiMH battery. Professional designs usually utilize drip irrigation systems that deliver water directly to the soil, keeping the foliage and the lighting hardware dry and clean.
Seasonal Maintenance
A professional landscape is not a set it and forget it project. It requires seasonal attention to maintain its peak appearance.
In the Spring, inspect all solar stakes for cracks in the casing or fogging on the lens. Clean the solar panels with a damp microfiber cloth to remove pollen and dust. This is also the time to apply a fresh layer of organic compost and refresh the mulch.
Summer maintenance involves monitoring the growth of the plants. Use hand pruners to trim back any branches that are beginning to shade the solar collectors. Mid summer is also the time to check the brightness of the LEDs; if a light is dim, it may need a new rechargeable battery.
Autumn is the season for debris management. Falling leaves can quickly cover low profile stake lights, rendering them useless. Clear the beds weekly to ensure the sensors can detect the change from day to night. If you live in a region with heavy snow, consider pulling delicate glass stakes indoors before the first hard freeze to prevent the expanding ice from cracking the ornaments.
Winter is the time for structural assessment. With the foliage gone, you can see the bones of your landscape. If the garden looks bleak, you may want to add more evergreen shrubs or reposition your lights to highlight the stark beauty of dormant tree branches. Check the seals on your lights to ensure that melting snow hasn’t seeped into the battery compartment.
Professional Landscaping FAQ
How long do solar garden stakes typically last?
High quality stakes usually last between two and four years. The LED bulb has a long lifespan, but the internal battery and the plastic housing eventually degrade due to UV exposure and moisture.
Can solar stakes be used in freezing temperatures?
Most modern stakes are rated for outdoor use in winter, but extreme cold can reduce the efficiency of the rechargeable battery. Glass components should be monitored for cracks during severe freeze-thaw cycles.
How many lumens are needed for a flower bed?
For soft ambient lighting, 2 to 5 lumens is sufficient. If you are trying to light a path for safety or highlight a specific feature, look for stakes that offer 15 to 30 lumens.
Why are my solar lights flickering?
Flickering is often caused by a dying battery or a loose connection. It can also happen if the light is placed too close to another light source, causing the dusk to dawn sensor to get confused.
Do I need a professional to install these?
No, solar staking is one of the few landscape tasks that remains a DIY project. Because there is no high voltage wiring, the risk is minimal and the installation requires only basic hand tools.