
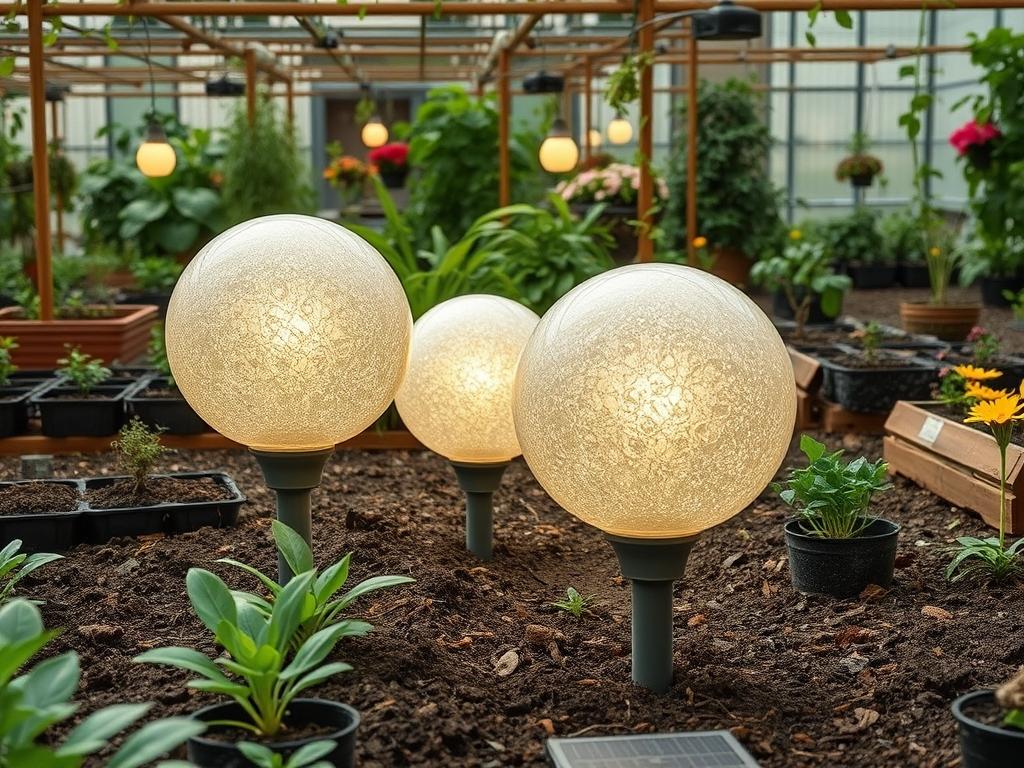
Integrating autonomous lighting into a cohesive landscape design requires a deep understanding of both structural form and functional utility. As architects, we view the outdoor environment as a series of rooms where light serves as the connective tissue between the built environment and the organic world. Selecting the right Solar Garden Globe Lights is no longer just a matter of shopping for a lawn ornament; it is an exercise in managing foot-candles, color temperature, and spatial ergonomics. These fixtures solve the perennial challenge of providing illumination in remote areas of a property where trenching for high-voltage lines would disrupt established root systems or existing hardscaping. High-quality solar globes act as visual anchors that define the perimeter of a space while enhancing curb appeal through a sophisticated, 360-degree glow. When executed correctly, this lighting strategy increases the safety of a property and extends the usable hours of outdoor living spaces regardless of the seasonal shift in daylight.
Landscape Design Principles
Successful lighting design begins with the principle of visual balance and the strategic use of focal points. Solar Garden Globe Lights are unique because their spherical geometry provides a soft, diffused light that contrasts sharply with the linear elements of a modern home or the jagged textures of a xeriscape. When planning your layout, consider symmetry. Placing globes of varying diameters, perhaps 8 inches, 10 inches, and 12 inches, in a staggered cluster creates an organic feel that mimics natural celestial patterns. Alternatively, repetitive placement along a walkway reinforces the architectural lines of the path, guiding the eye toward the primary entrance or a secondary destination like a fire pit.
Elevation layers play a critical role in how light interacts with the landscape. Do not place all your light sources on the ground plane. Using globe lights with adjustable mounting stakes or those designed to float in water features adds a vertical dimension to the design. Irrigation planning must also be synchronized with your lighting placement. Ensure that your rotary sprinklers are not spraying directly onto the photovoltaic panels of the lights, as mineral deposits from hard water can etch the surface and reduce charging efficiency. A well-designed landscape uses light to highlight the transition between different zones, such as the move from a manicured turf area to a dense woodland border.
Plant and Material Selection
The following materials and botanical selections provide a foundation for a resilient, well-lit garden environment.
| Plant Type | Sun Exposure | Soil Needs | Water Demand | Growth Speed | Maintenance Level |
| :— | :— | :— | :— | :— | :— |
| Boxwood (Buxus) | Full Sun to Shade | Well-Drained | Moderate | Slow | Moderate (Pruning) |
| Lavender (Lavandula) | Full Sun | Sandy/Lean | Low | Medium | Low |
| Blue Fescue | Full Sun | Rock/Dry | Low | Medium | Very Low |
| Heuchera (Coral Bells) | Partial Shade | Humus Rich | Moderate | Medium | Low |
| Serviceberry Tree | Full Sun to Part | Acidic/Moist | Moderate | Fast | Low |
| Dwarf Fountain Grass | Full Sun | Adaptable | Low | Fast | Seasonal Cutback |
When selecting materials for the light fixtures themselves, prioritize tempered glass or UV-stabilized polycarbonate for the globes. These materials resist the yellowing and brittleness that often plague cheaper plastic alternatives. The housing should ideally be made of powder-coated aluminum or stainless steel to prevent corrosion from soil contact and moisture.
Implementation Strategy
The transition from a design concept to a physical landscape requires a structured implementation plan. Begin by marking your intended light positions using marking paint or surveyor flags. This allows you to observe the sun’s path across the property for a full day to ensure each location receives at least 6 hours of direct sunlight. Once locations are confirmed, address the grading of the site. Use a leveling rake to ensure the area around the light is slightly elevated to prevent water from pooling at the base of the light stake.
For the surrounding borders, install 14-gauge steel edging to create a crisp line between your planting beds and the lawn. This prevents grass from encroaching on your light fixtures. Dig a hole approximately 6 inches deep for the light stake, backfilling it with a mixture of pea gravel and soil to promote rapid drainage. Apply a 3-inch layer of double-shredded hardwood mulch or decorative river rock around the base. This mulch layer suppresses weeds and retains moisture for nearby plants while providing a clean, professional finish that makes the white or frosted globes pop visually. If you are installing lights on a hard surface like a stone patio, look for globes with flat, weighted bases rather than stakes.
Common Landscaping Failures
One of the most frequent mistakes in outdoor design is failing to account for drainage. If a light fixture sits in a low spot, the constant moisture will eventually breach the seals of the battery compartment, leading to premature failure. Another common error is root overcrowding. When planting a Japanese Maple next to a lighting feature, beginners often forget to account for the tree’s eventual canopy spread. Within three years, the foliage may completely shade the solar panel, rendering the light useless.
Soil compaction is another silent killer of landscape health. When heavy equipment is used during the construction of retaining walls or paver patios, the soil can become as dense as concrete. This prevents oxygen from reaching plant roots and stops water from draining away from your electronic fixtures. Furthermore, watch for irrigation inconsistencies where some areas are over-saturated while others remain bone dry. Always check that your light sensors are not being fooled by other light sources, such as powerful LED streetlights or security floodlights, which can prevent your solar globes from activating at dusk.
Seasonal Maintenance
Landscape management is a year-round commitment. In the spring, focus on cleaning the photovoltaic cells with a soft cloth and a mild detergent to remove the film of pollen and dust that accumulates during the thaw. This is also the time to check the integrity of the rechargeable batteries, typically Lithium-ion or NiMH types, which may need replacement every two years.
During the summer, the primary task is vegetation control. Prune back any aggressive growers like Creeping Jenny or Ivy that might attempt to climb the light stakes. In autumn, clear fallen leaves promptly. A thick layer of wet leaves can create a microclimate of rot around the base of your fixtures and block the sun. For winter maintenance in colder climates, it is often wise to remove the globes if you expect heavy snow drifts that exceed 12 inches, as the weight can snap the stakes. If you leave them out, use a soft brush to clear snow after every storm to allow the units to maintain a charge.
Professional Landscaping FAQ
How do I determine the right lumen output for my globe lights?
For ambient garden paths, choose globes between 50 and 100 lumens. If the light is intended as a focal point or for safety on stairs, look for high-output models that provide 150 to 200 lumens of brightness.
What is the best way to prevent solar lights from leaning over?
Use a post-hole digger to create a deeper pilot hole and backfill it with crushed stone or a small amount of fast-setting concrete. This provides the lateral support necessary to keep the globe perfectly vertical in soft soil.
Can solar globe lights work in shaded gardens?
Most standard solar lights will struggle. However, specialized models with remote solar panels allow you to place the globe in the shade while mounting the charging panel several feet away in a sunny location using a discreet extension wire.
How do I choose between warm and cool light temperatures?
Use 3000K warm white for residential landscapes to create a welcoming, cozy atmosphere. Use 5000K cool white only if you have a very modern, minimalist architecture or need the light for task-oriented security purposes.
Is it better to buy glass or plastic globe covers?
Tempered glass is superior for long-term clarity and weight, which prevents the wind from blowing them over. Polycarbonate is an excellent mid-range alternative if you have children or pets and need a shatter-resistant material for safety.