
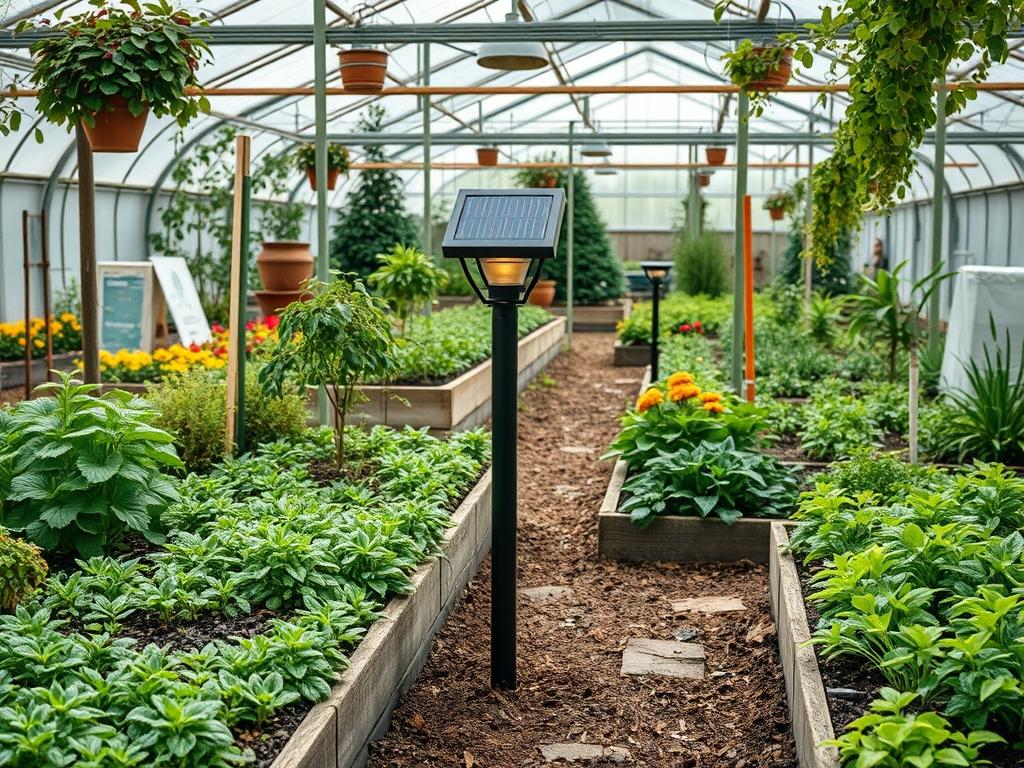
Designing a cohesive outdoor environment requires a delicate balance between structural permanence and the ephemeral qualities of light and shadow. When a homeowner or developer considers the perimeter of a property, the fence serves as the primary boundary, defining the transition between private sanctuary and the public sphere. Integrating Solar Fence Post Lights into this vertical plane transforms a simple barrier into a sophisticated architectural feature. These fixtures provide safety and navigation without the intensive labor and expense of underground high-voltage wiring. However, selecting the right lighting involves more than just aesthetics; it requires a deep understanding of site orientation, local climate patterns, and the specific material science of the fencing itself. A well-planned lighting scheme enhances curb appeal during the “blue hour” and provides a sense of security that traditional, unlit landscapes lack. By focusing on the intersection of photovoltaic efficiency and horticultural design, you can create an outdoor living space that remains functional and inviting long after the sun sets.
Landscape Design Principles
In professional landscape architecture, we prioritize the concept of visual rhythm. When installing Solar Fence Post Lights, the spacing must be intentional. For a standard residential fence, placing a light on every post can sometimes create a “runway” effect that feels overly clinical. Instead, consider skipping one or two posts to create a more rhythmic, alternating pattern. This introduces negative space, which allows the eye to rest and prevents light pollution. Symmetry is another cornerstone of formal landscape design. If your garden features a central focal point, such as a large Japanese Maple or a bespoke water feature, use the fence lights to frame that view. Align the lights so they lead the eye toward the primary interest point, using the fence as a soft-glow backdrop.
Elevation layering is equally critical. Lighting should exist at various heights to avoid a flat, two-dimensional appearance. While post lights act as mid-level ambient markers, they should be complemented by low-voltage path lights and perhaps localized “uplighting” on specimen trees. This hierarchy of light ensures that the entire volume of the yard is legible at night. Furthermore, consider the color temperature of your light sources. For traditional landscapes featuring Cedar or Natural Stone, a warm white light of approximately 3000K is ideal. It enhances the golden hues of the wood and the organic textures of the foliage. In contrast, modern minimalist landscapes with Gray Slate or White Vinyl fencing often benefit from a cooler 5000K light, which provides a crisp, contemporary finish.
Plant and Material Selection
The materials adjacent to your fencing and lighting will dictate the longevity of your investment. Moisture is the primary enemy of both wood posts and electronic components. When selecting plants to grow alongside a fence, consider their mature width and height to ensure they do not eventually shroud the solar panels of your lights. Below is a selection of plants and materials frequently utilized in high-end perimeter designs.
| Plant Type | Sun Exposure | Soil Needs | Water Demand | Growth Speed | Maintenance Level |
| :— | :— | :— | :— | :— | :— |
| Sky Rocket Juniper | Full Sun | Well-drained, sandy | Low (once established) | Fast | Low |
| Green Mountain Boxwood | Full to Partial Sun | Loamy, pH neutral | Moderate | Slow | Medium (Requires pruning) |
| Walker’s Low Catmint | Full Sun | Average, dry | Low | Moderate | Low |
| Limelight Hydrangea | Partial Shade/Sun | Rich, moist | High | Fast | Medium |
| Creeping Fig | Partial Shade | Most types | Moderate | Very Fast | High (Aggressive climber) |
For the fence itself, Pressure-treated Pine is a cost-effective standard, but it requires frequent sealing to prevent warping. Western Red Cedar is naturally rot-resistant and provides a premium aesthetic that pairs beautifully with copper-finished Solar Fence Post Lights. If you prefer low maintenance, Composite or Vinyl fencing offers extreme durability, although you must ensure the post caps are specifically designed for the proprietary dimensions of these manufactured systems, which often measure exactly 4 inches or 5 inches square.
Implementation Strategy
A successful backyard layout begins with meticulous site preparation. Before installing a single post or light, you must address the grading of the land. Water must flow away from the foundation of the house and the base of the fence posts. If the ground is level, consider installing a French drain or a shallow Swale lined with River Rock to manage runoff. Once the grade is established, use a Laser Level to ensure all fence posts are set at a uniform height. Even a 1-inch discrepancy is highly visible once the lights are illuminated in a straight line.
When setting the posts, use a Post-hole Digger to reach a depth below the frost line, which is typically 24 to 36 inches depending on your geographic location. Fill the base of the hole with 3 inches of Pea Gravel to facilitate drainage and prevent the bottom of the post from sitting in standing water. After the fence is secured with Quikrete and the materials have cured, focus on the landscape edging. A clean edge created with a Manual Spade or a Power Edger prevents lawn mowers from bumping into the posts. Apply a 3-inch layer of Hardwood Mulch or Pine Bark to the planting beds. This mulch layer serves three purposes: it suppresses weeds, retains necessary moisture for your Native Plants, and provides a clean visual contrast against the fence and lights.
Common Landscaping Failures
The most frequent mistake in perimeter design is improper spacing that leads to root overcrowding. When homeowners plant large shrubs like Privet or Arborvitae too close to the fence, the root systems can eventually heave the posts out of alignment. This movement will tilt your Solar Fence Post Lights, ruining the level sightline you worked hard to achieve. Leave at least 24 to 30 inches of space between the center of the plant and the fence line.
Another critical failure is ignoring soil compaction. During the construction of a fence or a large landscape project, heavy foot traffic and equipment can compress the soil, destroying its porosity. This leads to “wet feet” for your plants and helps foster an environment where fence posts rot prematurely. To combat this, use a Broadfork or Core Aerator to loosen the soil before planting. Finally, ensure your irrigation system is properly calibrated. Sprinkler Heads should never spray directly onto the fence or the solar light fixtures. Even with an IP65 waterproof rating, constant high-pressure water from an irrigation system can cause mineral buildup on the solar panels, which significantly reduces their ability to charge.
Seasonal Maintenance
Landscape management is a year-round commitment. In the spring, inspect your Solar Fence Post Lights for any cracks in the housing caused by winter freeze-thaw cycles. Clean the solar panels with a soft Microfiber Cloth and a mild soap solution to remove pollen and dust. This is also the time to apply a fresh layer of Pre-emergent Herbicide to your garden beds to prevent weed growth.
During the summer, monitor the growth of climbing vines such as Clematis or Wisteria. While beautiful, these plants can quickly cover your light fixtures, blocking the sun and preventing the Lithium-ion batteries from charging. Prune them back regularly using Bypass Pruners. Autumn requires the removal of fallen leaves from the top of the fixtures, as decaying organic matter can stain the plastic or glass lenses. In the winter, if you live in a region with heavy snowfall, gently brush snow off the panels after every storm. If you notice the lights are staying on for shorter durations, it may be time to replace the internal Rechargeable Batteries, which typically have a lifespan of 12 to 24 months depending on the quality of the unit.
Professional Landscaping FAQ
How many lumens do I need for fence lighting?
For subtle accent lighting, aim for 5 to 10 lumens. If you require the lights for silver-level security or to illuminate a walkway alongside the fence, look for fixtures that provide 15 to 30 lumens per unit.
Will solar lights work in the shade?
Photovoltaic cells require direct UV exposure to charge efficiently. While they can collect some energy on cloudy days or in partial shade, the “run time” will be significantly reduced. For shaded areas, consider a remote solar panel system.
How do I prevent my wooden posts from rotting?
Always use Pressure-treated lumber rated for ground contact. Ensure the top of the concrete footing is sloped away from the post to shed water. Adding a Zinc or Copper post cap beneath the light provides additional protection.
Can I install these lights on vinyl fences?
Yes, most manufacturers offer adapters for vinyl posts. Ensure you measure the outside dimensions of your post accurately, as vinyl posts are often true to size, whereas wood posts are usually 0.5 inches smaller than their nominal description.
What is the best way to clean solar panels?
Use a mixture of distilled water and a drop of dish soap. Avoid abrasive sponges or harsh chemicals, as they can scratch the surface and permanently reduce the light transmission of the panel, leading to poor battery performance.