
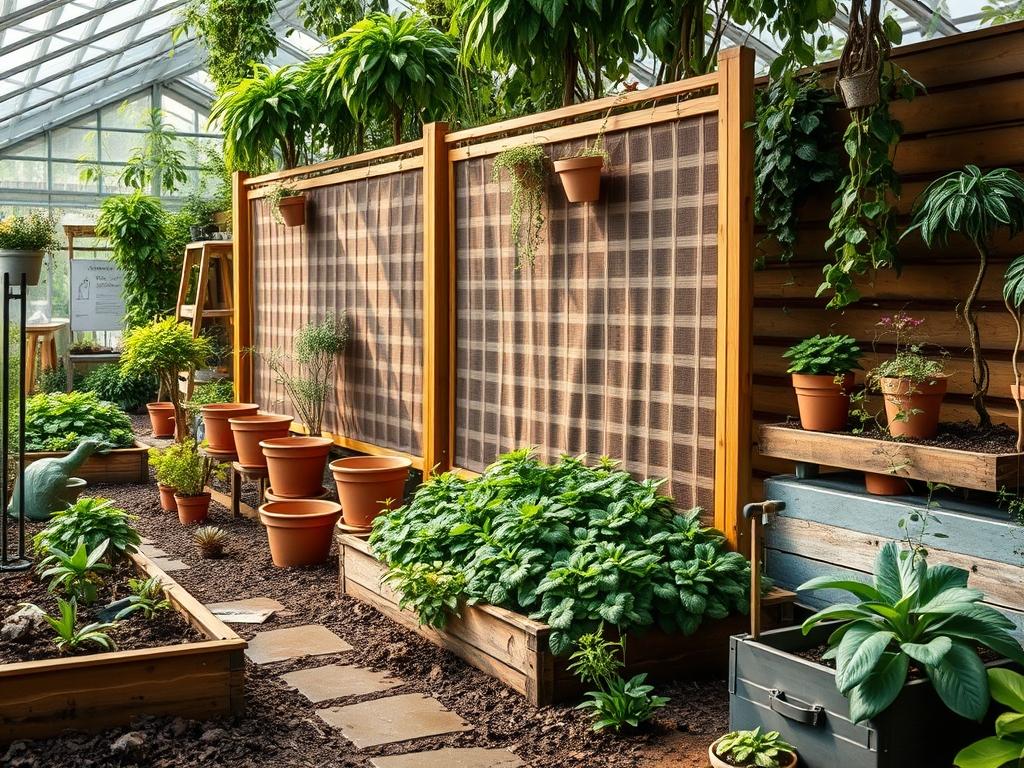
Achieving true seclusion in a modern residential landscape requires more than just a perimeter fence. As urban density increases and the concept of the outdoor room evolves, the demand for sophisticated backyard privacy screen kits has shifted from basic lattice panels to engineered systems that integrate with the overall architectural footprint. These kits now serve as vital components of a site-managed environment, providing wind breaks, acoustic dampening, and visual boundaries that do not compromise the aesthetic value of the property. When planning for 2026, landscape architects are prioritizing materials like Powder-Coated Aluminum, High-Density Polyethylene, and Weathering Steel to ensure longevity against varying climate stressors. The successful integration of these screens depends on a deep understanding of site topography and the physiological needs of the surrounding flora.
Creating a private retreat involves a delicate balance between hardscaping and softscaping. In professional design, we view the backyard as a series of outdoor envelopes where the privacy screen acts as a vertical transition. This approach enhances curb appeal by creating depth rather than a flat wall effect. By utilizing modern screening kits, homeowners can solve complex site challenges such as uneven terrain or unsightly neighboring views while simultaneously increasing the functional square footage of their living space. A well-placed screen doesn’t just block a view; it defines a destination.
Landscape Design Principles
Symmetry and proportion dictate the visual success of any screening installation. When specifying backyard privacy screen kits, we look for ways to align the screen’s geometry with the existing lines of the home. If the residence features massive glass panes and a flat roofline, the screen should mirror those horizontal or vertical motifs. Symmetry does not always mean a mirrored layout; it refers to the calculated distribution of visual weight. For example, a heavy 6-foot by 3-foot metal screen on the left side of a patio can be balanced by a dense cluster of Green Giant Arborvitae on the right.
Elevation layers are another critical design pillar. A single height for all perimeter elements creates a boxed-in feeling that can be claustrophobic. Instead, designers use layering to create a tiered effect. This involves placing a tall screen as the primary backdrop, followed by mid-sized shrubs, and finally low-lying groundcovers. This transition guides the eye and provides a sense of natural immersion. Focal points are then established by using laser-cut patterns within the screens themselves. When backlit with low-voltage LED path lights, these patterns become architectural art pieces during the evening hours.
Functional planning must include irrigation and walkway integration. Screens should never obstruct access to clean-outs or utility meters. Furthermore, we must calculate how the screen will cast shadows throughout the day. A screen installed for privacy near a pool might inadvertently shade a sun-loving plant bed, necessitating a change in the botanical selection. Walkways should lead the inhabitant toward these screened alcoves, using materials like Decomposed Granite or Paver Stones to create a clear sense of transition from the open lawn to the private sanctuary.
Plant and Material Selection
The longevity of a privacy project depends heavily on the compatibility between the hard materials and the biological elements. The following table outlines optimal plant species that complement modern screening kits in diverse conditions.
| Plant Type | Sun Exposure | Soil Needs | Water Demand | Growth Speed | Maintenance Level |
| :— | :— | :— | :— | :— | :— |
| English Yew | Full Sun to Shade | Well-Drained | Moderate | Slow | Medium |
| Skyrocket Juniper | Full Sun | Sandy/Loam | Low | Fast | Low |
| Slender Weaver Bamboo | Full Sun to Part Shade | Rich/Moist | High | Very Fast | High |
| American Arborvitae | Full Sun | Moist/Loam | Moderate | Medium | Low |
| Karl Foerster Grass | Full Sun | Various | Low | Moderate | Very Low |
| Star Jasmine | Full Sun to Part Shade | Fertile | Moderate | Fast | Medium |
When selecting screen materials, Corten Steel is favored for its organic, self-protecting rust patina which blends seamlessly with native grasses. For a more minimalist look, Black Aluminum provides a crisp, maintenance-free border that disappears into the shadows at night.
Implementation Strategy
The implementation of backyard privacy screen kits begins with a precise site survey. You must identify the property lines and any underground utility easements before breaking ground. Start by grading the area to ensure that water flows away from the screen’s footings. Even a slight slope can lead to water pooling, which may destabilize the soil around the support posts over time.
Once the grade is set, use Laser Levels to mark the exact placement of each post. Proper anchoring is non-negotiable for wind safety. For standard kits, we recommend digging holes at least 24 inches deep, or below the local frost line, and securing the posts with High-Strength Concrete. While the concrete cures, focus on the edging. Create a clean border using Steel Edging or No-Dig Poly-Edging to separate the screen base from the lawn.
Drainage is the next priority. Around the base of the screens, install a layer of Geotextile Fabric followed by 2 inches of Clean Crushed Stone. This prevents soil erosion and keeps the screen panels clean from mud splashes during heavy rain. If you are integrating irrigation, run your Drip Lines behind the screens before applying the final layer of mulch. A 3-inch layer of Organic Cedar Mulch is ideal for moisture retention and weed suppression around the base of the accompanying plants. Finally, mount the panels to the posts, ensuring all fasteners are tightened to the manufacturer’s torque specifications to prevent rattling during high winds.
Common Landscaping Failures
The most frequent mistake in privacy screening is the failure to account for drainage. If a screen is installed at the bottom of a slope without a French Drain or bypass system, it acts as a dam. This leads to soil saturation, causing the posts to lean and eventually fail. Additionally, root overcrowding occurs when homeowners plant large species too close to the screen’s foundation. As the root ball expands, it can heave the concrete footings, necessitating a costly tear-out and replacement.
Improper spacing is another common pitfall. Many kits allow for thermal expansion and contraction; if the panels are bolted too tightly without room for movement, they may warp or buckle during the heat of summer. Furthermore, irrigation inefficiencies often arise when rotors are blocked by the screens, leaving the plants behind the panels parched. We recommend using dedicated Micro-Spray or Drip Emitters for each plant zone to ensure even hydration regardless of the screen’s placement. Finally, neglecting soil compaction can lead to poor plant health. Using a Power Auger can sometimes glaze the sides of a planting hole, making it hard for roots to penetrate. Always roughen the edges of the hole before planting.
Seasonal Maintenance
Maintaining a professional landscape requires a rhythmic approach to the four seasons. In the spring, inspect all hardware on your privacy screens. Winter freeze-thaw cycles can loosen bolts and shift footings. This is also the time to apply a slow-release Nitrogen-Rich Fertilizer to your screening plants to encourage new growth. Pruning should be done before the first flush of spring leaves to maintain the desired shape and density.
The summer focus is irrigation management. Monitor the soil moisture at a depth of 4 inches to ensure your plants are surviving the heat. If you have metal screens, occasionally spray them down with water to remove accumulated pollen and dust. In the autumn, clear away fallen leaves from the base of the screens. Trapped organic debris can hold moisture against the frame, leading to premature corrosion or fungal issues in the soil. This is also the ideal time to add a fresh layer of Bark Mulch to insulate roots for the winter.
Winter maintenance is primarily about protection. If you live in an area with heavy snowfall, avoid piling snow against the screen panels, as the lateral pressure can be immense. For evergreen screening plants, use a Burlap Wrap if they are susceptible to winter burn from cold winds. Periodically check that no ice dams have formed in the drainage channels around the base of your hardscaping.
Professional Landscaping FAQ
How deep should I set the posts for a 6-foot privacy screen?
Posts should be anchored at least 24 inches deep. In regions with deep frost lines, extend the footing to 36 inches to prevent heaving. Proper depth ensures the kit remains stable during high wind events and seasonal soil shifts.
Can I install privacy screens on an existing wooden deck?
Yes, but you must ensure the deck framing is reinforced. Use Structural Lag Bolts to attach post bases directly to the joists. Do not rely on the deck boards alone to support the weight and wind load of the panels.
What is the best material for a low-maintenance privacy screen?
Powder-Coated Aluminum is the industry standard for low maintenance. It does not rust, warp, or require staining. Occasional cleaning with mild soap and water is all that is required to maintain its finish for decades in most residential environments.
How do I prevent weeds from growing under my screen kit?
Install a heavy-duty Non-Woven Geotextile Fabric beneath the screen footprint. Cover the fabric with 3 inches of Decorative Stone or Wood Chips. This barrier prevents sunlight from reaching weed seeds while allowing essential water drainage to reach the subsoil.
Will a privacy screen kit reduce noise from neighbors or traffic?
While not soundproof, solid material kits like Composite Wood or thick Polymer Panels provide a noticeable acoustic buffer. To maximize noise reduction, combine the screens with dense evergreen plantings like Leyland Cypress to help scatter and absorb ambient sound waves effectively.