
Designing for constrained outdoor environments requires a fundamental shift in perspective. Instead of viewing a small footprint as a limitation, think of it as a three dimensional puzzle where verticality provides the missing volume. A successful multi-level garden layout transforms a cramped backyard into a sophisticated series of outdoor rooms, each offering a distinct sensory experience and utility. This approach is particularly effective for urban properties or sloped lots where traditional gardening fails to capitalize on the unique topography. By introducing varied elevations, you create the illusion of expansive space while simultaneously addressing practical concerns like water runoff and soil stability. This architectural strategy not only boosts curb appeal but also increases the functional square footage of the home, allowing for dining, lounging, and gardening to coexist within the same small perimeter.
Effective site planning begins with an honest assessment of the microclimates created by your structures. Shadows cast by walls or neighboring buildings will dictate where heat-retaining materials should go and where moisture-loving plants will thrive. In a multi-level garden layout, the transition between tiers serves as the backbone of the design. These transitions can be abrupt, using clean lines for a modern aesthetic, or gradual, using natural slopes for a softer feel. Regardless of the style, the primary objective is to lead the eye upward and through the space, ensuring that no single area feels isolated or neglected.
Landscape Design Principles
Symmetry and balance act as the anchors of a tiered landscape. In a small space, a lack of symmetry can quickly lead to visual clutter, making the garden feel chaotic rather than curated. Using a central focal point, such as a sculptural urn or a small Japanese Maple, provides a destination for the eye on each level. These focal points should be scaled appropriately; a massive fountain in a tiny courtyard overpowers the site, while a tiny pot in a large terrace disappears.
Elevation layers allow for the segregation of activities. The lowest level might feature a high traffic area like a dining patio composed of concrete pavers or natural flagstone. As you move to the second and third tiers, the privacy increases, making these levels ideal for quiet seating or intensive ornamental planting. To connect these layers, walkways should be wide enough for two people to pass comfortably, generally at least 36 inches.
Irrigation planning is arguably the most technical aspect of multi-level design. Water naturally migrates to the lowest point, which can lead to soggy soil at the base and parched earth at the top. To combat this, a zoned drip irrigation system is essential. This allows you to calibrate water delivery based on the specific needs of each tier. High levels usually requires more frequent, shorter watering cycles to penetrate the soil before it runs off, while lower levels benefit from deeper, less frequent applications.
Plant and Material Selection
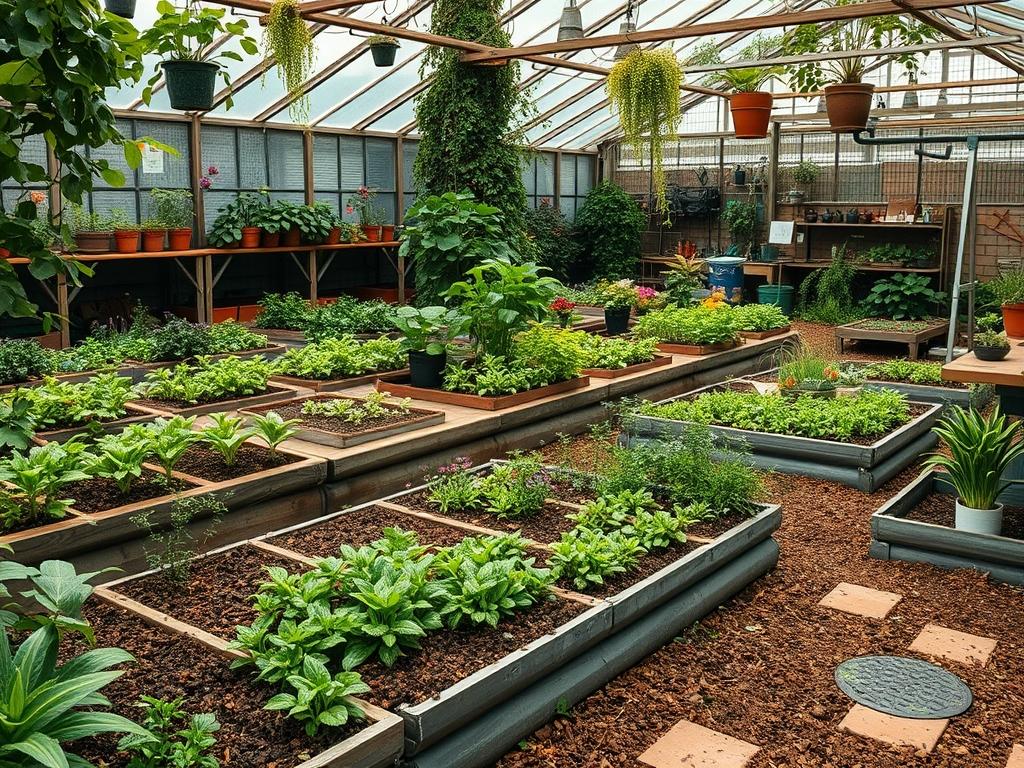
Choosing the right components for a multi-level system involves balancing aesthetic appeal with structural integrity. Materials like pressure treated lumber, corten steel, and stacked stone are preferred for retaining structures because they withstand the constant pressure of wet soil. The plants themselves must be selected based on their growth habits and their ability to provide year round interest without becoming invasive.
| Plant Type | Sun Exposure | Soil Needs | Water Demand | Growth Speed | Maintenance Level |
| :— | :— | :— | :— | :— | :— |
| Japanese Maple | Partial Shade | Well-draining, acidic | Moderate | Slow | Medium |
| Creeping Phlox | Full Sun | Sandy, gritty | Low | Moderate | Low |
| Boxwood Shrub | Full Sun/Part Shade | Loamy, moist | Moderate | Slow | High (Pruning) |
| Fountain Grass | Full Sun | Any, well-draining | Low | Fast | Low |
| English Lavender | Full Sun | Alkaline, dry | Low | Moderate | Medium |
| Blue Star Creeper | Full Sun/Part Shade | Rich, moist | Moderate | Fast | Low |
Implementation Strategy
The transition from a blueprint to a physical garden requires precise execution, starting with grading. You must calculate the “cut and fill” ratio to ensure you are not hauling unnecessary amounts of dirt off-site. For every volume of soil you remove to create a lower level, you should aim to use it as backfill for the upper tiers. Use a laser level and marking paint to establish the height of each retaining wall before the first shovel hits the ground.
Once the levels are carved out, drainage must be the priority. Install a perforated 4 inch pipe wrapped in geotextile fabric at the base of every retaining wall. This is known as a French drain, and it is critical for preventing hydrostatic pressure from collapsing your structures. After the drainage pipes are positioned, backfill with crushed gravel to facilitate water movement.
For the planting beds, use a high quality topsoil blend mixed with organic compost. The depth of your mulch is vital for temperature regulation; a layer of 3 inches of hardwood mulch or pine bark will suppress weeds and retain moisture. When installing edging, ensure it sits at least 2 inches above the soil line to prevent grass from creeping into your ornamental beds. Finally, lay down your hardscaping elements, ensuring that all pavers are set on a compacted sand and gravel base to prevent shifting over time.
Common Landscaping Failures
The most frequent mistake in multi-level layouts is the neglect of weep holes in masonry walls. Without these small openings, water builds up behind the wall, leading to cracks, leaning, and eventual structural failure. Another common issue is improper spacing of plants. In the desire for an instant lush look, homeowners often plant shrubs too close together. Within three years, these plants compete for the same nutrients and light, leading to stunted growth and increased disease susceptibility.
Soil compaction is a silent killer in new landscapes. Heavy machinery used during the construction phase can crush the air pockets in the soil, making it nearly impossible for roots to penetrate. To fix this, use a broadfork or tiller to loosen the earth before planting. Furthermore, irrigation inefficiencies often stem from “overspray,” where water hits the hardscape rather than the plants. This not only wastes water but can cause premature weathering of stone and wood surfaces.
Seasonal Maintenance
Landscape management is a year round commitment that changes with the light and temperature. In the spring, focus on rejuvenation. This is the time to apply a fresh layer of mulch, prune back any winter damage on ornamental grasses, and apply a slow release fertilizer to your perennials. Check your irrigation lines for leaks that may have occurred during the freeze.
During the summer, the emphasis shifts to hydration and pest management. Monitor the soil moisture levels on the upper tiers, as these will dry out significantly faster than the lower levels. Deadheading spent blooms on plants like Lavender or Salvia will encourage a second flush of flowers.
In the autumn, prepare the garden for dormancy. Planting bulbs at this time ensures a vibrant spring display. Clean up fallen leaves, especially from the gravel paths, to prevent them from breaking down into organic matter that fosters weed growth. Finally, in the winter, focus on structural maintenance. This is the best time to prune deciduous trees like the Japanese Maple while they are dormant. Inspect your retaining walls for any signs of movement or erosion caused by heavy rains.
Professional Landscaping FAQ
How do I prevent my tiers from eroding?
Use deep rooted native plants combined with geotextile fabric and sturdy retaining walls. Ensure your drainage pipes are clear and that water is directed away from the face of the slope using swales or catch basins.
What is the best material for small space walls?
Modular concrete blocks or interlocking stones are excellent for small spaces because they require less foundational depth than heavy boulders. Corten steel is also popular for its thin profile and modern, weathered appearance.
Can I build a multi-level garden on a budget?
Yes, by using pressure treated timber instead of natural stone. Timbers are easier to cut and install without specialized machinery. Focus your budget on high quality soil and drainage, as these prevent expensive repairs later.
How do I light a multi-level garden?
Use low voltage LED lighting to highlight the changes in elevation. Path lights should illuminate the stairs, while uplights placed beneath specimen trees add depth. Avoid bright floodlights which flatten the visual layers of the space.
Which plants are best for the top tier?
The top tier is usually the driest. Choose drought tolerant species like Sedum, Yucca, or Ornamental Grasses. These plants handle the increased sun exposure and faster drainage better than moisture loving ferns or hostas found in lower levels.