
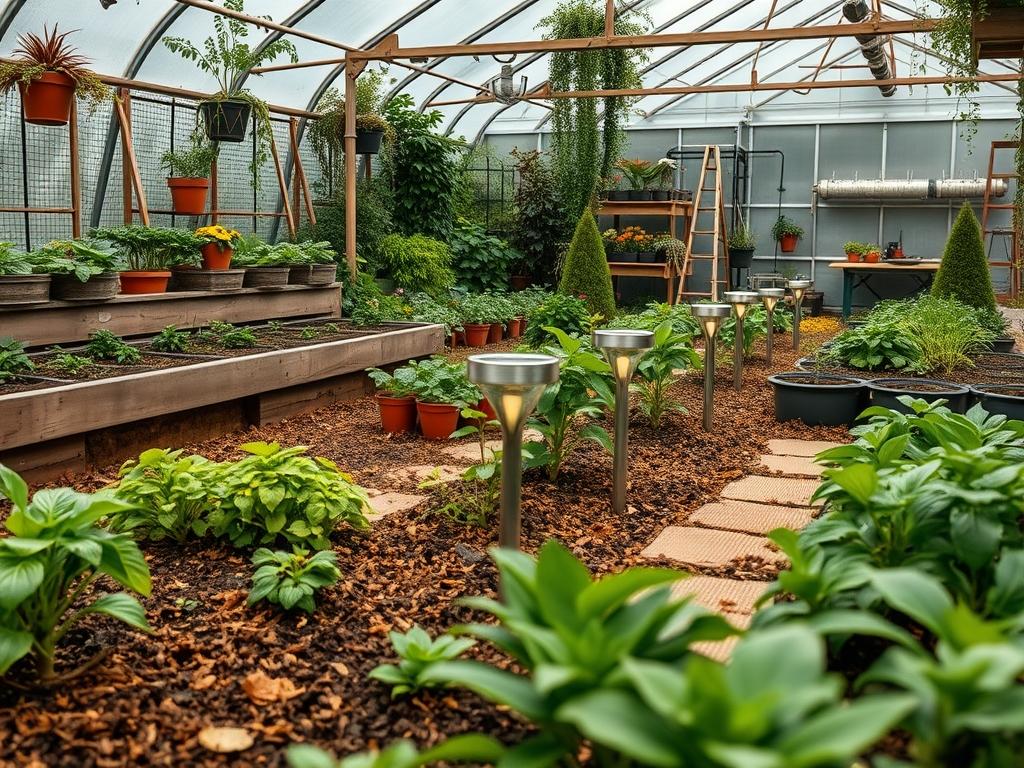
Designing a functional outdoor living space requires a deep understanding of how light interacts with structural elements after sunset. Solar Deck Cap Lights serve as a critical intersection between utilitarian safety and refined aesthetic design. When we approach a professional landscape project, we aren’t just looking at the timber or composite boards; we are managing the movement of people through a space that must remain navigable in low light conditions. Failure to address this leads to dark pockets in the landscape where steps and edges disappear into the night. In climates with varying solar exposure, the selection of high efficiency photovoltaic cells becomes a core component of the architectural plan. Proper lighting increases curb appeal by highlighting the structural lines of the home while ensuring that guests can move from the gravel path to the elevated platform without risk of injury or hesitation. Integrating these fixtures into the initial design phase allows for a harmonious blend of nature and the built environment, where the transition from the flower bed to the seating area is seamless and intuitive.
Landscape Design Principles
A successful deck lighting plan relies on the principles of symmetry and visual balance. In landscape architecture, we use these lights to define the perimeter and establish the vertical elevation of the structure. By placing lights on every other post or every post in a consistent pattern, we create a rhythmic visual flow that guides the eye. This symmetry prevents the deck from looking like a chaotic assembly of glowing points. Instead, it frames the deck as a solid, intentional feature within the larger garden context.
Focal points are equally important. While the primary goal of Solar Deck Cap Lights is safety, they also serve to draw attention to specific architectural details, such as a pergola or a transition point to a stone walkway. This layered approach to elevation ensures that the lighting is not just horizontal. By illuminating the tops of the posts, we provide a sense of height and enclosure that makes the outdoor space feel like a private room. Furthermore, we must plan for how this light interacts with the surrounding landscape. If the deck is adjacent to large evergreens, we must ensure the lighting is bright enough to distinguish the wood from the dark foliage, preventing a “caving in” effect where the garden feels like it is encroaching on the living area.
Plant and Material Selection
When selecting materials for the deck and the surrounding greenery, one must consider how light reflectiveness and growth patterns will impact the performance of your solar fixtures. Darker materials like walnut composite will absorb more ambient light, making the deck caps the primary source of visibility. In contrast, lighter cedar or white PVC railings help reflect the downward light from the caps, increasing the overall luminosity of the footpaths.
| Plant Type | Sun Exposure | Soil Needs | Water Demand | Growth Speed | Maintenance Level |
| :— | :— | :— | :— | :— | :— |
| Boxwood Shrub | Full Sun to Shade | Well-drained, Loamy | Moderate | Slow | Medium |
| Switchgrass | Full Sun | Sandy to Clay | Low | Moderate | Low |
| Lavender | Full Sun | Gritty, Alkaline | Low | Moderate | High (Pruning) |
| Hosta | Partial to Full Shade | Rich, Moist | High | Moderate | Low |
| Creeping Thyme | Full Sun | Well-drained | Low | Fast | Low |
Implementation Strategy
The implementation of Solar Deck Cap Lights begins with a thorough site analysis. Before installation, you must track the sun’s path across your yard to ensure each solar panel on the cap will receive at least six to eight hours of direct sunlight. Even the shadow of a small oak tree limb can significantly reduce the battery’s ability to charge, leading to premature dimming in the evening.
Start by preparing the post tops. Each 4×4 or 6×6 post must be level and free of debris. If you are working with older wood, use a power sander to smooth the surface, followed by a coat of waterproof sealant to prevent moisture from trapping under the new light cap. Once the surface is ready, check the internal battery connection of the light fixture. Most professional grade solar caps come with a pull tab or an internal switch that must be activated before the final mount.
To secure the lights, use stainless steel screws to prevent rusting and staining on the wood over time. If your caps are designed for a friction fit, I still recommend a thin bead of exterior grade silicone adhesive along the inner rim to provide stability against high winds. During this stage, consider the surrounding hardscape. If the deck sits above a retaining wall, the light spill from the caps should ideally illuminate the base of the wall to prevent tripping hazards. Check the alignment using a measuring tape to ensure every cap is centered perfectly, as even a quarter inch of deviation will be noticeable once the lights are active.
Common Landscaping Failures
One of the most frequent mistakes I see in multi level deck designs is the neglect of drainage when installing post accessories. If a light cap is not seated correctly, water can pool at the top of the post, leading to rot that compromises the entire railing system. Another common failure is improper spacing of the lights. Some homeowners place them too close together, creating a runway effect that is visually jarring. Others place them too far apart, leaving hazardous dark gaps on the stairs or near the handrails.
In the surrounding garden, root overcrowding is a silent killer of deck aesthetics. Planting large maple trees too close to the deck footings can lead to soil heave, which throws the deck posts out of alignment over several years. This misalignment will cause your Solar Deck Cap Lights to sit at angles, ruining the symmetrical lines of the architecture. Furthermore, failing to consider the “growing height” of nearby ornamental grasses can lead to the solar panels being shaded out by the very plants intended to beautify the space. Always ensure a minimum of 24 inches of clearance between the top of the post and any overhanging vegetation.
Seasonal Maintenance
Maintenance is what separates a professional landscape from an amateur one. In the spring, your primary focus should be on the cleanliness of the photovoltaic cells. Winter salt, pollen, and dust create a film on the plastic or glass cover that blocks UV rays. A simple wipe down with a damp microfiber cloth and a mild detergent will restore the charging efficiency. Check for any plastic degradation caused by freeze and thaw cycles.
During the summer, check the surrounding foliage. Fast growing vines or climbing roses can quickly overtake a deck post, covering the solar sensor and tricking the light into staying on during the day or preventing it from charging. Autumn requires a check of the internal batteries. Most solar lights use NiMH rechargeable batteries which have a lifespan of about two years. If you notice a light flickering or dying shortly after dusk, it is time to replace the internal cells.
Winter maintenance involves snow removal. A heavy snow pack on the deck caps will not only prevent charging but can crack the housing if the moisture freezes and expands in the seams. Use a soft brush to clear the tops after every storm. If you live in an area with extreme sub zero temperatures, some consultants recommend removing the light units and storing them indoors to preserve the battery chemistry, though many modern high end models are rated for all weather conditions.
Professional Landscaping FAQ
How many hours of light should I expect?
Most high quality units provide eight to twelve hours of illumination after a full day of sun. Factors like cloud cover, the age of the rechargable battery, and the efficiency of the LED bulb will influence the total runtime during the night.
Will these lights work in the shade?
Solar lights require direct UV exposure to function optimally. While they may harvest some ambient light in partial shade, the brightness will be significantly lower and the duration shorter compared to fixtures placed in full, unobstructed southern sun exposure.
What is the best way to clean the panels?
Use a mixture of warm water and a drop of dish soap. Avoid abrasive sponges or harsh chemicals that can scratch the surface of the polycarbonate lens. Scratches diffuse the light and reduce the amount of energy reaching the solar cells.
Can I install these on composite posts?
Yes, most solar caps are compatible with composite sleeves. Ensure you use the correct drill bits for composite materials to avoid cracking. Many manufacturers provide specific adapter bases to ensure the cap fits snugly over different post dimensions.
Are the batteries replaceable?
In most professional grade models, the batteries are replaceable. You should access the battery compartment annually to check for corrosion. Replacing the NiMH or Li-ion cells every two years is standard practice to maintain consistent light output and safety.