
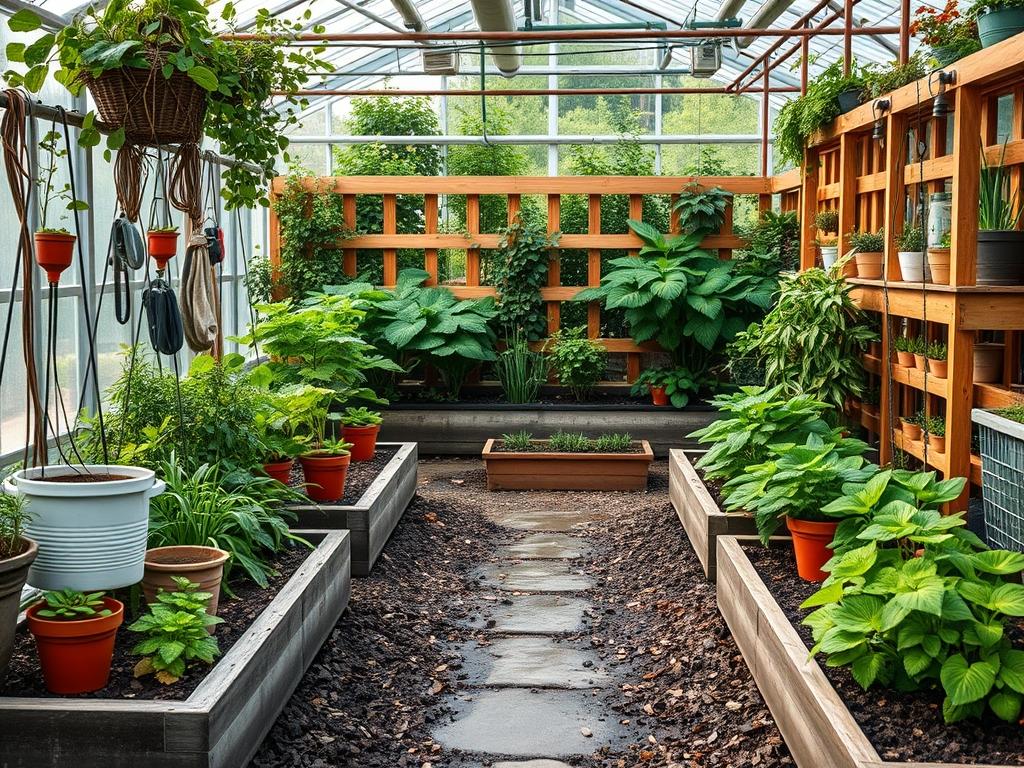
Creating a sense of seclusion in an increasingly dense residential environment requires more than just a physical barrier; it demands a strategic integration of architecture and horticulture. The modern backyard serves as a multifunctional extension of the home, acting as a sanctuary for relaxation, an entertainment hub, and a private retreat. Achieving this balance involves understanding how to utilize Backyard Privacy Trellis Tips to manage sightlines while enhancing the overall aesthetic of the property. A well placed trellis does not merely block a neighbor’s view; it provides a framework for vertical interest, improves air circulation compared to solid fencing, and increases property value through improved curb appeal. When planning these installations, a professional architect considers local microclimates, the path of the sun, and the existing topography to ensure the structure serves its functional purpose without overwhelming the landscape.
Effective privacy screening starts with a comprehensive site analysis. Before any materials are purchased, one must evaluate the grade of the land and the specific points where privacy is most needed. High elevation decks may require taller, more robust structures, while ground-level patios benefit from layered screens that provide a sense of enclosure without feeling claustrophobic. By integrating these structures thoughtfully, homeowners can address the common challenge of “fishbowl” yards where surrounding windows overlook the private living space. The goal is to create a seamless transition between the built environment and the natural world, using the trellis as a living wall that evolves through the seasons.
Landscape Design Principles
In professional landscape architecture, the trellis is viewed as a vertical plane that defines outdoor rooms. The principle of symmetry is often employed to create a sense of order and formality, particularly in contemporary designs where clean lines are preferred. By placing a pair of matching trellises on either side of a central focal point, such as a stone fountain or a sculptural fire pit, the designer establishes a visual anchor that draws the eye inward rather than toward the property boundaries.
Elevation layers are equally vital for creating depth. Rather than a single flat wall, a tiered approach using varying heights of lattice work or laser-cut metal panels can mimic the natural complexity of a forest edge. This layering should also account for irrigation planning. Any plant life intended to scale the trellis must have access to consistent moisture. Integrating drip irrigation lines behind the wooden or metal frames ensures that the greenery remains lush without the need for manual watering, which often leads to inconsistent growth and structural stress.
Walkways and circulation patterns must dictate the placement of these structures. A trellis should never impede the natural flow of movement through the garden. Instead, it can serve as a gateway or a “reveal” element that hides a portion of the yard until the visitor rounds a corner. This creates a sense of mystery and makes a small backyard feel significantly larger. Visual balance is achieved by matching the scale of the trellis to the scale of the home. A massive, heavy cedar trellis might overwhelm a small cottage, whereas a delicate wire trellis system might look insignificant against a large, modern estate.
Plant and Material Selection
The choice of materials and biological components determines the longevity and maintenance requirements of the privacy screen. While wood remains a classic choice for its warmth and ease of customization, modern landscapes often incorporate powder coated aluminum, composite decking materials, or galvanized steel for a sleeker profile and lower maintenance.
| Plant Type | Sun Exposure | Soil Needs | Water Demand | Growth Speed | Maintenance Level |
| :— | :— | :— | :— | :— | :— |
| Star Jasmine | Full Sun to Partial Shade | Well-Drained | Moderate | Fast | Low |
| Clematis | Sun (Roots in Shade) | Rich, Loamy | High | Medium | Medium |
| Climbing Rose | Full Sun | Fertile, Well-Drained | Moderate | Medium | High |
| Honeysuckle | Full Sun to Part Shade | Adaptable | Low to Moderate | Very Fast | Medium |
| Boston Ivy | Shade to Partial Sun | Moist, Rich | Moderate | Fast | Low |
When selecting plants, consider the structural load they will place on the trellis. A mature Wisteria vine can become incredibly heavy, potentially warping or collapsing a lightweight wooden frame. For lighter structures, annual climbers or lighter perennials like Sweet Pea provide seasonal color without the long term weight.
Implementation Strategy
The successful execution of a trellis project begins with precise site preparation. Grading is the first step; the area around the base of the structure must be sloped away from the foundation of the house and any structural posts to prevent water pooling. Use a laser level to ensure the ground is even before beginning any excavation. For the structure itself, post holes should be dug to a minimum depth of 24 inches, or below the local frost line, using a power auger or post hole digger.
Once the holes are prepared, fill the bottom with 3 inches of crushed stone to facilitate drainage. This prevents the wooden posts from sitting in moisture, which causes premature rot. Use pressure treated 4×4 lumber or heavy duty metal posts for the main supports. After the posts are set in high-strength concrete, allow at least 48 hours for curing before attaching the horizontal lattice or screen panels.
Edging the area at the base of the trellis creates a clean line between the structure and the turf. Install metal or plastic landscape edging and fill the interior with a 3 inch layer of organic mulch. This mulch depth is critical; it retains moisture for the climbing plants and suppresses weed growth that could compete for nutrients. If the trellis is part of a larger hardscaping project, ensure that any retaining walls or paver patios are installed with proper perforated drainage pipes behind them to manage runoff.
Common Landscaping Failures
One of the most frequent mistakes in backyard planning is ignoring wind loading. A trellis acts like a sail; in high wind areas, a solid or tightly woven lattice can catch enough air to pull its anchors out of the ground. Professionals often recommend a “70/30” rule, where the structure is at least 30 percent open to allow air to pass through freely.
Root overcrowding and improper spacing also lead to disappointment. Homeowners often plant vines too close together, hoping for instant privacy. This leads to competition for water and nutrients, resulting in patchy, unhealthy growth. Each plant should be spaced at least 18 to 24 inches apart, depending on the species. Soil compaction is another silent killer. During construction, heavy foot traffic can compress the soil, preventing oxygen from reaching the roots. Using a garden fork to aerate the soil before planting is essential for long term health.
Finally, irrigation inefficiencies can ruin a beautiful design. Many people rely on overhead sprinklers, which can lead to fungal diseases on the foliage of climbing plants. A dedicated drip system or soaker hose buried beneath the mulch delivers water directly to the root zone, which is more efficient and keeps the leaves dry.
Seasonal Maintenance
A privacy trellis is a dynamic element that requires attention throughout the year to remain functional and attractive. In the spring, the focus is on pruning and structural inspection. Check all galvanized screws and connectors for signs of rust or loosening. Prune any dead or damaged wood from the vines to encourage new growth. This is also the ideal time to apply a slow release fertilizer to the base of the plants to fuel the summer growing season.
During the summer months, monitor the moisture levels closely. High temperatures increase the rate of transpiration, and climbing plants are particularly susceptible to drying out. Inspect the trellis for any sagging caused by the increased weight of new foliage. If necessary, add additional wire supports or heavy duty zip ties to train the vines across the frame.
Autumn is the season for cleanup. Remove fallen leaves from the base of the structure to prevent pests from overwintering in the debris. If the trellis is made of wood, check if the water-repellent sealant needs to be reapplied. Winter maintenance involves protecting the structural integrity of the unit. In regions with heavy snowfall, manually brush snow off the top of the trellis to prevent the weight from snapping the horizontal cross members. For metal structures, check for any chipped paint that could lead to corrosion during the wet winter months.
Professional Landscaping FAQ
What is the best material for a low maintenance trellis?
Powder coated aluminum and composite wood are the superior choices. Unlike natural timber, these materials resist rot, insect damage, and UV degradation. They require only occasional cleaning with a garden hose and mild detergent to maintain their original appearance.
How high can a privacy trellis be without a permit?
In most municipalities, a freestanding garden structure can be up to 6 to 8 feet tall without a building permit. However, always check local zoning laws and HOA regulations, as specific setbacks from property lines often apply to vertical structures.
Which climbing plants grow the fastest for immediate privacy?
Honeysuckle and Clematis armandii are renowned for their rapid growth rates. Under ideal conditions, these species can cover several feet of lattice in a single growing season. For temporary summer privacy, Pole Beans or Morning Glories are excellent annual options.
Can I attach a trellis directly to my house siding?
It is not recommended to attach a trellis flush against siding. This traps moisture and invites wood-destroying insects. Instead, use standoff brackets to create a gap of at least 4 inches, allowing for air circulation and preventing damage to the home.
How do I prevent my wooden trellis from rotting in the ground?
Always use pressure treated wood rated for ground contact. Additionally, set the posts in a gravel base before pouring concrete to allow water to drain away from the bottom of the post. Regularly applying a penetrating oil stain further extends lifespan.