
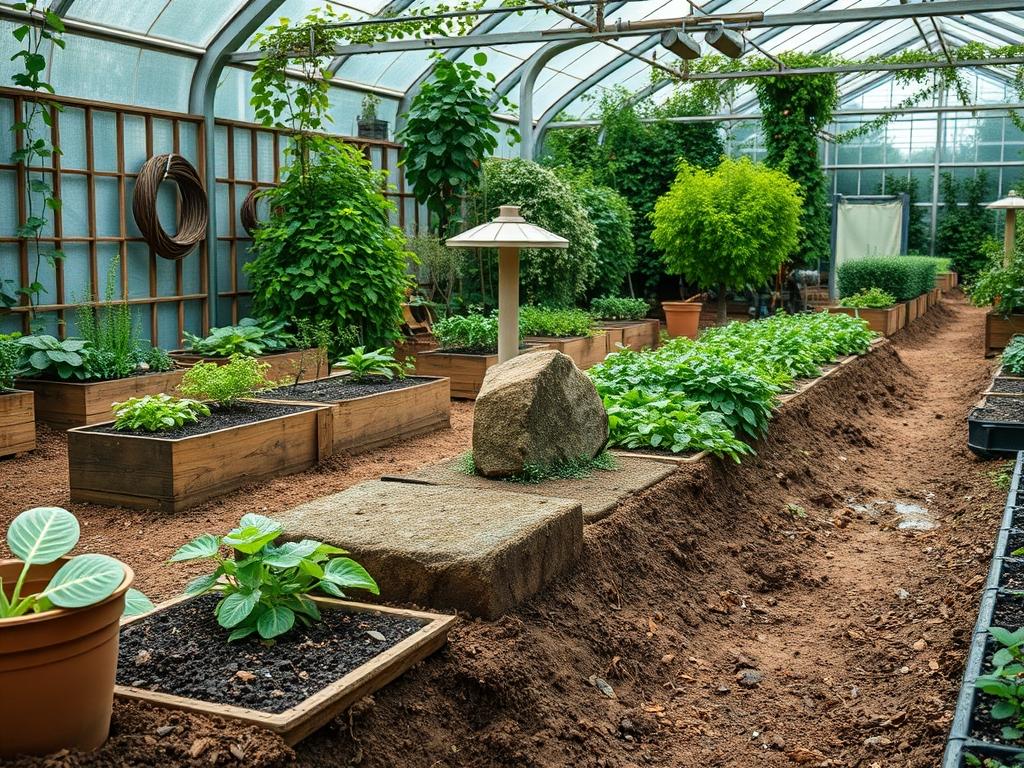
Achieving a balance between functional illumination and natural aesthetic integrity is one of the most persistent challenges in modern landscape architecture. When designing an outdoor environment, the goal is often to provide safety and visibility without the clinical appearance of traditional bollard lights or the artificial regularity of plastic path markers. This is where strategic Solar Rock Light Placement becomes an essential tool for the consultant. These fixtures allow a designer to conceal the source of light within a form that mimics the textures and colors of the local geology. By integrating these units into a comprehensive site plan, we can enhance curb appeal while addressing the practicalities of nocturnal navigation. In varied climates, from the humid subtropics to arid desert zones, these lights provide a cord-free solution that respects the site’s existing topography. Effective lighting is not just about brightness; it is about the intentional play of shadow and the subtle highlighting of architectural features.
Landscape Design Principles
Successful Solar Rock Light Placement begins with the principle of visual hierarchy. Every landscape needs a focal point, whether it is a mature Specimen Tree, a water feature, or a stone retaining wall. Lighting should guide the eye toward these elements rather than competing with them. Instead of placing lights in a straight, predictable line, consider a staggered approach that creates depth. This technique involves placing fixtures at varying distances from a path to create a soft, undulating glow that mimics moonlight filtering through a canopy.
Elevation layers are equally critical. In any professional layout, we consider the foreground, midground, and background. Low-profile solar rocks are perfect for the foreground, providing “ground wash” lighting that illuminates low-growing groundcovers like Creeping Thyme. For midground elevation, these lights can be nestled into the crevices of a dry stack stone wall to highlight the masonry texture. Symmetry should be used sparingly; while a formal garden may demand mirrored light placement, a naturalistic or woodland garden benefits from asymmetrical groupings. This organic arrangement feels more intentional and less like an industrial installation.
Visual balance also requires consideration of the color temperature of the LED chips used in the solar rocks. Warmer tones, typically around 2700K to 3000K, are preferred for residential settings as they complement natural wood and stone. Cooler tones can feel sterile or blue, which often clashes with domestic floral palettes. When planning, always account for the solar panel orientation. Effective placement requires at least six hours of direct sunlight to ensure the nickel-metal hydride or lithium-ion batteries reach full capacity for a consistent eight-hour discharge overnight.
Plant and Material Selection
To ensure the solar rocks blend seamlessly with the environment, the surrounding vegetation must be chosen based on its ability to complement stone textures and its growth habits. The following table outlines optimal selections for a balanced landscape.
| Plant Type | Sun Exposure | Soil Needs | Water Demand | Growth Speed | Maintenance Level |
| :— | :— | :— | :— | :— | :— |
| Blue Star Creeper | Full Sun to Part Shade | Moist, Well-Drained | Moderate | Fast | Low |
| Dwarf Boxwood | Full Sun to Shade | Loamy, Neutral pH | Moderate | Slow | Medium |
| Lavender | Full Sun | Sandy, Gritty | Low | Moderate | Low |
| Japanese Forest Grass | Part Shade to Full Shade | Rich, Humus | High | Slow | Medium |
| Sedum ‘Autumn Joy’ | Full Sun | Poor, Rocky Soil | Low | Moderate | Very Low |
| Mexican Feather Grass | Full Sun | Well-Drained | Low | Moderate | Low |
| Hosta | Shade | Moist, Fertile | Moderate | Moderate | Medium |
Implementation Strategy
The process of installation must begin with a thorough site analysis and grading plan. Before placing the first light, evaluate the “pitch” of your land. Proper drainage is the foundation of any long-lasting landscape. If your garden has low spots where water collects, you must address this with a French drain or by regrading the soil to a 2% slope away from the home foundation. Solar lights, while weather-resistant, should not be submerged during heavy rain.
Once the grading is finalized, begin the layout of your hardscaping boundaries. Use polypropylene edging or aluminum landscape edging to create clean transitions between turf and planting beds. For the Solar Rock Light Placement, excavate a shallow depression approximately two inches deep. Fill this depression with half an inch of crushed gravel or decomposed granite. This provides a stable, level base and improves drainage immediately beneath the fixture, preventing the housing from sitting in moisture which can degrade the seals over time.
Mulching is the next critical step. A layer of three inches of triple-shredded hardwood mulch or organic pine bark helps retain soil moisture for your plants, but it must be kept away from the solar collector lens on top of the rock. If the lens is obscured by mulch or debris, the charging efficiency will drop significantly. For a more modern look, consider using river rocks or Mexican beach pebbles around the lighting units. This creates a monochromatic texture that disguises the transition between the artificial rock and the natural landscape.
When placing lights along a walkway, calculate the “beam spread.” Most solar rocks have a wide, low-angle throw. Space them every six to eight feet for a continuous wash of light, or every twelve feet if you prefer “pools” of light that create a more dramatic, high-contrast atmosphere. Ensure that the lights are set back at least six inches from the edge of the path to prevent damage from lawnmowers or foot traffic.
Common Landscaping Failures
The most frequent error in professional landscaping is improper drainage planning, which leads to soil saturation and root rot. When solar rocks are placed in poorly drained areas, the humidity can penetrate the battery compartment, leading to premature failure. Another common mistake is root overcrowding. It is easy to plant Evergreens or Ornamental Grasses too close to one another when they are in their juvenile state. Within three years, these plants may grow to three times their original size, completely swallowing the solar rock lights and rendering them useless. Always check the “mature spread” measurements on plant tags before digging.
Soil compaction is another silent killer of garden health. If the soil is too tight, oxygen cannot reach the roots, and water cannot soak in. This is often caused by heavy machinery during construction. Before planting and placing lights, use a broadfork or tilling tool to loosen the soil, and amend it with organic compost. Furthermore, many homeowners fail to account for irrigation head placement. If a high-pressure sprinkler head is aimed directly at a solar rock, it can eventually force water through the gaskets. Ensure that your irrigation zones are adjusted to spray away from electronic components and toward the root zones of your foliage.
Seasonal Maintenance
Landscape management is a year-round commitment. In the Spring, the priority is cleaning. Use a damp, soft cloth to wipe the dust and pollen from the solar panels. Check the structural integrity of your plantings and prune any winter dieback that might be shading the lights. This is also the time to refresh your mulch layers to a consistent three-inch depth.
During the Summer, focus on hydration and weeding. Fast-growing weeds can quickly overtake a low-profile solar rock. Monitor the performance of the batteries; the extreme heat of mid-July can sometimes degrade the efficiency of older cells. If a light appears dim, it may be time to replace the internal rechargeable battery.
In Autumn, leaf management is your main task. A single large oak leaf can block the charging sensor. Regularly clear the beds to ensure the collectors are exposed. This is also the best time to check your drainage paths before the winter rains or snows arrive. Ensure that no soil has washed over the light fixtures.
Winter maintenance depends on your geography. If you live in an area with heavy snowfall, you may want to mark the location of your solar rocks with a small reflective stake so they are not crushed by snow shovels or blowers. If temperatures drop below zero for extended periods, some landscape architects recommend bringing the fixtures indoors to preserve battery life, though high-quality professional units are usually rated for these extremes.
Professional Landscaping FAQ
Where is the best place for Solar Rock Light Placement?
Focus on transitions, such as where a path meets a garden bed or near changes in elevation like stairs. Ensure the location receives at least six hours of unobstructed sunlight daily to maintain a consistent nocturnal glow.
How do I prevent my solar rocks from looking artificial?
Cluster them in groups of three with varying sizes. Nest them slightly into the soil or mulch rather than sitting them on top. Surround them with real stones of a similar color and texture to create visual continuity.
Can solar rock lights stay out during the winter?
Most professional-grade fixtures are rated for frost and snow. However, clear the snow from the solar panels regularly. In extreme sub-zero climates, removing them can extend the lifespan of the internal rechargeable batteries by several years.
How do I fix a solar light that has stopped working?
First, clean the solar panel with a soft cloth. Check that the internal battery is seated correctly. If it still fails, replace the battery with a high-quality rechargeable equivalent of the same voltage and milliamp-hour rating.
What is the ideal spacing for path lighting?
For safety and a continuous wash of light, space fixtures six to eight feet apart. For a more subtle, atmospheric effect that highlights specific garden features, increase the spacing to ten or twelve feet in a staggered pattern.