
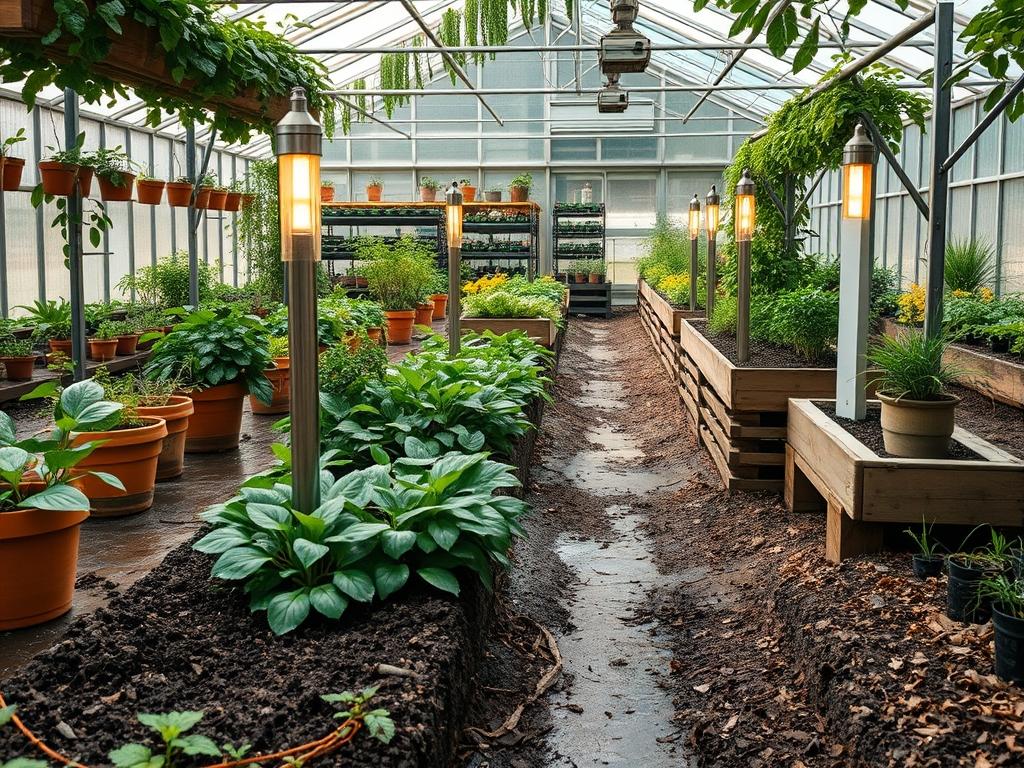
Transforming a residential property into a sophisticated evening environment requires more than a few scattered fixtures. It demands a cohesive strategy where hardware meets horticulture. Solar pillar lights serve as the sentinels of the landscape; they define the boundaries of driveways, piers, and retaining walls while providing necessary illumination without the logistical burden of high voltage wiring. Choosing the right style involves a deep understanding of your site’s architectural language. Modernist homes often benefit from sleek, minimalist stainless steel or matte black aluminum fixtures that emphasize geometry. Conversely, traditional estates might require ornate copper or bronze housings with seeded glass textures to reflect a historical aesthetic. Beyond the visual appeal, the consultant must consider the technical specifications of the solar cells and battery capacities to ensure the light survives the local climate. High quality solar pillar lights utilize monocrystalline silicon panels which offer higher efficiency in converting sunlight to energy, particularly in regions with frequent cloud cover.
The functionality of these fixtures extends beyond mere decoration. They act as navigational markers that improve safety by highlighting elevation changes and transitions between disparate garden zones. When selecting a style, the scale of the light must be proportionate to the structure it sits upon. A massive 24 inch stone pier will dwarf a small 6 inch lantern, creating a visual imbalance that detracts from the home’s curb appeal. Proper landscape planning treats these lights as permanent architectural features rather than temporary accessories. This involves evaluating the orientation of the property to ensure the photovoltaic cells receive at least 6 to 8 hours of direct sunlight. If your pillars are situated beneath a dense Oak tree canopy, solar may not be the optimal choice unless you utilize remote panels. However, for most open sun environments, the modern solar pillar light provides an elegant, eco-friendly solution that enhances the nighttime experience of the outdoor living space.
Landscape Design Principles
Effective landscape design relies on the core concepts of symmetry and focal points to guide the observer through the environment. When integrating solar pillar lights, symmetry is often achieved by mirroring fixtures across a central axis, such as a driveway entrance or a grand staircase. This creates a sense of formal elegance and order. Visual balance is equally important; the “weight” of the lighting must be distributed evenly across the property. If one side of the house features intense illumination while the other remains in shadow, the property will feel disjointed. By placing lights on retaining walls at consistent intervals of 8 to 12 feet, you create a rhythmic pattern that leads the eye toward the primary focal point, which is typically the front door or a central water feature.
Elevation layers play a significant role in how light interacts with the surrounding flora. A well-designed plan incorporates lighting at different heights. Pillar lights provide the “mid-level” glow, bridging the gap between low-voltage path lights and high-mounted security or tree lights. This layering prevents the “flat” look associated with single-source illumination. Furthermore, irrigation planning must account for the placement of these fixtures. Even though solar lights are wireless, they are often mounted on hardscaping that covers critical root zones or interferes with drip irrigation lines. Designers must ensure that the base of the pillar is properly sealed to prevent moisture from the irrigation system from wicking into the masonry, which can cause efflorescence or structural damage over time.
Plant and Material Selection
The materials surrounding your solar pillar lights will dictate how the light is reflected and absorbed. Darker stones like slate or dark granite will absorb light, while lighter materials like travertine or limestone will reflect it, making the area feel brighter. Selecting plants that complement the light fixtures is equally vital for a professional finish.
| Plant Type | Sun Exposure | Soil Needs | Water Demand | Growth Speed | Maintenance Level |
| :— | :— | :— | :— | :— | :— |
| Boxwood (Buxus) | Full/Partial Sun | Well-drained | Moderate | Slow | Moderate |
| Japanese Forest Grass | Partial Shade | Humus-rich | Medium | Slow | Low |
| Lavender (Lavandula) | Full Sun | Sandy/Gritty | Low | Medium | High (Pruning) |
| Dwarf Fountain Grass | Full Sun | Loamy | Medium | Fast | Low |
| Creeping Juniper | Full Sun | Poor/Dry | Very Low | Medium | Very Low |
| Heuchera (Coral Bells) | Partial Shade | Rich/Moist | Moderate | Medium | Low |
Implementation Strategy
Implementing a professional pillar light layout begins with site grading and preparation. Before the pillars are even constructed, you must ensure the ground is level and the drainage is managed. For existing structures, start by cleaning the mounting surface with a wire brush to remove debris. If you are installing lights on new masonry, ensure the mortar has cured for at least 28 days before drilling. Accuracy is paramount during this stage; use a center punch and a 3/16 inch masonry bit to create pilot holes for the mounting hardware.
The next step involves the transition from the hardscaping to the softscaping. Use steel edging or heavy-duty plastic edging to define the transition between the pillar base and the planting beds. This prevents grass and weeds from encroaching on the stone or brickwork. Once the lights are mounted, apply a 3 inch layer of shredded hardwood mulch or decorative river rock around the base of the pillar. This mulch layer serves two purposes: it retains moisture for nearby plants and prevents soil from splashing onto the base of the pillar during heavy rains. For optimal performance, orient the solar panels toward the south. If the style of light allows for it, angle the internal solar collector to maximize the solar harvest during the winter months when the sun sits lower in the sky.
Common Landscaping Failures
One of the most frequent failures in outdoor lighting projects is poor drainage at the base of the pillar. When water pools around the foundation of a pier, it can lead to shifting and tilting, which throws the light fixture out of alignment. This is often solved by installing a French drain or ensuring the grade slopes away from the structure at a minimum of 2 percent. Another common mistake is root overcrowding. Planting large species like Magnolias or River Birches too close to a pillar will eventually result in the roots lifting the masonry. Always check the mature spread of a plant before placing it near your pillars.
Improper spacing of the lights can also ruin the intended effect. If pillar lights are placed too close together, the overlapping “hot spots” of light create a cluttered look. Conversely, spacing them too far apart results in “black holes” where safety is compromised. Aim for a gentle overlap of the light beams. Finally, soil compaction is a silent killer of landscape health. During the construction of the pillars, heavy foot traffic and equipment can compact the soil, preventing air and water from reaching plant roots. Using aeration tools and adding organic compost after construction can help remediate these areas before the final planting occurs.
Seasonal Maintenance
Maintenance is the key to longevity for any solar-powered system. In the spring, inspect the fixtures for any signs of winter damage or seal failure. Clean the polycarbonate or glass lenses with a mixture of mild soap and water to remove the film of pollen and dust that accumulates. This task is not merely aesthetic; dirty lenses and panels can reduce energy efficiency by as much as 30 percent. Check the surrounding vegetation and prune back any branches from Spirea or Hydrangeas that may be casting new shadows over the solar collectors.
During the summer, monitor the performance of the Lithium-ion batteries. High heat can sometimes degrade battery life, so if a light is failing to stay on through the night, it may be time for a replacement. In the autumn, clear away fallen leaves from the base of the pillars and the tops of the lights. Decomposing organic matter can stain limestone caps and trap moisture against the metal housing of the light. As winter approaches, if you live in a region with heavy snowfall, ensure the solar panels are cleared after every storm. Some professionals recommend applying a thin coat of automotive wax to the metal components of the light to protect against road salt and moisture during the freezing months.
Professional Landscaping FAQ
How many lumens do I need for a pillar light?
For residential pillars, 100 to 300 lumens is generally sufficient. This provides enough light for safety and architectural accentuation without causing excessive glare or light pollution that might disturb neighbors or affect night vision.
What is the best color temperature for outdoor lights?
A color temperature of 2700K to 3000K is ideal. This “warm white” range mimics traditional incandescent bulbs, creating a welcoming and cozy atmosphere that complements natural stone and wood materials effectively.
How do I secure a solar light to a stone cap?
Use a hammer drill with a carbide-tipped masonry bit to drill holes into the stone. Insert stainless steel expansion anchors or sleeve anchors to provide a permanent, rust-resistant connection that will withstand high winds and vibration.
Can solar pillar lights work in the shade?
While they will function, their output will be significantly diminished. For shaded areas, look for solar kits that feature a detached solar panel which can be mounted in a sunny spot and connected to the light via a thin wire.
How often should I replace the solar batteries?
Most high-quality LiFePO4 or NiMH batteries last between 2 to 4 years. If you notice the lights dimming prematurely or failing shortly after dusk, it is likely time to install a fresh set of rechargeable cells.