
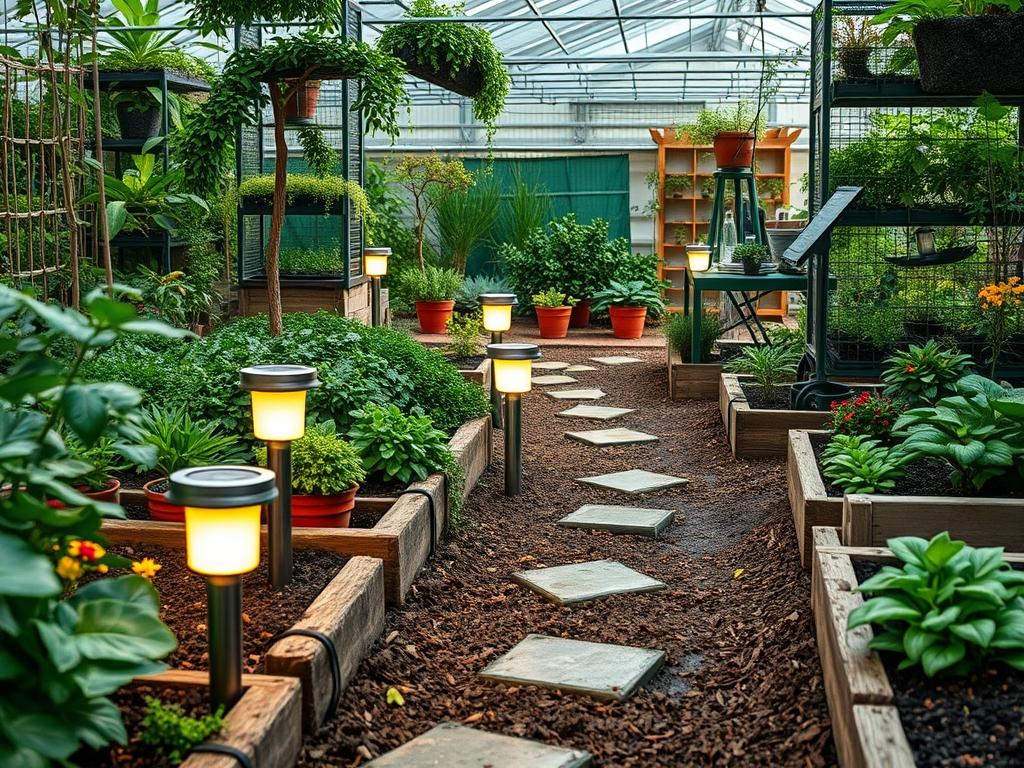
Navigating architectural elevation changes at dusk requires a meticulous balance of utility and aesthetics. For many homeowners, the transition from a brightly lit interior to a shadowed garden path creates a significant safety hazard and a missed opportunity for nocturnal visual interest. Integrating high-quality lighting into these transitional zones is no longer a luxury reserved for commercial properties; it is a fundamental requirement for modern residential landscape architecture. When we consider the challenges of remote corners of the lot or the cost of trenching for traditional low-voltage wiring, the efficiency of Solar Step Light Kits becomes apparent. These systems utilize sophisticated photovoltaic cells to harvest energy during daylight hours, storing it in high-intensity batteries to provide a consistent, ambient glow throughout the night. Applying professional-grade design principles to the installation process transforms a simple safety measure into a sophisticated design statement that enhances curb appeal and functional outdoor living space simultaneously.
Landscape Design Principles
Successful landscape architecture depends on the strategic application of symmetry and focal points. When planning the placement of Solar Step Light Kits, one must first identify the primary and secondary sightlines of the property. A primary sightline might be the view from the street toward the front entrance, while a secondary sightline could be the view from a rear deck overlooking a tiered garden. Symmetry is crucial in formal designs, where lights are placed at identical intervals on either side of a staircase to create a sense of order and prestige. In more naturalistic or xeriscaped environments, an asymmetrical approach may be preferred, placing lights at staggered elevations to mimic the organic patterns found in nature.
Elevation layers constitute the backbone of three-dimensional landscape design. By illuminating the vertical surfaces of steps, a designer creates a sense of depth that is often lost in the darkness. This layering effect allows the human eye to perceive the true scale of the environment. Furthermore, visual balance must be maintained between the illuminated path and the surrounding botanical elements. A common mistake is to over-illuminate the walkway, which results in a “runway” effect that can be jarring. Instead, strive for a soft, downward-firing luminescence that highlights the texture of the natural stone or treated timber beneath, allowing the light to spill gently into the nearby foliage.
Irrigation planning is another critical component that must be addressed during the design phase. Even though solar kits are wireless, their placement should avoid direct impact from high-pressure sprinkler heads. Constant saturation can lead to mineral buildup on the solar panels, reducing their charging efficiency. By coordinating the location of lighting with the local moisture zones, a designer ensures that the hardware remains functional and the surrounding plantings thrive. Walkways should be planned with a slight cross-slope, typically a two percent grade, to prevent water from pooling around the light fixtures and causing premature degradation of the seals.
Plant and Material Selection
| Plant Type | Sun Exposure | Soil Needs | Water Demand | Growth Speed | Maintenance Level |
| :— | :— | :— | :— | :— | :— |
| Creeping Thyme | Full Sun | Sandy/Rocky | Low | Moderate | Low |
| Blue Star Creeper | Partial Sun | Moist/Loam | Medium | Fast | Low |
| Japanese Forest Grass | Full Shade | Rich/Humus | Medium | Slow | Low |
| Dwarf Boxwood | Full to Partial | Well-drained | Medium | Slow | Medium |
| Silver Falls Dichondra | Full Sun | Well-drained | Low | Fast | Low |
| Liriope Muscari | Partial Shade | Adaptable | Medium | Moderate | Low |
Implementation Strategy
The implementation of a professional-grade lighting and staircase project begins with meticulous site preparation. First, evaluate the existing grading of the area. If the steps are being installed into a slope, you must account for the natural flow of water. Utilizing a tamping tool and crushed stone base is essential to prevent the steps from shifting over time, which could misalign the light fixtures. Once the base is stable, the installation of hardscaping materials like paver stones or pressure-treated lumber can proceed.
When installing the Solar Step Light Kits, the primary technical consideration is the orientation of the solar collectors. Each fixture must be positioned to receive a minimum of six hours of direct sunlight. If the staircase is located in a heavily shaded area, consider using kits with a remote solar panel that can be mounted in a sunnier location and connected via a discreet, low-profile wire. For the mounting process, use stainless steel screws to prevent rust streaks from marring the surface of your steps. If mounting to masonry, a hammer drill and masonry anchors are required to ensure a secure fit that can withstand foot traffic and vibration.
Edging and mulch application serve as the finishing touches. A crisp edge between the walkway and the garden bed prevents grass and weeds from encroaching upon the light fixtures, which would otherwise obstruct the solar panels and the light output. Apply a three-inch layer of double-shredded hardwood mulch or pine bark nuggets to retain moisture for the surrounding plants and provide a clean, professional aesthetic. Ensure the mulch is kept at least two inches away from the base of the light fixtures to prevent moisture traps that could lead to fungal growth or hardware corrosion.
Common Landscaping Failures
The most frequent failure in outdoor lighting and path construction is inadequate drainage. Without a proper French drain or gravel sub-surface, hydrostatic pressure can build up behind retaining walls and steps during heavy rain. This pressure can tilt the stairs, causing the solar lights to point at awkward angles or, worse, causing the structural collapse of the walkway. Furthermore, improper soil compaction often leads to localized sinking. If the ground beneath a step is not compacted in six-inch lifts, the resulting settlement will create uneven gaps where water can collect and freeze, leading to “heaving” in colder climates.
Another common oversight involves root overcrowding. Planting large shrubs or trees too close to the stairs may look good in the first year, but as the root systems expand, they can physically lift heavy stones and disrupt the alignment of the lighting kits. Designers must account for the mature width of the species selected. Improper spacing of the lights themselves is a recurring issue, if they are placed too far apart, the “pools of light” do not overlap, creating dangerous dark spots. Conversely, spacing them too closely creates unnecessary glare. Finally, irrigation inefficiencies, such as misaligned sprayers, can coat the solar panels in hard water deposits, eventually rendering the internal rechargeable batteries unable to hold a charge.
Seasonal Maintenance
Spring is the season for revitalization. As the ground thaws, inspect the stability of each step and check for any shifting. Use a soft, damp cloth to clean the solar panels, removing the grime and pollen that accumulated over the winter. This is also the ideal time to trim back any burgeoning foliage that might begin to shade the sensors. In the summer, focus on moisture management. High heat can stress both the plants and the battery components, so ensure that the soil remains hydrated and the light fixtures are free from debris like grass clippings after mowing.
Autumn requires a diligent approach to leaf management. Fallen leaves can quickly bury step lights, creating a fire hazard if using traditional bulbs, or simply blocking the solar charge for modern kits. Regularly clear the path and check the seals of the light housings before the rainy season begins. Winter maintenance involves protecting the system from extreme cold and snow accumulation. If your region experiences heavy snowfall, use a plastic shovel or a soft broom to clear the stairs to avoid scratching the light surfaces. For areas with prolonged sub-zero temperatures, it may be beneficial to store the lights indoors if they are not rated for extreme cold, though most high-end Solar Step Light Kits are designed for year-round outdoor exposure.
Professional Landscaping FAQ
How many lumens are required for safe step lighting?
For residential steps, a range of 10 to 30 lumens per fixture is generally sufficient. This provides enough light to define the edge of the stair without creating excessive glare or light pollution that disturbs the surrounding environment or neighbors.
Can solar step lights work in fully shaded areas?
Standard units require direct sunlight to charge effectively. However, specialized kits with detached, remote solar panels allow you to place the collectors in a sunny spot while the light fixtures remain in the shade, connected by thin, weatherproof cables.
What is the best material for mounting solar lights on stairs?
Composite decking, pressure-treated wood, and natural stone are excellent choices. Each requires specific fasteners, such as stainless steel woodscrews or masonry anchors, to ensure the fixtures remain stable during temperature fluctuations and heavy foot traffic over several years.
How often do the batteries in solar kits need replacement?
Most high-quality Solar Step Light Kits utilize Lithium-ion or NiMH batteries that last between two and three years. Performance degradation is usually signaled by a shorter duration of light at night or a noticeably dimmer output during the evening hours.
Do solar step lights require a professional electrician for installation?
No, one of the primary advantages of solar technology is the lack of high-voltage wiring. This makes them a safe, DIY-friendly option. However, for large-scale structural changes or complex hardscaping, consulting a landscape architect ensures the best long-term results.