
The integration of architectural lighting into a landscape is often the deciding factor between a yard that merely exists and an outdoor environment that thrives. As the sun sets, the structural integrity of a garden can easily dissolve into a monolithic wall of darkness if the lighting strategy is not meticulously planned. Developing Garden Lighting Zones allows a homeowner to reclaim the square footage of their property after dark, extending the functional use of the site while emphasizing safety and aesthetic depth. This process requires a sophisticated understanding of how light interacts with organic textures and hardscape materials. Climate plays a significant role here; high humidity regions require fixtures with superior gaskets to prevent internal corrosion, while arid climates demand heat-resistant finishes that will not peel under intense ultraviolet exposure. By treating light as a structural element, we improve curb appeal and provide a sense of security that is both psychological and practical.
Landscape Design Principles
Successful garden lighting begins with the core tenets of landscape architecture, specifically the application of symmetry and visual balance. When we design Garden Lighting Zones, we are essentially painting with light to guide the eye toward specific focal points. This might be a monolithic boulder, an ornamental Acer palmatum, or a custom-built retaining wall. To achieve a professional result, one must think in elevation layers. Ground-level lighting provides safety for navigation, mid-level lighting illuminates shrubs and architectural features, and high-level lighting, such as downlighting from a mature oak, mimics the natural effect of moonlight.
Walkway planning is another critical principle. Path lights should never be installed in a perfectly straight, staggered line that resembles an airport runway. Instead, they should be tucked into the foliage or placed at transit junctions to create a rhythmic flow that feels organic. Irrigation planning must also be synchronized with your lighting layout. It is vital to ensure that rotary nozzles are not spraying directly into fixture housings, even if the units are rated for moisture. Visual balance is maintained by ensuring the intensity of the light is consistent across the property, preventing “black holes” where the eye cannot find a resting place between illuminated zones.
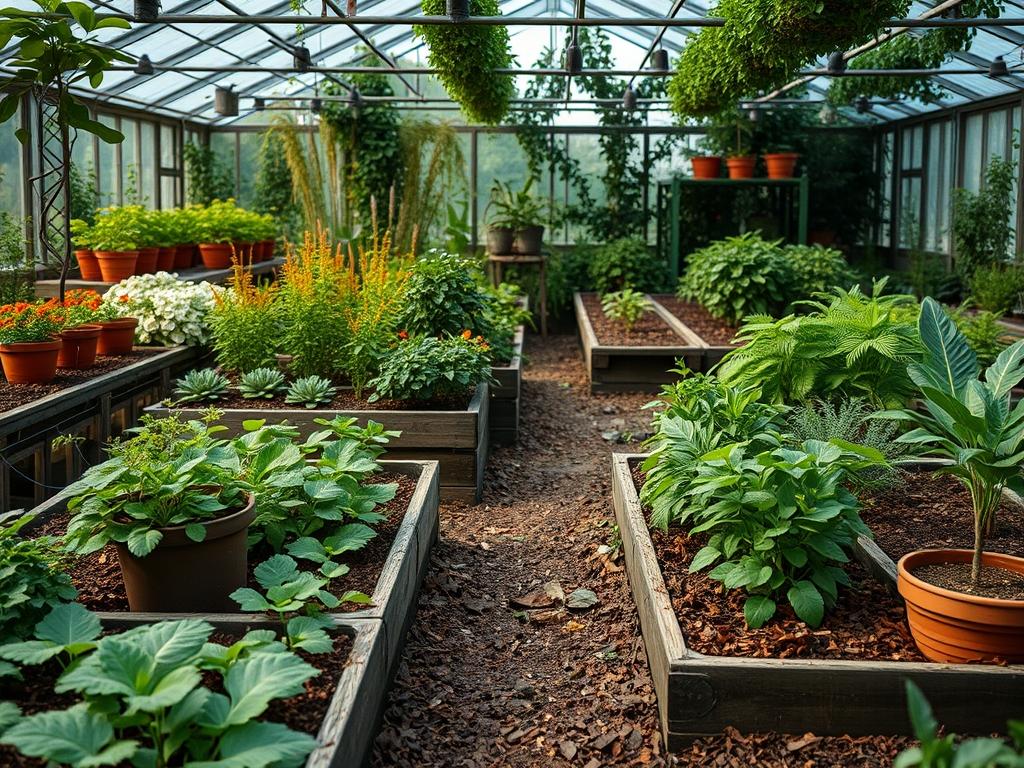
Plant and Material Selection
Selecting the right plant material is essential because different textures and colors react differently to artificial light. Translucent leaves can be backlit for a glowing effect, while dense evergreens are better suited for grazing techniques that highlight bark texture.
| Plant Type | Sun Exposure | Soil Needs | Water Demand | Growth Speed | Maintenance Level |
| :— | :— | :— | :— | :— | :— |
| Japanese Maple | Partial Shade | Well-Drained | Moderate | Slow | Medium |
| Boxwood Hedge | Full Sun/Part | Loamy | Medium | Slow | Low |
| Blue Fescue | Full Sun | Sandy/Dry | Low | Moderate | Low |
| Lavender | Full Sun | Alkaline | Low | Moderate | Medium |
| Creeping Thyme | Full Sun | Well-Drained | Low | Fast | Low |
| River Birch | Full Sun | Moist/Acidic | High | Fast | Medium |
For hardscaping materials, consider using dark granite or slate for paths if you want a subtle reflected glow. Lighter materials like travertine or limestone reflect a significant amount of light, which can help brighten a space without needing higher wattage bulbs. When selecting mulch, a deep brown or black triple-ground hardwood mulch provides a high-contrast background that makes illuminated greenery pop against the dark soil.
Implementation Strategy
The implementation of a professional garden lighting plan starts with a comprehensive site assessment. Begin by identifying the primary transit routes and potential hazards, such as stairs or changes in elevation. Once the safety zones are established, move to the aesthetic layers. Grading is the first physical step. Ensure the ground slopes away from the home and any electrical junction boxes to prevent water pooling.
Next, define the edges of your beds using a half-moon edger or a power trencher. This creates a clean line for the installation of low-voltage cable. For a standard residential setup, a 12-gauge or 14-gauge wire is typically buried at least 6 inches deep to protect it from aerators or shovels. When placing fixtures, use a conduit for any wires that must pass under permanent hardscapes like driveways or patios.
Once the wiring is laid, install a high-quality stainless steel transformer. It is best to size the transformer at 120 percent of your total wattage load to allow for future expansion. After the fixtures are connected, apply a 3-inch layer of mulch to insulate the root systems of nearby plants and conceal the cabling. Finally, conduct a nighttime adjustment. This is where you fine-tune the angles of each LED spotlight to eliminate glare and ensure the light is hitting its intended target rather than leaking into the neighbors window.
Common Landscaping Failures
The most frequent mistake in landscape lighting and garden planning is a failure to account for drainage. If a garden bed is not properly graded, water will settle around the base of the light fixtures, causing electrical shorts and premature failure of the LED drivers. Soil compaction is another silent killer of both plants and infrastructure. When soil is compacted by heavy machinery or foot traffic, it loses the pore space necessary for air and water to reach plant roots, often leading to “root rot” in expensive specimen trees.
Another common failure is improper spacing of plants in relation to the light fixtures. Designers often install lights based on the current size of the nursery stock, forgetting that a 3-foot shrub may become a 6-foot obstacle within two seasons. This leads to foliage blocking the light source entirely or root systems disrupting the buried cables. Inefficient irrigation is the third pillar of failure. Over-saturation can lead to unstable soil that causes fixtures to tilt or lean, ruining the symmetry of the design. Always ensure your irrigation controller is calibrated to the specific needs of the soil type and plant species to maintain a stable foundation.
Seasonal Maintenance
Maintenance is an ongoing commitment that changes with the seasons. In the spring, the focus should be on inspecting the system for damage caused by winter frost heaves. Check that all fixtures are still level and that the mulch depth is consistent. This is also the time to prune back any new spring growth that is beginning to obscure the light beams. Using a bypass pruner, thin out the interior canopy of specimen trees to allow light to filter through the branches.
During the summer, check the seals on all fixtures. The heat can cause gaskets to expand and contract, potentially allowing moisture from heavy summer thunderstorms to enter the housing. Clean the lenses with a soft cloth and a non-abrasive cleaner to remove mineral deposits left by the irrigation system. In autumn, the primary task is leaf management. Spent foliage can pile up around fixtures, creating a fire hazard if using halogen bulbs or simply blocking the light if using LEDs. Clear all debris from the base of the lights to maintain proper airflow.
Winter maintenance involves protecting the system from heavy snow and ice. If you live in a region with significant snowfall, use marker stakes to identify the location of fixtures so they are not damaged by snow blowers or shovels. Check the timer settings on your transformer, as the shorter days will require the lights to activate much earlier in the evening to maintain safety and curb appeal.
Professional Landscaping FAQ
How do I choose the right color temperature for my garden?
For most residential landscapes, a warm white light between 2700K and 3000K is ideal. This range enhances the natural greens of the foliage and the warm tones of wood and stone without looking stark or clinical.
What is the best way to prevent light glare?
Use fixtures with integrated shrounds or “eyebrow” covers that direct light downward toward the target. Position the fixtures so the light source is hidden from the primary viewing angles, such as the patio or the street.
How deep should I bury my landscape lighting wire?
The industry standard for low-voltage lighting is between 6 and 8 inches deep. This depth provides a balance between protecting the cable from lawn maintenance tools and allowing for relatively easy access if repairs are needed.
Can I mix different types of light fixtures in one zone?
Yes, but you must balance the lumens. A zone might include path lights for safety and spotlights for accenting a tree. Ensure the total wattage does not exceed the capacity of your transformer circuit.
Does mulch affect the performance of my lighting?
Excessive mulch can bury the base of the fixture, leading to heat buildup or moisture trapped against the metal. Maintain a consistent 3-inch depth and ensure the mulch is pulled back slightly from the fixture stem.