
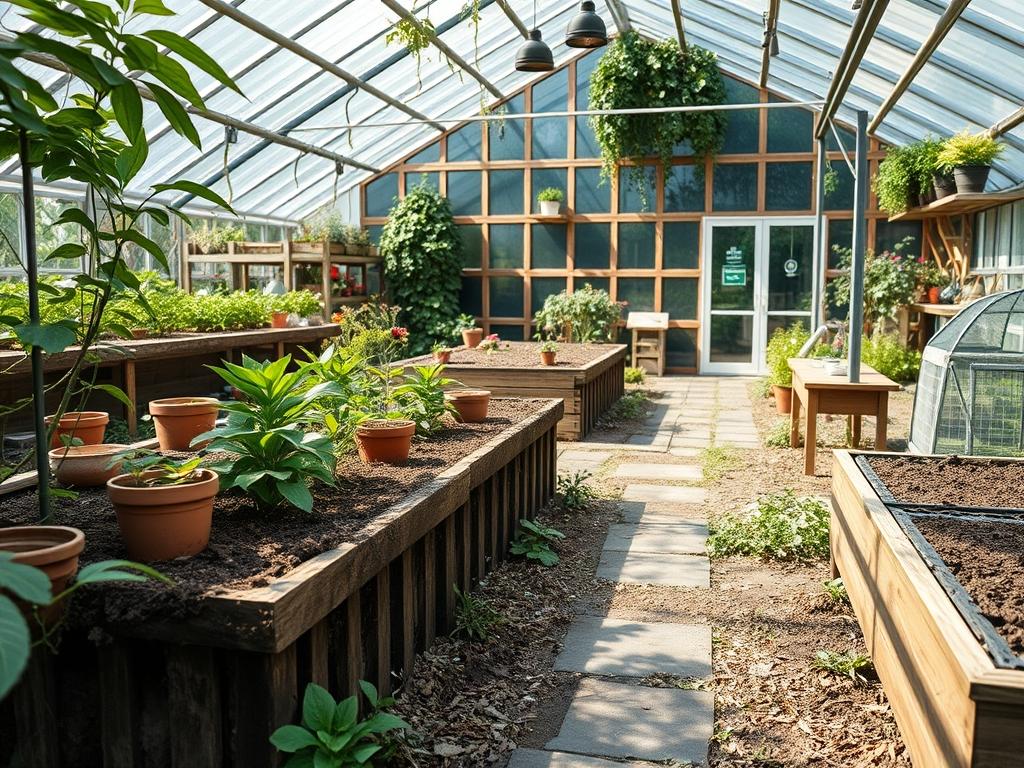
Garden room architecture represents a fundamental shift in how we perceive property boundaries and residential utility. It is the art of treating a landscape as a series of deliberate exterior chambers rather than a singular, unorganized void. Homeowners often struggle with the transition between a rigid architectural structure and the fluid, organic nature of a garden. To achieve a cohesive design, one must consider microclimates, the directional flow of wind, and the specific solar orientation of the site. A successful layout does more than increase curb appeal. It expands the living footprint of the home by providing functional spaces for work, relaxation, or socialization. When we approach landscaping through the lens of architecture, we focus on the structural integrity of the outdoor environment. This involves managing soil health, ensuring proper drainage, and selecting materials that complement the existing home while resisting the degradation caused by local weather patterns. Whether you are installing a modern home office in the backyard or a simple pergola for dining, the interplay between the built environment and the living landscape determines the long term success of the project.
Landscape Design Principles
The primary pillar of garden room architecture is the establishment of clear spatial boundaries. This is achieved through symmetry and the strategic placement of focal points. Symmetry does not require a perfect mirror image of every plant, but it does demand a balanced distribution of visual weight. For instance, if you install a heavy Stone Bench on the eastern side of a path, you might balance it with a dense cluster of Evergreen Shrubs on the western side. These elements act as the walls and furniture of your outdoor room, guiding the eye and the body through the space.
Elevation layers are equally critical in modern landscape design. By utilizing Retaining Walls or raised planters, a designer can create a sense of depth and enclosure. Sunken seating areas or terraced gardens break up the monotony of a flat yard, making the area feel larger and more complex. Each level should serve a specific purpose, such as a high-elevation sun deck or a low-elevation fire pit area. During the planning phase, Irrigation must be prioritized to ensure that water reaches every layer without causing erosion or pooling.
Visual balance is further refined through the choice of walkways. A path is more than a way to get from point A to point B; it is an architectural feature that defines the rhythm of the garden. Using Flagstone, Porcelain Pavers, or Decomposed Granite provides texture and color that contrasts with the softness of the foliage. These paths should be wide enough for two people to walk side by side, typically measuring at least 48 inches in width. This ensures the space feels generous and inviting rather than cramped. Lighting also plays a role in focal points, using Low-voltage LEDs to highlight the texture of a Stone Wall or the canopy of a specimen tree after sunset.
Plant and Material Selection
The following table outlines professional recommendations for various landscape zones. Selecting the right species ensures that the architectural vision is not undermined by plant failure or invasive growth.
| Plant Type | Sun Exposure | Soil Needs | Water Demand | Growth Speed | Maintenance |
| :— | :— | :— | :— | :— | :— |
| Boxwood (Buxus) | Full to Part Sun | Well-drained | Moderate | Slow | Medium |
| Lavender (Lavandula) | Full Sun | Sandy/Alkaline | Low | Moderate | Low |
| Japanese Maple | Part Shade | Rich/Acidic | Moderate | Slow | High |
| Ornamental Grass | Full Sun | Any/Well-drained | Low | Fast | Very Low |
| Climbing Hydrangea | Shade to Part Sun | Moist/Loamy | High | Moderate | Medium |
| Fescue Grass | Part Sun | Loamy | Moderate | Fast | Moderate |
When selecting materials, durability is the highest priority. Pressure-treated Lumber is common for framing, but for visible surfaces, Cedar or Ipe offers superior rot resistance and a more refined aesthetic. For hardscaping, Natural Limestone or Slate provides a timeless feel, though they require sealing to prevent staining. Always verify the Slip Resistance Rating of any stone used near water features or in high-traffic transition zones.
Implementation Strategy
The transition from a design on paper to a physical landscape requires a systematic approach. The first step is grading. Use a Laser Level to determine the slope of the land. The ground must slope away from any structures at a minimum rate of 2 percent, which translates to a 2-inch drop for every 10 feet of distance. This prevents water from pooling against foundations. Once the grade is established, the installation of French Drains or Catch Basins may be necessary if the soil has high clay content.
After the heavy earthwork is complete, mark the edges of your garden rooms using Marking Paint or a Garden Hose. This allows you to walk through the layout and feel the proportions before digging. When installing walkways, ensure a solid sub-base of Crushed Limestone or Class 5 Gravel packed to a depth of 4 inches. This prevents pavers from shifting over time. For the planting beds, use a Power Tiller to incorporate organic compost into the existing soil, improving aeration and nutrient availability.
Edge the beds clearly using Steel Edging or Brick Borders. This keeps the grass from infiltrating the planting areas and creates a crisp, professional line. When planting, dig holes twice as wide as the root ball but no deeper. This encourages lateral root growth whereas planting too deep can suffocate the tree or shrub. Finish the beds with a 3-inch layer of Hardwood Mulch. This retains moisture, regulates soil temperature, and suppresses weeds. Finally, install the Drip Irrigation lines beneath the mulch to deliver water directly to the root zones, minimizing evaporation and water waste.
Common Landscaping Failures
The most frequent mistake in garden room architecture is improper drainage. When water cannot escape the site, it creates hydrostatic pressure against walls and causes root rot. Using a Slope Gauge during the early phases of construction is essential. If you notice standing water that remains for more than 24 hours after a rain event, the site requires professional intervention such as a dry creek bed or an underground culvert.
Another critical error is root overcrowding. It is tempting to plant closely to achieve an instant “full” look, but this leads to competition for nutrients and light. Within five years, the plants will become stressed and prone to disease. Always research the “mature spread” of a species and plant according to that dimension. For example, a White Oak may look small in a 5-gallon container, but it will eventually require a radius of 40 feet or more.
Soil compaction is often overlooked. During construction, heavy machinery like Skid Steers can crush the delicate pore spaces in the soil. This prevents oxygen and water from reaching roots. If compaction occurs, you must use a Core Aerator or deep-till the area before planting. Additionally, failing to group plants by their Hydrozone requirements leads to irrigation inefficiency. Grouping a thirsty Hydrangea with a drought-tolerant Lavender ensures that one will either be overwatered or the other will be parched.
Seasonal Maintenance
Landscape management is a year-round commitment that changes with the weather. In the spring, the focus is on preparation. Apply a Pre-emergent Herbicide to prevent weed seeds from germinating. Prune away any winter kill using Bypass Pruners and refresh the mulch layers to maintain the 3-inch depth. This is also the time to test your Irrigation Controller and check for leaky valves or clogged nozzles.
Summer maintenance centers on hydration and stress management. During periods of extreme heat, deep watering in the early morning is more effective than frequent, shallow watering. Monitor for pests like Aphids or Spider Mites. If you have a lawn, raise the mower blade to 3.5 inches to shade the soil and encourage deeper root systems.
Autumn is the season for renovation. It is the best time to plant new trees or perennials because the cooler air and warm soil promote root growth without the stress of summer heat. Clean up fallen leaves to prevent them from smothering the grass or clogging drainage grates. Apply a Slow-release Fertilizer with a high potassium content to help plants build winter hardiness.
Winter is the time for structural inspection and protection. In colder climates, wrap the trunks of young trees with Tree Wrap to prevent frost cracks. Use Burlap Screens to protect sensitive evergreens from desiccating winds. This is also the ideal season to review your garden room architecture and plan for the next year, as the bare “bones” of the landscape are most visible when the foliage is gone.
Professional Landscaping FAQ
What is the best way to handle privacy in a garden room?
Use a combination of “soft” and “hard” barriers. Trellises with climbing vines provide immediate height, while staggered rows of Emerald Green Arborvitae offer year-round density. This creates a natural wall that buffers sound and blocks lines of sight.
How do I choose between pavers and poured concrete?
Pavers are generally superior for garden rooms because they are permeable and flexible. Unlike solid concrete, pavers will not crack if the ground shifts. They also allow for easier access to underground Utilities if repairs are ever needed.
What is the ideal mulch depth for backyard beds?
A depth of 2 to 3 inches is the industry standard. This is thick enough to suppress weeds and retain moisture without suffocating the soil. Avoid “mulch volcanoes” piled against tree trunks, as this can lead to bark rot and insect infestation.
Can I install a garden room on a sloped lot?
Yes, but it requires Terracing. Building a series of level plateaus using Timber or Block Retaining Walls creates usable flat space. Ensure you include Weep Holes in the walls to allow moisture to escape and prevent wall failure.
How often should I test my garden soil?
Perform a Soil Test every 2 to 3 years. This reveals the pH Level and nutrient concentrations. Understanding your soil chemistry allows you to apply the specific Nutrients your plants need rather than guessing with general-purpose fertilizers.