
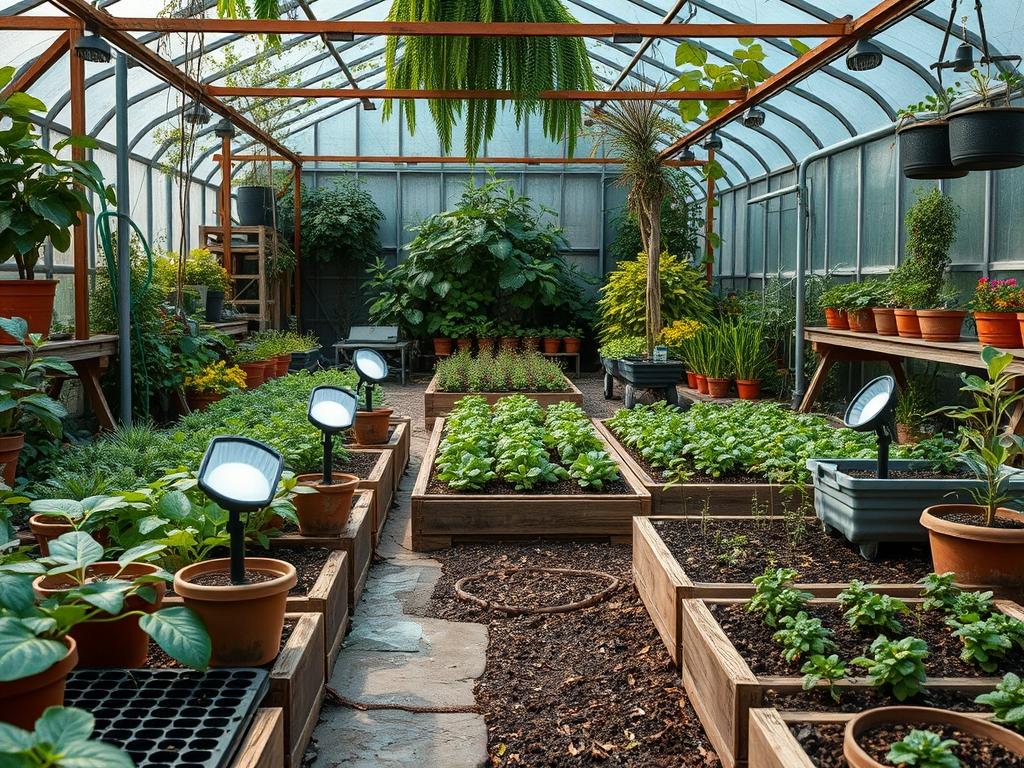
Designing a professional landscape requires more than just selecting high quality flora; it involves orchestrating an environment that transitions seamlessly from the clarity of daylight to the nuanced shadows of the evening. The integration of Solar Garden Spotlights has revolutionized this transition, offering a sustainable, cost effective method to highlight architectural features and botanical specimens without the invasive trenching required for traditional high voltage systems. When you select the right illumination, you are not merely adding light. You are defining the nocturnal character of your property, enhancing curb appeal, and ensuring the safety of those navigating your outdoor living spaces. In regions with varying climate conditions, from heavy rain to intense UV exposure, the durability and positioning of these fixtures become the primary indicators of a successful design. A well placed spotlight can transform a standard Retaining Wall into a dramatic textured backdrop or turn a solitary Japanese Maple into a glowing centerpiece.
The primary goal of professional landscape lighting is to create a sense of depth and security while minimizing light pollution. Functionality must meet aesthetics. For instance, illuminating a walkway using Solar Garden Spotlights requires a balance between providing enough visibility for foot traffic and avoiding a runway effect that can feel sterile. By understanding the interplay of light and shadow, a landscape architect can direct the eye toward specific focal points while allowing secondary areas to recede into a soft, ambient glow. This strategic use of light also serves a practical purpose by deterring intruders and highlighting potential tripping hazards like uneven Flagstone or subtle changes in Elevation.
Landscape Design Principles
Successful garden illumination relies on the classic principles of symmetry and visual balance. When installing Solar Garden Spotlights, you should consider the concept of layering. Elevation layers involve placing fixtures at different vertical levels to highlight the ground cover, the mid story shrubs, and the canopy of mature trees. This prevents a flat, two dimensional appearance at night. If you have a grand Oak tree, using two lights set at 45 degree angles from the base creates a three dimensional effect, revealing the texture of the bark and the intricate architecture of the branches.
Focal points are the anchors of your design. Whether it is a water feature, a sculpture, or a specimen plant, the light should draw the viewer’s attention to these elements first. Symmetry does not necessarily mean identical placement on both sides of a path. Instead, it refers to the weight of the light. If one side of a yard features a large, illuminated Evergreen, the opposite side might require several smaller lights clustered near a Birdbath to balance the visual energy.
Walkways and circulation paths require a different approach. Rather than pointing light directly at the path, which can cause glare, professionals often use the technique of “downlighting” or “moonlighting.” This involves mounting Solar Garden Spotlights on higher structures, such as a pergola or a sturdy branch, and angling them downward. This mimics the soft, natural light of the moon and provides a safe, clear path of travel. Furthermore, integrating these lights with your irrigation planning is vital. Ensure that fixtures are positioned away from the direct spray of high pressure sprinkler heads to prevent water spotting on the lenses or internal moisture buildup over time.
Plant and Material Selection
The following table outlines common landscape elements and how they interact with lighting and general maintenance requirements.
| Plant or Material Type | Sun Exposure | Soil Needs | Water Demand | Growth Speed | Maintenance Level |
| :— | :— | :— | :— | :— | :— |
| Boxwood Shrub | Full Sun to Part Shade | Well drained, Loamy | Moderate | Slow | Medium (Requires Pruning) |
| Hostas | Full Shade to Part Sun | Rich, Organic | High | Medium | Low (Trim dead leaves) |
| Japanese Maple | Dappled Sunlight | Slightly Acidic | Moderate | Slow | Medium (Structural pruning) |
| Lavender | Full Sun | Sandy, Gritty | Low | Medium | Low (Requires drainage) |
| Pea Gravel | Non Living | N/A | None | N/A | Low (Weed control needed) |
| Cedar Mulch | Non Living | N/A | None | N/A | Medium (Annual refresh) |
| Fieldstone | Non Living | N/A | None | N/A | Low (Occasional cleaning) |
Implementation Strategy
Implementing a lighting plan requires a systematic approach to ensure long term functionality. Start by sketching a garden layout that marks the location of all permanent structures, large trees, and existing hardscaping. Before you use a Shovel to place any stakes, use a high powered flashlight at night to test different lighting angles. This allows you to see exactly where shadows fall and how the light interacts with different textures.
Grading and drainage are critical considerations during the installation of Solar Garden Spotlights. If a light is placed in a low lying area where water collects, even an IP65 waterproof rated fixture may eventually fail due to hydrostatic pressure. Ensure the soil around the base of the light is slightly elevated or surround the mounting Stake with a small amount of Crushed Stone to facilitate drainage. For edging, use a Lawn Edger to create a clean border between your turf and the mulch beds where the lights will reside. This prevents grass from overgrowing the solar panels and blocking their access to sunlight.
When placing the lights, check for seasonal solar paths. A spot that receives full sun in the summer might be completely shaded by the house or an evergreen hedge in the winter. For maximum efficiency, monocrystalline solar panels should face south and be tilted at an angle that catches the most direct rays. If you are installing lights near Retaining Walls, consider using the wall as a reflector. Bouncing light off a light colored stone surface can provide a soft, indirect glow that is much more appealing than a direct beam.
Finally, consider the depth of your Mulch. A standard depth of 3 inches is ideal for moisture retention and weed suppression, but ensure the mulch does not cover the light sensors or the lower portion of the fixture body. This can trap moisture against the housing and lead to premature corrosion of the metal components or the degradation of plastic stakes.
Common Landscaping Failures
One of the most frequent mistakes in garden lighting is improper spacing. Homeowners often place Solar Garden Spotlights too close together, creating “pools” of light that are disconnected and jarring. Spacing should be determined by the beam angle of the fixture, usually between 10 feet and 15 feet apart for general path lighting, and much closer for intense uplighting of a specific feature.
Another common failure involves ignoring the impact of soil compaction. In high traffic areas, the soil becomes dense, preventing oxygen and water from reaching plant roots and making it difficult to install light stakes without breaking them. Always use a Hand Trowel or a small Auger to loosen the soil before inserting a light stake. Root overcrowding is also a significant issue. When planting near lights, account for the mature size of the plant. A small Juniper planted next to a light today might completely engulf the fixture in three years, rendering the light useless and potentially damaging the plant during maintenance.
Lastly, many fail to account for the “Kelvin” or color temperature of their lights. Mixing cool blue lights with warm yellow lights creates a disjointed, unprofessional look. For natural landscapes, a color temperature of 2700 Kelvin to 3000 Kelvin is recommended, as it enhances the greens and browns of the garden without looking artificial.
Seasonal Maintenance
Landscape management is a year round commitment. In the spring, focus on cleaning the solar panels. Pollen and dust can accumulate, significantly reducing the charging efficiency of the internal Lithium-ion batteries. Use a soft, damp cloth and avoid abrasive chemicals that could scratch the surface of the panel. This is also the time to check for any frost heave that may have pushed the light stakes out of the ground.
During the summer, the primary challenge is rapid plant growth. Use Pruning Shears to trim back any foliage that has begun to shade the solar panels. It is also wise to check the battery life. If a light is only staying on for two or three hours despite a full day of sun, it may be time to replace the rechargeable cell.
In the autumn, remove fallen leaves promptly. Debris left on top of the panels will prevent charging and can lead to permanent shading damage to the solar cells. As the days grow shorter, you may need to adjust the position of your Solar Garden Spotlights to account for the lower angle of the sun.
Winter maintenance involves protecting the fixtures from snow and ice. If you live in an area with heavy snowfall, you may need to clear the panels after every storm. In extremely cold climates, some professional landscapers choose to store the lights indoors during the harshest months to preserve battery health, though many modern solar units are designed to withstand freezing temperatures.
Professional Landscaping FAQ
How many lumens do I need for a garden spotlight?
For general accent lighting, 50 Lumens to 100 Lumens is sufficient. For uplighting large trees or highlighting architectural features from a distance, look for high output Solar Garden Spotlights that provide 300 Lumens or more.
Can solar spotlights work in the shade?
Most solar lights require at least 6 hours of direct sunlight to function through the night. If your garden is heavily shaded, look for models with a remote solar panel that can be placed in a sunnier location.
How do I prevent my solar lights from looking cheap?
Avoid plastic fixtures and opt for materials like Die-cast Aluminum, Stainless Steel, or Solid Brass. Ensure all lights have a consistent color temperature, preferably a warm white, to create a sophisticated and cohesive nighttime environment.
What is the lifespan of solar garden lights?
The LED bulbs can last for over 50,000 hours, but the rechargeable batteries typically need replacement every 2 years. High quality fixtures with durable weatherproofing can last 5 years or more with proper seasonal maintenance.
How do I fix a flickering solar light?
Flickering is usually caused by a loose battery connection or a dirty solar panel. Clean the panel surface and check the battery compartment for any signs of corrosion. Ensure the battery is seated firmly against the metal contact points.