
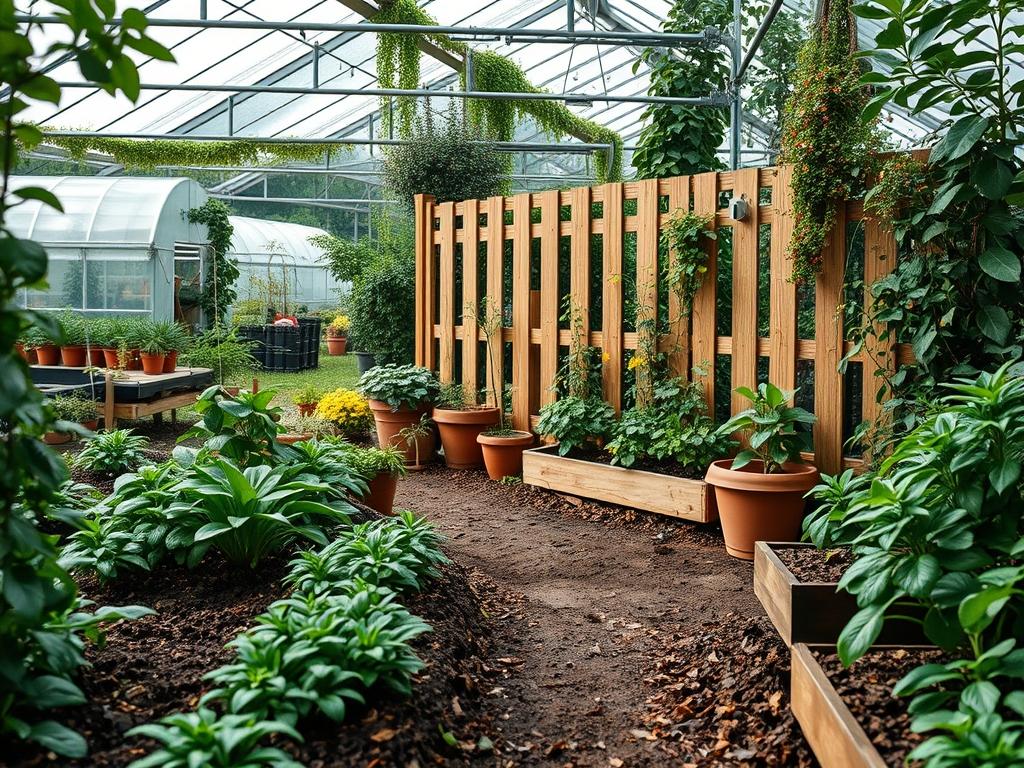
The modern backyard has transitioned from a simple grassy patch to a sophisticated extension of the home interior. This evolution demands a careful balance between aesthetics and utility, where the concept of the outdoor room takes center stage. To achieve true seclusion in an increasingly dense suburban landscape, the integration of high quality backyard privacy fence kits has become a primary objective for homeowners and designers alike. These kits offer a streamlined approach to boundary definition, providing a professional finish without the logistical hurdles of custom built carpentry. However, a fence does not exist in a vacuum. Its success depends on its relationship with the local climate, the topography of the lot, and the overarching architectural style of the residence.
When selecting a privacy solution, one must consider how the structure interacts with wind loads and sunlight patterns. A solid 6-foot composite panel may provide total visual occlusion, but it can also create a wind sail effect in high velocity corridors, necessitating deeper footings or reinforced posts. Conversely, a horizontal slat kit allows for airflow and dappled light, which preserves the health of nearby plantings while still obscuring the view from neighbors. Curb appeal is significantly impacted by these choices; a well chosen kit acts as a frame for the garden, highlighting expensive masonry or specimen trees. Functionality remains the ultimate goal, ensuring that the transition from the kitchen to the patio feels private, secure, and permanent.
Landscape Design Principles
Successful landscape architecture relies on the foundational principles of symmetry and visual balance. When installing backyard privacy fence kits, the fence serves as the primary vertical plane, creating a backdrop for all other elements. Symmetry can be achieved by flanking a central gated entrance with identical evergreen shrubs or modern steel planters. This creates a formal foyer for the outdoor space. Visual balance, however, does not always mean mirroring. On a sloped lot, one might balance a tall fence section with a low retaining wall on the opposing side to stabilize the sightline.
Elevation layers are critical for preventing a boxed in feeling. By staggering the heights of the fence and the foreground plantings, you create a sense of depth. For example, a 72-inch privacy screen can be softened by a mid tier layer of 36-inch ornamental grasses and a finishing edge of low profile groundcover. This tiered approach guides the eye upward and outward rather than stopping abruptly at a wooden or vinyl wall. Walkways should be planned to complement the fence line, using materials like flagstone or decomposed granite to create clear circulation paths that prevent foot traffic from compacting the soil near the fence posts.
Irrigation planning must be integrated into the design phase rather than added as an afterthought. Modern fence kits often sit on concrete piers or gravel trenches that can interfere with traditional subterranean sprinkler lines. Professional layouts utilize drip irrigation systems that run parallel to the fence, delivering water directly to the root zones of the screening plants without causing moisture damage to the fence material itself. This precision ensures that both the hardscaping and the softscaping thrive in tandem.
Plant and Material Selection
Selecting the right materials for backyard privacy fence kits requires an understanding of regional stressors and soil chemistry. The following table provides a guide for choosing the vegetation that best complements these structural barriers.
| Plant Type | Sun Exposure | Soil Needs | Water Demand | Growth Speed | Maintenance Level |
| :— | :— | :— | :— | :— | :— |
| Arborvitae Green Giant | Full Sun / Part Shade | Loamy, Well-drained | Moderate | Fast | Low |
| Skip Laurel | Part Shade / Full Shade | Slightly Acidic | Moderate | Medium | Medium |
| Star Jasmine | Full Sun / Part Shade | Rich, Organic | Low once set | Fast | High (Pruning) |
| Boxwood ‘Winter Gem’ | Full Sun / Part Shade | Neutral pH | Low | Slow | Medium |
| Feather Reed Grass | Full Sun | Clay or Sandy | Low | Fast | Low |
| Privet Hedge | Full Sun / Part Shade | Adaptable | Moderate | Very Fast | High |
The material of the fence kit itself should dictate the planting palette. A matte black aluminum frame with composite slats provides a sleek, industrial aesthetic that pairs perfectly with the structured discipline of Boxwoods. On the other hand, a traditional cedar kit offers warmth and organic texture that benefits from the soft, flowing movement of ornamental grasses.
Implementation Strategy
The implementation of backyard privacy fence kits begins with a rigorous site analysis. Before a single hole is dug, the land must be surveyed for underground utilities and the property lines must be clearly marked. Grading is the most overlooked step; if the ground is not properly leveled or terraced, the fence will appear jagged and unprofessional. Use a laser level and string lines to establish a consistent top rail height across the entire perimeter.
For the installation of the posts, which are the backbone of the system, a power auger is typically required to reach depths below the frost line, usually 30 to 42 inches depending on the geography. Each post should be set in high strength concrete with a slight crown at the top to shed water away from the post. Once the posts are cured, the assembly of the kit panels can begin. Most modern kits utilize a tongue and groove system or a bracket mounted rail system that allows for thermal expansion and contraction.
Drainage must be addressed by ensuring the bottom of the fence sits at least 2 inches above the final grade. This prevents the panels from sitting in standing water and allows for the natural flow of runoff. Edging the base of the fence with steel edging or poured concrete curbs creates a clean transition for lawn maintenance. A thick layer of hardwood mulch, roughly 3 inches deep, should be applied to the planting beds to regulate soil temperature and suppress weeds near the new structure.
Common Landscaping Failures
The most frequent failure in privacy landscaping is poor drainage planning. When backyard privacy fence kits are installed without considering the natural flow of water, they can act as dams. This leads to soil saturation, which weakens post footings and drowns the root systems of expensive screening plants. Always ensure that the grading directs water toward a French drain or a designated swale.
Root overcrowding is another common pitfall. Homeowners often plant hedging species too close to the fence to achieve instant privacy. As these plants mature, their thickening trunks and expansive root systems can push against the fence panels, causing them to warp or crack. Proper spacing, usually based on the mature width of the plant, is essential for long term structural integrity.
Soil compaction frequently occurs during the construction phase. Heavy machinery or repeated foot traffic near the fence line can crush the pore spaces in the soil, preventing oxygen and water from reaching plant roots. To fix this, use a broadfork or aerator before planting. Lastly, irrigation inefficiencies, such as spray heads hitting the fence rather than the garden, will lead to premature rot in wooden kits or unsightly mineral deposits on dark vinyl or metal panels.
Seasonal Maintenance
Landscape management is a year round commitment that protects the investment in backyard privacy fence kits. In the spring, focus on inspecting the structural integrity of the fence after the winter thaw. Check for heaving posts and tighten any stainless steel fasteners that may have loosened. This is also the time to apply a pre emergent herbicide to the mulch beds and prune any winter damage from surrounding shrubs.
Summer maintenance centers on water management. During high heat periods, monitor the moisture levels of plants located against the fence, as the structure can reflect heat and cause localized drying. Ensure that irrigation timers are adjusted for the season. In the autumn, the primary task is debris removal. Wet leaves trapped against the base of a fence can promote mold and fungal growth. Clean out the bottom gaps of the fence panels to maintain airflow.
Winter is the time for protection. In regions with heavy snowfall, avoid piling snow against the fence kits, as the weight can cause bowing. If the fence is made of natural wood, winter is a good time to plan for re staining or sealing in the coming spring. For vinyl and composite materials, a simple wash with a mild detergent and a soft bristle brush during a mid winter thaw can prevent the buildup of soot and grime.
Professional Landscaping FAQ
What is the best material for low maintenance privacy?
Composite panels and powder coated aluminum are the premier choices for longevity. These materials resist rot, insects, and UV fading. Unlike natural wood, they require no seasonal staining or sealing, needing only an occasional rinse with a garden hose.
How deep should I set my fence posts?
Posts should generally be buried at least one third of their total height. In colder climates, you must reach below the frost line, typically 36 inches, to prevent the ground from pushing the post upward during freeze thaw cycles in the winter.
Can I install a privacy fence on a steep slope?
Yes, you can use either the stepping method or the racking method. Stepping creates a stair-like profile with level panels, while racking follows the angle of the terrain. Most high quality backyard privacy fence kits are designed for racking.
How do I prevent weeds from growing under the fence?
Install a physical barrier such as a heavy duty landscape fabric topped with 3 inches of crushed stone or mulch. For a more permanent solution, a thin concrete mow strip under the fence line prevents all unwanted vegetation growth.
Will a privacy fence decrease my property value?
A professionally installed, aesthetically pleasing fence kit usually increases property value by defining the lot and providing security. However, poor quality materials or sloppy installation can have the opposite effect. Always choose a style that complements the home’s existing architecture.