
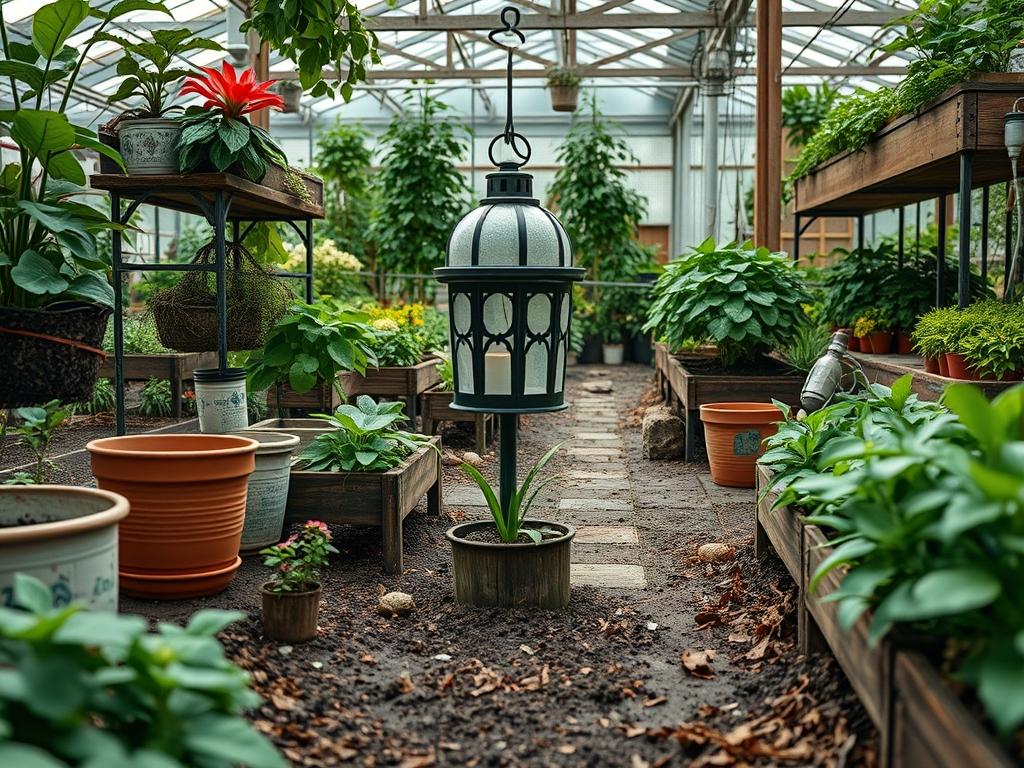
Transforming a residential landscape into an immersive evening environment requires a delicate balance between functional illumination and aesthetic restraint. In my years as an outdoor environment consultant, I have found that homeowners often struggle to bridge the gap between ground-level pathway lighting and the towering canopy of mature trees. This vertical void often leaves a property feeling flat or disjointed after sunset. Solar Lantern Styling offers a sophisticated solution to this architectural challenge by utilizing the existing vertical structure of the landscape without the invasive trenching and high-voltage wiring typically required for traditional tree-mounted fixtures. When we approach a professional design, we are not simply hanging lights; we are orchestrating a relationship between light, shadow, and the natural movements of the wind.
The primary goal of integrating solar elements into arboreal structures is to enhance curb appeal while maintaining the biological health of the specimen. Proper lighting should draw the eye upward, highlighting the intricate branching patterns of an Acer palmatum or the rugged texture of a Quercus alba. The challenge lies in the placement and intensity of the light. Over-saturation can create a harsh, artificial glare that disrupts the peaceful ambiance of a backyard retreat. By utilizing professional Solar Lantern Styling, we can create a dappled effect that mimics moonlight filtering through the leaves. This strategy increases the perceived depth of the property, making smaller yards feel expansive and large estates feel more intimate and curated.
Landscape Design Principles
Successful tree lighting depends heavily on the principle of spatial hierarchy. In a professional landscape, we identify a primary focal point, such as a majestic Live Oak, and use it as the anchor for our lighting scheme. Symmetry is not always the goal; often, an asymmetrical arrangement of lanterns creates a more organic and inviting atmosphere. We look for elevation layers, placing lanterns at varying heights to lead the eye through the three-dimensional space. A single lantern hung at eye level might provide a point of reference, but a series of offset lanterns at 8 feet, 12 feet, and 15 feet creates a true sense of verticality.
Visual balance is equally critical. If the west side of your garden features a densely lit River Birch, the east side must have a corresponding, though perhaps subtler, light source to prevent the landscape from feeling lopsided. We also consider the transition between the hardscaping and the softscaping. Lanterns should guide the viewer from the solid lines of the Flagstone Patio toward the softer, undulating forms of the garden beds. This transition is smoothed by the use of warm-toned LEDs, typically in the 2700K to 3000K range, which complement the natural greens and browns of the foliage rather than the clinical blue tones found in lower-quality solar products.
Plant and Material Selection
| Plant Type | Sun Exposure | Soil Needs | Water Demand | Growth Speed | Maintenance Level |
| :— | :— | :— | :— | :— | :— |
| Japanese Maple | Partial Shade | Well-drained, acidic | Moderate | Slow | Medium |
| White Oak | Full Sun | Deep, moist, loamy | Low to Moderate | Slow | Low |
| River Birch | Full Sun to Part Shade | Wet, acidic, clay | High | Fast | Medium |
| Saucer Magnolia | Full Sun to Part Shade | Rich, well-drained | Moderate | Medium | Medium |
| Eastern Redbud | Partial Shade | Moist, well-drained | Moderate | Medium | Low |
| Crepe Myrtle | Full Sun | Adaptable, well-drained | Low | Fast | Medium |
When selecting lanterns for these specific trees, material durability is paramount. We recommend Powder-coated Aluminum, Stainless Steel, or Industrial-grade Polycarbonate housings. These materials withstand the expansion and contraction of branches as well as the humidity often trapped within a dense canopy. For the hanging mechanism, avoid thin wires that can cut into the bark. Instead, utilize Arborist-grade nylon webbing or Stainless steel S-hooks paired with a protective rubber sleeve to ensure the tree’s vascular system remains undamaged as it grows.
Implementation Strategy
The first step in any professional layout is a thorough site assessment. We begin with grading and drainage checks to ensure that the area beneath the target trees does not collect standing water, which could limit access for maintenance. Once the ground is prepared, we install a 3-inch layer of Hardwood Mulch around the base of the tree, ensuring a 6-inch gap from the trunk flare to prevent rot. This mulch bed serves as the visual staging area for the lanterns above.
To begin the installation of your Solar Lantern Styling, use an Extendable A-frame Ladder and a Measuring Tape to map out your desired heights. Start by identifying the sturdiest lateral branches capable of supporting the weight of the fixture. We typically aim for branches with a diameter of at least 3 inches. Position the solar panels, if they are remote, on the southern-facing side of the canopy to maximize ultraviolet absorption. If the lanterns have integrated panels, they must be hung in “windows” within the foliage where sunlight can penetrate for at least 6 hours a day.
When hanging the fixtures, leave room for movement. Use a Level to ensure the lanterns hang straight, but allow for a 2-inch slack in any tethering to accommodate wind swaying. Once the lanterns are positioned, evaluate the sightlines from the primary viewing areas, such as the living room window or the Outdoor Kitchen. Adjust the spacing to ensure no single light source is blocked by a foreground branch, a technique we call windowing. Finally, reinforce the base of the tree with Natural Stone Edging to define the space and protect the root zone from foot traffic during the installation process.
Common Landscaping Failures
The most frequent mistake I see in DIY Solar Lantern Styling is the “Girdling” effect. This occurs when homeowners wrap lights or hanging wires tightly around a limb. As the tree grows in diameter, the wire chokes the cambium layer, eventually killing the branch or the entire tree. Always use loose loops or specialized tree-friendly hardware. Another common failure is ignoring the Kelvin temperature of the bulbs. Mixing cool-white solar lights with warm-white architectural lighting creates a jarring, unprofessional look that diminishes the property value.
Drainage mistakes also play a hidden role in lighting failure. If the installation process involves heavy foot traffic around the tree, the soil can become compacted, suffocating the roots and leading to a thinning canopy. A thin canopy provides no “backdrop” for the light, causing the lanterns to look like they are floating in an empty black void. Furthermore, placing solar lanterns in deep shade is a recipe for disappointment. Many users fail to realize that even a thin veil of leaves can reduce solar charging efficiency by 50 percent or more, leading to dim lights that fail shortly after dusk.
Seasonal Maintenance
Landscape management is a year-round commitment. In the spring, your focus should be on cleaning. Use a Microfiber Cloth and a mild soap solution to wipe the dust and pollen off the solar panels. This increases their efficiency significantly for the upcoming longer days. This is also the time to prune any new growth that may have obscured the panels or the light output of the lanterns using Bypass Pruners.
During the summer, the primary concern is heat and irrigation. Ensure your Drip Irrigation System is functioning correctly, as drought-stressed trees may drop branches unexpectedly. In autumn, clear fallen leaves from the tops of the lanterns to prevent moisture buildup and potential short-circuiting of the sensors. Finally, in winter, if you live in a climate with heavy snow, it is often best to take down lightweight lanterns to prevent branch breakage. For permanent fixtures, check the battery compartments for corrosion caused by temperature fluctuations and replace the Rechargeable NiMH Batteries every two years to maintain peak performance.
Professional Landscaping FAQ
What is the best height to hang solar lanterns in a mature tree?
For the best visual impact, hang lanterns at staggered heights between 7 and 15 feet. This range keeps the light within the human field of vision while highlighting the architecture of the lower and middle canopy branches.
How many lanterns should I use per tree?
A medium-sized tree like a Japanese Maple usually requires 3 to 5 lanterns. For larger specimens like a White Oak, you may use 7 to 10 to create a balanced, intentional glow without over-crowding the structure.
Will solar lanterns work in a heavily shaded backyard?
They can work if you choose models with Remote Solar Panels. The panel is placed in a sunlit area up to 15 feet away and connected to the lanterns by a thin, discrete wire hidden along the branches.
What hardware is safest for the tree’s health?
Use Nylon Webbing Straps or Stainless Steel S-hooks with rubber padding. Never use nails, screws, or tight copper wire, as these hardware choices cause long-term damage to the tree’s vascular tissue and overall structural integrity.
How many lumens do I need for effective Solar Lantern Styling?
Aim for 15 to 30 lumens per lantern for ambient styling. This brightness provides a soft, enchanting glow. Anything higher may become a source of glare that obscures the natural beauty of the surrounding garden and nocturnal landscape.