
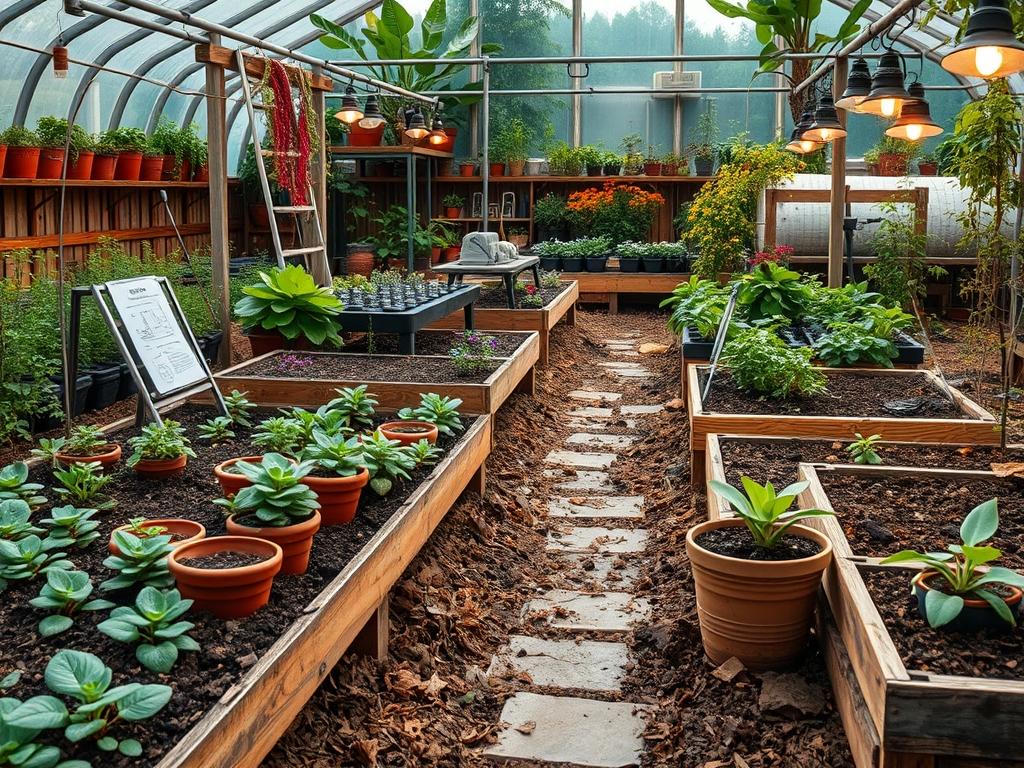
The transition from daylight to evening represents a critical shift in the functionality and aesthetic value of any professional landscape. A garden that shines during the afternoon can easily vanish into a dark, illegible mass at night if the lighting strategy is neglected. To solve this, understanding solar spotlighting basics is essential for any homeowner or consultant looking to extend the usability of outdoor living spaces. High-quality solar fixtures offer a sustainable, low-impact method for enhancing curb appeal and safety without the intrusive trenching required for traditional low-voltage systems. By leveraging photovoltaic technology, a designer can create a layered environment where shadows and highlights define the spatial hierarchy of the site. The goal is not to illuminate the entire yard like a parking lot; rather, it is to selectively highlight textures, movements, and structural elements that define the property character.
The success of a nighttime landscape depends heavily on the interplay between the light source and the physical environment. Climate considerations play a massive role here. In regions with frequent overcast skies, the selection of high-efficiency Monocrystalline Silicon Panels is mandatory to ensure the batteries charge sufficiently. Furthermore, the placement of these units must be integrated into the broader landscape plan to assist with navigation and security. When we look at a property through the lens of a landscape architect, we see more than just grass and trees. We see a series of visual planes that require balance. Solar lighting acts as the final brushstroke, providing the contrast necessary to make a Stone Retaining Wall or a specimen Evergreen pop against the darkness.
Landscape Design Principles
Effective landscaping relies on several core pillars: symmetry, focal points, and elevation layers. When applying solar lighting, these principles dictate exactly where the hardware should be placed. Symmetry does not always mean a mirrored image, but rather a balanced distribution of visual weight. If you use a powerful 200-Lumen Solar Spot to illuminate a large Statue on the left side of a patio, you must balance it with a softer wash of light on a grouping of Ornamental Grasses on the right. This prevents the eye from getting “stuck” on a single bright point.
Focal points are the stars of the show. In solar spotlighting basics, we use “up-lighting” to emphasize the height and bark texture of specimen trees. For instance, placing a fixture 2 Feet from the base of a River Birch and angling it upward reveals the exfoliating bark that would be lost in the shadows. Elevation layers also contribute to depth. By lighting the ground level with Path Lights, the middle layer with Shrub Spotlights, and the canopy with Tree-Mounted Solar Floods, you create a three-dimensional experience. This layering technique also aids in Irrigation Planning. By identifying where light fixtures are placed, you can ensure that Sprinkler Heads are adjusted to avoid spraying directly onto the light lenses, which prevents hard water spotting and mineral buildup that can dim the output over time.
Walkways and circulation paths require a different approach. Lighting should prioritize safety without creating glare. This is achieved by “grazing” the light across the walking surface rather than pointing it directly at the eyes of the pedestrian. When designing these paths, consider the Elevation Changes. If there are steps or inclines, a dedicated solar spot should be aimed at the “tread” of the step to prevent tripping. This functional planning ensures that the aesthetic beauty of the garden is matched by its practical utility.
Plant and Material Selection
The following table highlights plant types that respond exceptionally well to solar spotlighting due to their texture, form, or foliage color.
| Plant Type | Sun Exposure | Soil Needs | Water Demand | Growth Speed | Maintenance Level |
| :— | :— | :— | :— | :— | :— |
| Japanese Maple | Partial Sun | Loamy, Acidic | Moderate | Slow | Medium |
| Blue Fescue | Full Sun | Well-drained | Low | Moderate | Low |
| Common Boxwood | Full to Part Sun | Neutral pH | Moderate | Slow | High (Pruning) |
| Creeping Thyme | Full Sun | Sandy/Rocky | Low | Fast | Low |
| Feather Reed Grass | Full Sun | Heavy Clay/Moist | Moderate | Fast | Low |
| Hydrangea Macrophylla| Partial Shade | Rich, Porous | High | Fast | Medium |
Implementation Strategy
Implementing a solar-lit garden requires more than just pushing stakes into the dirt. Start with a thorough assessment of your Grading. Drainage is the enemy of electronic longevity. Even if a solar light is rated for outdoor use, sitting in a puddle for 48 Hours after a rainstorm can lead to seal failure and internal corrosion. Ensure the ground slopes away from the fixture or that the light is placed in a well-draining area.
Begin the layout by identifying the primary viewing angles, usually from the back porch or the front sidewalk. Place your Spade or Edger into the soil to mark the locations of your Hardscaping borders. If you are installing a new path, use a String Line and a Level to ensure the grade is consistent. Once the structure is in place, apply a layer of Geotextile Fabric to prevent weeds, followed by approximately 3 Inches of Cedar Mulch or River Rock.
When positioning the solar spots, consider the “off-board” panel options. In a shaded garden, a spotlight with a built-in panel may never receive enough energy. Instead, use a model where the Photovoltaic Cell is connected by a 15-Foot Wire. This allows you to hide the light under a Hosta or Fern while placing the panel in a nearby sunny patch. For maximum efficiency, tilt the panel at a 45-Degree Angle facing south. This captures the most solar radiation throughout the day, ensuring the Lithium-Ion Battery is fully charged by dusk.
Common Landscaping Failures
The most frequent error in outdoor lighting is poor placement regarding future growth. Many homeowners place a spotlight too close to a young Arborvitae. Within 3 Years, the plant’s diameter expands, swallowing the light fixture and creating a fire hazard or simply rendering the light useless. Always account for the “mature width” of the plant when installing hardware.
Soil compaction is another silent killer of garden health and lighting stability. When soil is packed too tightly around a fixture or a root zone, it inhibits air and water movement. Use a Garden Fork to aerate the soil before installation. Furthermore, watch out for “light pollution” or “spill.” This occurs when a spotlight is aimed too high, missing the target tree and shining directly into a neighbor’s window or into the night sky. This wastes energy and disrupts local wildlife. Finally, neglecting Drainage near the base of Retaining Walls can cause the wall to lean, which will eventually crush any lighting cables or fixtures installed at the base.
Seasonal Maintenance
To keep a solar-lit landscape looking professional, a seasonal maintenance schedule is non-negotiable.
Spring: As the ground thaws, check the stability of your light stakes. Soil heaving can push fixtures out of the ground or tilt them. Prune any winter-damaged branches on your Dogwood or Oak trees that might be blocking the solar panels.
Summer: Focus on cleaning. Dust, pollen, and dried water spots can reduce panel efficiency by up to 30 Percent. Use a soft cloth and a bit of dish soap to wipe the lenses and the solar cells. Trim back fast-growing plants like Creeping Thyme or Ivy that may have begun to crawl over the sensors.
Autumn: Clear fallen leaves immediately. A single large Maple Leaf covering a solar panel can prevent the light from turning on at all. This is also the time to check the integrity of any Bark Mulch and top it up to protect the soil from the coming freeze.
Winter: In colder climates, snow removal is the primary task. Use a Soft Broom to gently clear snow from the panels. If you expect a severe freeze-thaw cycle, you may want to bring the decorative glass fixtures indoors and leave only the heavy-duty plastic or metal stakes in place to prevent cracking.
Professional Landscaping FAQ
How many lumens do I need for a garden spotlight?
For residential trees and statues, 100 to 300 Lumens is usually sufficient. Higher outputs are available but may cause harsh glare. Lower outputs, around 50 Lumens, are better for small shrubs or delicate garden art.
Can solar lights work in total shade?
Integrated solar lights will not function in total shade. However, models with a separate, corded solar panel allow you to place the light in the shadows while the Power Collector sits in a sunny area up to 20 Feet away.
How long do the batteries in solar spotlights last?
Most Lithium-ion or NiMH batteries in solar fixtures last between 1 to 2 Years. If you notice the light staying on for only an hour or two, it is likely time to replace the internal battery cell.
What is the best way to clean solar panels?
Use a mixture of warm water and mild soap with a non-abrasive sponge. Avoid harsh chemicals or Steel Wool, as scratches on the surface of the panel will permanently reduce its ability to collect sunlight and generate power.
Do solar spotlights require special soil for installation?
No, but the soil should be well-drained. In Heavy Clay, the stake may be difficult to insert. In Sandy Soil, the fixture may lean. Use a small amount of Crushed Stone at the base of the stake for extra stability.