
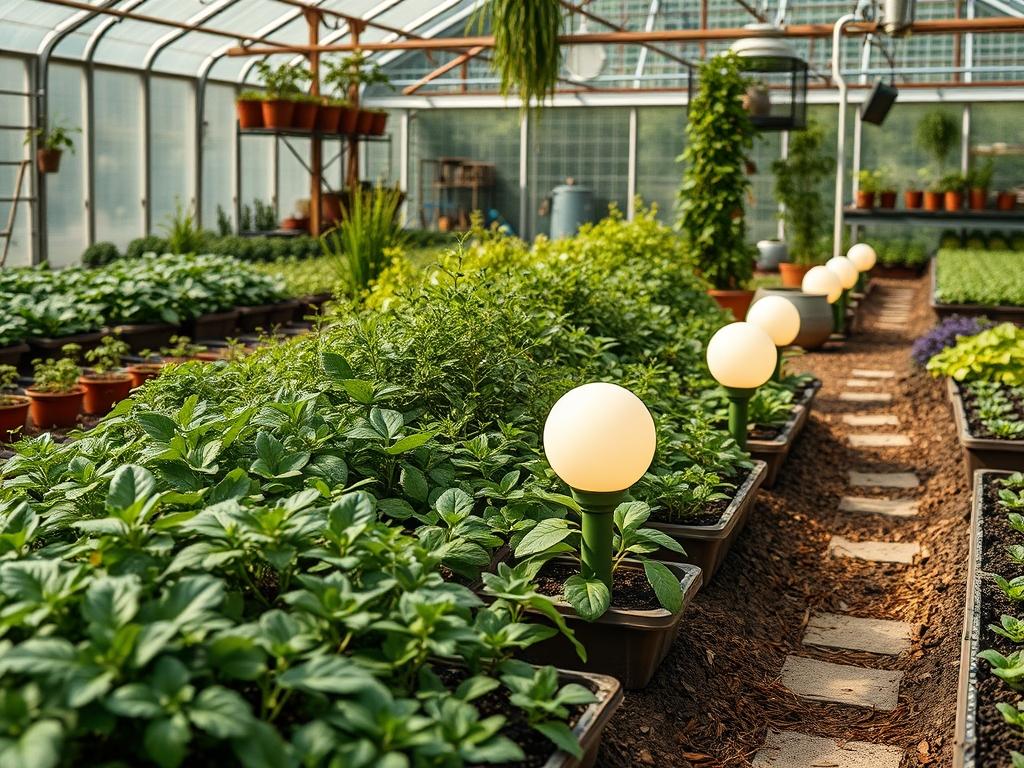
Modern landscape architecture often faces the challenge of balancing nocturnal utility with aesthetic mystery. Traditional path lighting frequently relies on directional stakes that provide safety but lack the ethereal quality required for high-end residential curb appeal. Integrating Solar Garden Orb Lights into a professional outdoor environment solves this by diffusing light in a 360-degree radius, creating a soft glow that mimics natural moonlight. This approach is particularly effective in temperate climates where the transition from day to night is rapid, leaving architectural features in shadow. By utilizing the refractive properties of frosted or crackle-glass orbs, designers can highlight the texture of foliage while maintaining the functional goals of wayfinding and hazard identification. Properly placed orbs transform a flat, dark lawn into a multi-dimensional environment, enhancing the overall functionality of the outdoor living space without the invasive installation requirements of wired systems.
Landscape Design Principles
To achieve professional results, one must move beyond the random placement of lighting fixtures. Symmetry and balance are the foundations of effective lighting. For formal entrances, placing orbs in pairs along a central axis creates a sense of grandeur and order. However, in more organic, cottage-style gardens, asymmetrical clusters in groups of three or five provide a more natural look. These clusters should vary in height and diameter, perhaps using a 12-inch orb alongside an 8-inch orb to mimic the appearance of fallen stars or large dew drops among the plantings.
Focal points are essential for directing the eye through the landscape. A single, large-scale orb placed at the terminus of a sightline, such as the end of a gravel walkway or nestled within the curve of a retaining wall, acts as a visual anchor. Elevation layers also play a critical role. Designers should avoid placing all light sources on the same horizontal plane. By varying the height of the solar orbs, some on the ground, some on pedestals, and some tucked into the boughs of low-lying trees, you create a tiered effect that adds depth. This layering ensures that the eye moves vertically as well as horizontally across the backyard.
Visual balance must also account for the surrounding architecture. If a home features sharp, angular lines, the spherical nature of Solar Garden Orb Lights provides a necessary softness. Conversely, if the home is characterized by soft curves, the orbs reinforce the existing design language. Integration with walkways is the final piece of the design puzzle. Instead of lining them like a runway, stagger the orbs back into the plant beds by 18 to 24 inches. This illuminates the path indirectly, reducing glare and creating a more immersive, magical experience.
Plant and Material Selection
The choice of plants surrounding your solar orbs determines how the light is shaped and reflected. Silvery foliage and fine-textured grasses are ideal as they catch the faint luminescence of solar-powered bulbs effectively.
| Plant Type | Sun Exposure | Soil Needs | Water Demand | Growth Speed | Maintenance Level |
| :— | :— | :— | :— | :— | :— |
| Blue Fescue | Full Sun | Well-drained | Low | Moderate | Low |
| Japanese Forest Grass | Part Shade | Rich/Moist | Medium | Slow | Low |
| Lavender | Full Sun | Sandy/Dry | Low | Moderate | Medium |
| Boxwood | Full Sun/Shade | Loamy | Medium | Slow | High |
| Silver Falls Dichondra | Full Sun/Part Shade | Well-drained | Low | Fast | Medium |
| Hostas | Shade | Moist/Organic | Medium | Moderate | Low |
When selecting hardscaping materials to complement these orbs, consider the reflective index of the surface. White river rock or crushed granite will reflect more light upward, enhancing the glow of the orb. In contrast, dark bark mulch or pine needles will absorb light, making the orb appear as if it is floating in a void. For a sophisticated look, use slate chips around the base of the orbs; the flat surfaces of the stone catch the light and create subtle, shimmering highlights that change as you walk past.
Implementation Strategy
The successful installation of Solar Garden Orb Lights begins with a thorough site analysis. Start by observing the sun patterns in your yard. Because these orbs rely on photovoltaic cells, they require at least 6 hours of direct sunlight to maintain their glow through the night. Avoid placing them under deep eaves or dense evergreen canopies. Once the locations are identified, verify the grading of the site. If an orb is placed in a low spot, it may become submerged during heavy rain, which can compromise the seal of the battery compartment.
Start by marking your layout with landscape marking paint or surveyor flags. If you are integrating these into a new bed, ensure your irrigation lines are buried at a depth of at least 8 inches to avoid interference. For the base of each orb, excavate a small area and fill it with 2 inches of leveling sand or fine pea gravel. This provides a stable, level surface and prevents the orb from tilting over time due to soil settling.
Once the orbs are seated, apply a 3-inch layer of organic mulch, such as triple-shredded hardwood, around the base. Be careful not to bury the bottom of the orb too deeply; the goal is for the sphere to appear as if it is resting on the surface. If you are using ground stakes, ensure they are driven straight using a rubber mallet to avoid cracking the plastic or glass housing. Finally, consider the drainage. In areas with heavy clay soil, a small French drain or a layer of coarse aggregate beneath the installation area will prevent water from pooling around the light sensors.
Common Landscaping Failures
One of the most frequent mistakes in professional landscaping is ignoring the long-term impact of drainage. Improperly graded beds can cause water to collect around the base of solar fixtures, leading to seal failure and internal corrosion. Designers must ensure that the soil slopes away from the lighting clusters at a minimum of a 2 percent grade. Furthermore, soil compaction is a silent killer for both plants and lighting stability. When soil is compacted by heavy foot traffic or construction equipment, it loses its ability to drain, and the resulting pressure can shift the positioning of your orbs.
Root overcrowding is another significant issue. Many homeowners plant fast-growing shrubs like Privet or Leyland Cypress too close to their orbs. Within two seasons, the foliage can completely swallow the light source, rendering the solar panel useless. Proper spacing based on mature plant width is essential. Additionally, many DIY installations fail to account for irrigation inefficiencies. If a sprinkler head is aimed directly at a solar orb, the constant high-pressure water can eventually penetrate the gaskets. Always adjust your irrigation nozzles to spray away from electronic components.
Seasonal Maintenance
To keep Solar Garden Orb Lights functioning at peak performance, a seasonal maintenance schedule is necessary. In the spring, inspect the orbs for any cracks that may have formed during winter freezes. Wipe the photovoltaic panels with a damp, lint-free cloth to remove pollen and dust, which can reduce charging efficiency by up to 30 percent. This is also the time to refresh the mulch and check that the orbs are still level.
During the summer, the primary task is managing plant growth. Prune back any aggressive foliage that has started to shade the solar collectors. In autumn, clear away fallen leaves and debris immediately. Decaying organic matter can stain the surface of the orbs and block the light sensors. For regions with heavy snowfall, it is often best to bring glass orbs indoors during the peak of winter. Cold temperatures can diminish lithium-ion battery life significantly. If the orbs remain outside, ensure they are cleared of snow after every storm so they can catch whatever limited sunlight is available.
Professional Landscaping FAQ
How do I choose the right size orb for my garden?
Scale is determined by the viewing distance. Use 10-inch orbs for small, intimate patio spaces. For expansive lawns viewed from a distance of over 20 feet, select 16-inch or 20-inch spheres to ensure they maintain their visual impact.
Can solar orbs be used in shaded gardens?
Yes, but with limitations. You must utilize models with remote solar panels connected by a thin wire. This allows the orb to sit in the shade of a Japanese Maple while the panel is positioned in a sunny spot.
What is the best way to clean the glass housing?
Avoid harsh chemicals that can strip protective coatings. Use a mixture of distilled water and a drop of mild dish soap. Wipe with a microfiber cloth to prevent scratching the surface, which can dull the light output over time.
How long do the internal batteries typically last?
Most high-quality solar orbs use rechargeable NiMH or Lithium batteries. These generally last between 1 and 2 years depending on the number of charge cycles. Replace them promptly to prevent battery acid leakage from damaging the internal circuitry.
Do these lights work during cloudy weather?
Most modern solar cells can still harvest energy on overcast days, but the illumination time will be reduced. Expect approximately 3 to 4 hours of light after a cloudy day, compared to 8 or more hours following full sun.