
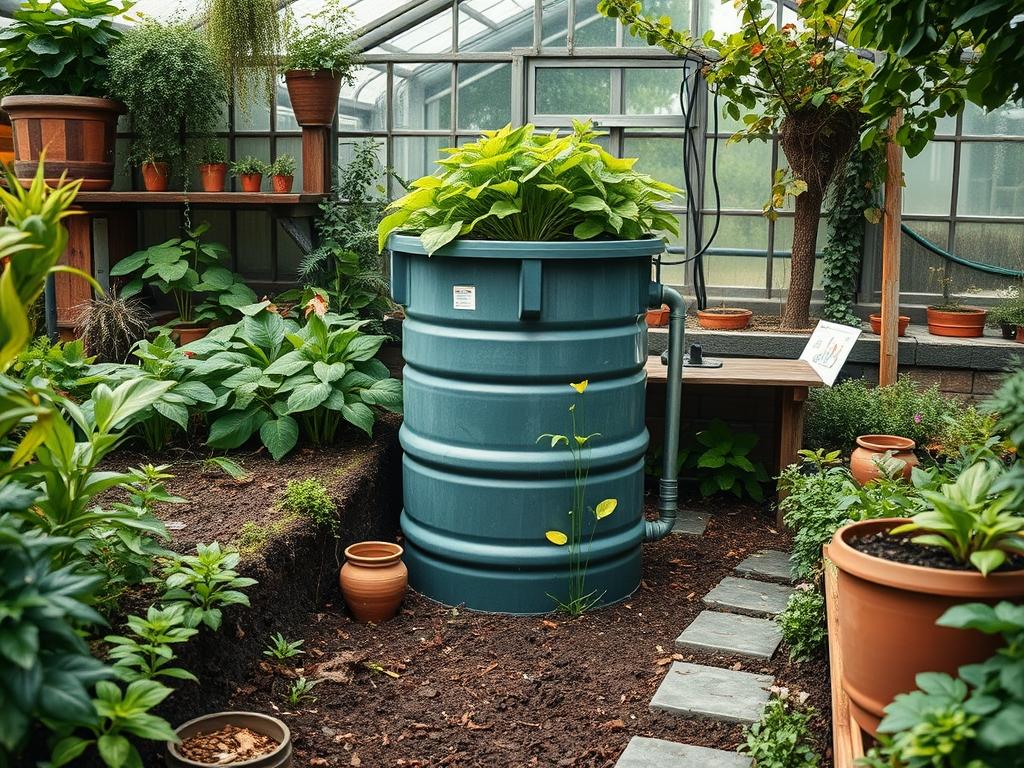
Most homeowners view the addition of a rain barrel as a necessary compromise between environmental ethics and garden aesthetics. It is often regarded as a bulky, utilitarian object that disrupts the fluid lines of a well-manicured landscape. However, professional landscape architecture treats water conservation tools not as eyesores to be hidden, but as functional components that can be seamlessly woven into the site plan. Effective rain barrel integration requires a deep understanding of hydraulic physics, plant biology, and spatial design. By viewing the barrel as a part of the larger irrigation strategy, a designer can enhance the curb appeal of a home while reducing the reliance on municipal water systems. The challenge lies in managing the visual weight of the container while ensuring that the overflow and drainage patterns protect the home foundation.
When selecting a location, one must prioritize the proximity to downspouts and the elevation of the vessel. Gravity is the primary driver of water pressure in these systems; therefore, the barrel must be elevated to allow for efficient hose usage or drip irrigation connectivity. A barrel placed directly on the turf will invariably lead to soil compaction and localized flooding. Instead, the integration process begins with the creation of a stable, aesthetically pleasing base that complements the existing architectural style of the residence. Whether the goal is a rustic cottage garden or a sleek modern courtyard, the rain barrel should appear as though it was part of the original construction rather than an afterthought.
Landscape Design Principles
Achieving a professional look requires adherence to core design principles, specifically symmetry, focal points, and elevation layering. A singular rain barrel often looks out of place because it lacks visual balance. To correct this, decorators often pair barrels or flank them with large masonry planters. This creates a sense of intentionality. If the barrel is situated near a prominent corner of the house, using a Trellis System or a Cedar Screening wall can soften the hard edges of the plastic or metal container. These screens provide a vertical plane for climbing plants, which allows the utility zone to blend into the green backdrop of the garden.
Elevation is another critical factor. A standard 60-gallon Rain Barrel should be raised at least 12 inches off the ground to provide enough head pressure for a standard garden hose. Using Natural Fieldstone or Uniform Concrete Pavers to build a tiered plinth creates a clean, architectural look. This elevated platform also prevents the bottom of the barrel from sitting in standing water, which preserves the material and prevents the buildup of mold. Furthermore, the walkway leading to the barrel should be defined using Pea Gravel or Debris-Free Flagstone. This ensures that the area remains accessible during wet weather without creating a muddy path that detracts from the garden’s cleanliness.
Plant and Material Selection
The following table outlines the best plant species for surrounding a rain barrel installation. These plants were selected for their ability to thrive in the microclimate created by intermittent moisture and shade, as well as their aesthetic value in screening equipment.
| Plant Type | Sun Exposure | Soil Needs | Water Demand | Growth Speed | Maintenance Level |
| :— | :— | :— | :— | :— | :— |
| Dwarf Yaupon Holly | Full Sun to Shade | Adaptable/Well-Drained | Moderate | Slow | Low |
| English Boxwood | Partial Shade | Loamy/Neutral | Medium | Slow | Moderate |
| Blue Fortune Hyssop | Full Sun | Well-Drained | Low | Fast | Low |
| Panic Grass | Full Sun | Sandy to Clay | Low | Moderate | Low |
| Japanese Forest Grass | Full Shade | Rich/Moist | High | Slow | Medium |
| Creeping Jenny | Sun to Partial Shade | Moist | High | Fast | Low |
Materials used in the integration should be durable and weather-resistant. For the base, use Crushed Limestone or 3/4-inch Clean Stone to provide a level surface that allows for drainage. For the barrel itself, polyethylene is common, but Galvanized Steel or Converted Oak Wine Barrels offer a higher-end finish that coordinates well with varied decking materials. Always opt for Brass Spigots over plastic ones, as they provide better longevity and a more polished appearance.
Implementation Strategy
The first step in a successful layout is grading the site. You must ensure that the ground where the barrel sits slopes slightly away from the house foundation. A Spirit Level is essential during this phase; a lopsided barrel is not only an eyesore but a structural hazard when filled with 500 pounds of water. Once the site is level, excavate the area to a depth of 4 inches and backfill it with Paver Sand and Compactible Gravel. This creates a porous foundation that prevents water from pooling around the base.
Next, focus on the plumbing. A Flex-Fit Downspout Diverter is the cleanest way to connect the gutter to the barrel. This prevents the need for cutting large sections of the downspout and allows for an automatic overflow system. When the barrel is full, the water simply continues down the original downspout. For the landscaping around the barrel, apply a 3-inch layer of Hardwood Mulch. This helps regulate soil temperature and hides any additional irrigation tubing or PVC Piping used to redirect overflow to a nearby Rain Garden.
To hide the barrel itself, consider a wrap made of Bamboo Fencing or Horizontal Wood Slats. If the barrel is placed in a corner, planting Columnar Evergreens like Sky Rocket Junipers on either side creates a natural alcove. The goal is to obscure the functional parts of the system, such as the Debris Screen and the Overflow Valve, while keeping them accessible for monthly inspections.
Common Landscaping Failures
The most frequent mistake in rain barrel integration is the neglect of overflow management. During a heavy storm, a single 1,000 square foot roof can shed hundreds of gallons of water in an hour. If the barrel is full and the overflow is not directed at least 6 feet away from the foundation using an Underground Catch Basin or a Pop-up Emitter, the water will saturate the soil near the basement walls. This can lead to structural cracks and mold issues.
Another common failure is improper spacing of plants. Homeowners often plant Dense Shrubs too close to the barrel in an attempt to hide it immediately. As these plants mature, their root systems can heave the level base, and their branches can clog the Leaf Filter on top of the barrel. Always allow for at least 18 inches of clearance between the barrel and mature plant growth to ensure air circulation and ease of access for maintenance. Additionally, failing to use a Fine Mesh Screen on the water intake will transform the barrel into a breeding ground for mosquitoes, which quickly ruins the enjoyment of the outdoor space.
Seasonal Maintenance
Landscape management is a year-round commitment. In the spring, the primary task is a system flush. Remove any sediment that settled at the bottom of the tank over the winter. Inspect the Gaskets and O-rings on the spigots to ensure there are no leaks. This is also the time to apply a fresh layer of Organic Compost to the surrounding plants to encourage the growth that will screen the barrel during the summer.
During the summer months, the focus shifts to usage. A full barrel should be emptied regularly to prepare for the next rain event. If the water sits too long in high heat, it can develop an odor. In the autumn, the priority is leaf management. A Gutter Guard System or a Downspout Filter must be cleared weekly to prevent organic matter from entering the tank and fermenting.
Winterization is the most critical phase for those in colder climates. Water expands when it freezes, which can easily shatter a Plastic Rain Barrel or ruin a Brass Valve. Before the first hard frost, drain the barrel completely and disconnect it from the downspout. Store the barrel in a shed or garage, or flip it upside down and secure it to the base. Reattach the original downspout elbow to ensure that snowmelt is directed away from the house throughout the winter.
Professional Landscaping FAQ
How do I prevent my rain barrel from becoming a mosquito habitat?
Always ensure the inlet and overflow points are covered with a Fine Stainless Steel Mesh. For added protection, use Mosquito Dunks containing BTI, a natural bacterium that kills larvae without harming the plants you later irrigate.
Can I use rain barrel water on my vegetable garden?
While many do, professional advice suggests using it primarily for ornamental plants. If you use it on edibles, avoid getting water on the leaves and apply it directly to the soil. Do not use water from Zinc-coated or Asphalt Shingle roofs.
How many barrels do I need for a standard backyard?
A general rule is one 50-gallon barrel for every 500 square feet of roof area. However, linking two or more barrels in a series provides better storage capacity for larger landscapes and creates a more balanced visual symmetry.
What is the best way to hide the ugly plastic texture of a cheap barrel?
Apply a Plastic-Bonding Primer and paint the barrel to match the siding or trim of your home. Alternatively, install a Vertical Scapular Trellis in front of the unit and grow Clematis or Star Jasmine to provide organic camouflage.
How do I increase the water pressure from my barrel?
Water pressure is gained through height. For every 1 foot of elevation, you gain approximately 0.43 PSI. Using a Solar-Powered Irrigation Pump can also provide the necessary force to run a comprehensive Drip Irrigation Kit throughout your flower beds.