
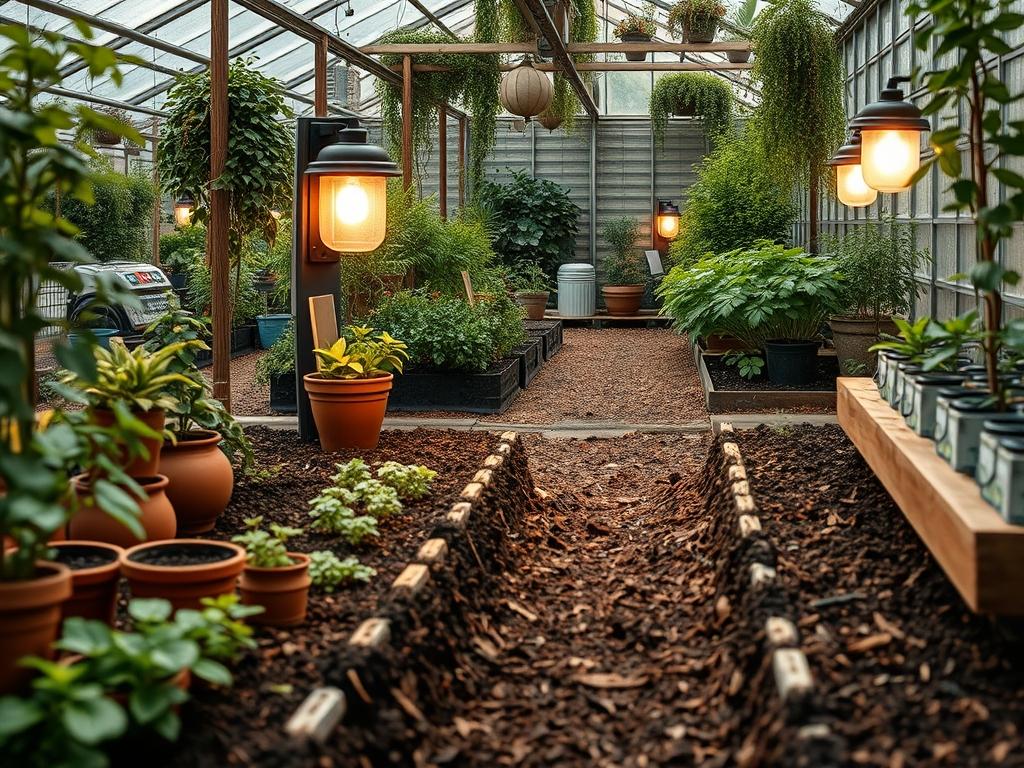
Designing an outdoor environment requires a delicate balance between aesthetic elegance and functional pragmatism. Homeowners often struggle with the transition from daytime vibrancy to nighttime utility; this is where the strategic integration of Solar Garden Wall Lights becomes essential. In modern landscaping, illumination is no longer just a safety feature. It is a tool for defining spatial boundaries, enhancing curb appeal, and extending the hours of enjoyment for an outdoor living space. By choosing solar options, you bypass the invasive process of trenching for electrical wires, which preserves the integrity of your established root systems and turfgrass. However, the success of these lighting installations depends heavily on regional climate, the angle of the sun, and the architectural silhouette of your home. A professional grade installation must account for the duration of daylight and the potential for seasonal shadows cast by mature tree canopies.
Functionality is the cornerstone of any successful landscape project. When planning your lighting, consider how the light interacts with various textures, such as natural stone, timber, or render. The goal is to create a layered effect that guides the eye through the property without causing glare or light pollution. Effective lighting design improves security by eliminating dark corners where intruders might hide, while simultaneously highlighting the architectural details that make a home unique. As a consultant, I prioritize durability and the quality of the Monocrystalline Silicon panels found in top tier fixtures. These components ensure that even in overcast environments, the batteries can harvest enough energy to maintain a steady glow throughout the evening. Ultimately, your choice of lighting should reflect the microclimate of your site and the specific way you intend to use your outdoor space after the sun sets.
Landscape Design Principles
Successful landscaping relies on the principle of symmetry to create a sense of order and tranquility. When installing Solar Garden Wall Lights, you should use them to flank entryways or frame specific architectural features. This creates a rhythmic pattern that the human eye finds inherently pleasing. If your property features a long Retaining Wall, placing lights at equal intervals of 6 feet to 8 feet can transform a functional structure into a stunning nighttime focal point. Balance does not always mean perfect mirroring; it can also involve balancing the visual weight of a large tree on one side of a path with a cluster of lights and shrubs on the other.
Elevation layers are another critical consideration. In a well-designed garden, the lighting should be positioned at various heights to create depth. Low level path lights, mid level wall lights, and high level tree uplighting work together to define the three dimensional space. For wall mounted fixtures, consider the height of the person viewing them. Mounting lights at roughly 65 inches to 70 inches above the finished grade prevents direct eye contact with the bulb while providing sufficient downward cast to illuminate the ground. This elevation also keeps the fixtures clear of moisture and debris that can accumulate near the mulch line or edgings.
Visual balance also extends to the color temperature of the lighting. Modern landscapes often benefit from a warm white glow, typically around 3000K, which complements the organic colors of wood and stone. Cooling the light too much can make a garden feel clinical or sterile. Finally, integrate your lighting with your overall irrigation and drainage plan. Avoid placing solar fixtures in areas where heavy runoff from gutters might submerge the units or where high pressure sprinkler heads will constantly drench the casing. A professional landscape is a cohesive system where every element, from the hardscaping to the photovoltaic sensors, works in harmony.
Plant and Material Selection
Choosing the right flora to surround your wall lights is vital for both aesthetics and maintenance. Plants should complement the light without obstructing the solar panels.
| Plant Type | Sun Exposure | Soil Needs | Water Demand | Growth Speed | Maintenance Level |
| :— | :— | :— | :— | :— | :— |
| Boxwood Shrub | Full Sun/Part Shade | Well-Drained | Moderate | Slow | Low |
| Lavender | Full Sun | Sandy/Lean | Low | Medium | Moderate |
| Star Jasmine | Full Sun/Part Shade | Loamy | Moderate | Fast | Height Control Needed |
| Dwarf Fountain Grass| Full Sun | Adaptable | Low | Fast | Annual Cutback |
| Hostas | Full Shade/Part Sun | Rich/Moist | High | Medium | Remove Dead Leaves |
| Japanese Maple | Dappled Sunlight | Slightly Acidic | Moderate | Slow | Structural Pruning |
When selecting materials for the walls themselves, consider how they reflect or absorb light. Smooth Stucco will reflect light more intensely, while Natural Stacked Stone creates intricate shadows and highlights that add texture. For the paths beneath the lights, using Pea Gravel, Decomposed Granite, or Flagstone provides a stable surface that prevents soil splash back onto your light fixtures during heavy rains.
Implementation Strategy
The implementation phase begins with a thorough site analysis and grading check. You must ensure that the ground slopes away from the foundation at a minimum grade of 2 percent to prevent water pooling. Once the drainage is secured, mark the locations for your Solar Garden Wall Lights using Surveyor Tape or chalk. Before final mounting, use a temporary adhesive or have a partner hold the lights in place at night to test the light spread. This prevents unnecessary holes in your Hardie Plank or brickwork.
Next, focus on the edging and bed preparation. Dig a trench approximately 4 inches deep for your edging material, whether it be Steel Edging or Tumbled Brick, to create a clean break between the lawn and the planting bed. Inside the bed, apply a 2 inch layer of Hardwood Mulch or Pine Bark. This helps retain moisture for your plants and provides a clean, dark background that makes the light from your wall fixtures pop. Ensure the mulch is kept a few inches away from the base of the wall to prevent rot and pest intrusion.
Hardscaping should be installed before any planting occurs. If you are building a Paver Patio or a walkway, ensure the base is compacted with a Plate Compactor and leveled with Bedding Sand. The wall lights should ideally illuminate these transitions between different levels or materials to prevent tripping hazards. If you are mounting to a masonry wall, use a Hammer Drill with a Masonry Bit and high quality Wall Anchors to ensure the fixtures remain level over time.
Common Landscaping Failures
One of the most frequent mistakes in outdoor design is ignoring the long term growth of plants. A small Crepe Myrtle planted too close to the house might look fine today, but in five years, its canopy will block the solar panels of your lights and its roots may threaten the foundation. Always research the mature spread of any species before planting. Similarly, soil compaction is a silent killer in new developments. Heavy machinery often packs the earth so tightly that roots cannot penetrate and water cannot drain, leading to stagnant pools and dying plants. Using a Broadfork or Aeretor can help alleviate this before you begin your layout.
Improper spacing of lights is another common failure. Placing Solar Garden Wall Lights too close together creates hot spots of light and dark voids, which is visually jarring. Conversely, spacing them too far apart fails to provide a cohesive path for the eye to follow. You should also be wary of cheap plastic brackets. In areas with high UV indices, plastic brittle and cracks within a single season. Invest in Stainless Steel or Powder Coated Aluminum housings that can withstand the elements. Finally, ensure that your Irrigation Controller is set to water the soil, not the walls or the lights, to prevent mineral staining and hardware failure.
Seasonal Maintenance
Landscape management is a year round commitment that changes with the cycles of the sun. In the spring, focus on cleaning your solar panels with a soft, damp cloth. Pollen and dust buildup can reduce energy conversion by as much as 30 percent. This is also the time to apply a pre-emergent herbicide and refresh your mulch to keep weeds at bay. Prune any winter damage from your shrubs to ensure they do not grow over the light sensors as the spring growth spurt begins.
During the summer, check your Irrigation System for leaks or clogged nozzles. The heat can be brutal on both plants and battery components. Ensure your solar lights are getting at least 6 hours of direct sunlight to account for the increased use of outdoor spaces during short summer nights. In the autumn, your primary task is debris removal. Fallen leaves can trap moisture against your walls and cover solar panels, leading to battery drain and mold growth. Trim back any perennials that have finished blooming to keep the garden beds looking tidy.
Winter presents the biggest challenge for solar technology. With shorter days and lower sun angles, the lights may not stay illuminated as long as they do in summer. If you live in a region with heavy snow, regularly clear the tops of the fixtures. If the lights will be buried for weeks at a time, it may be best to switch them off or bring them indoors to preserve the Lithium-Ion batteries. Check all mounting hardware for tightness, as the freeze thaw cycle can loosen screws in masonry and wood.
Professional Landscaping FAQ
How many lumens do I need for garden wall lights?
For ambient accent lighting, aim for 50 to 100 lumens. If you require the lights for functional tasks or high security areas, look for fixtures that provide 200 lumens or more to ensure adequate visibility and safety.
Will solar lights work in a shaded garden?
Solar lights require direct UV exposure to charge efficiently. While they can harvest some energy in dappled shade, their run time will be significantly reduced. For shaded areas, consider placing the photovoltaic panel in a sunnier location using an extension.
How long do the batteries in solar wall lights last?
Most high quality Rechargeable Batteries in solar garden fixtures last between 18 and 24 months. If you notice the lights dimming quickly or failing to turn on, it is likely time to replace the internal cells with new ones.
Do I need a professional to install solar wall lights?
Unlike wired systems, Solar Garden Wall Lights are DIY friendly because they require no electrical work. You simply need a Power Drill and a level. However, a professional can ensure the layout maximizes both aesthetics and solar efficiency.
Is it necessary to clean the solar panels?
Yes, regular cleaning is vital. Layers of dust, bird droppings, or salt spray can block sunlight from reaching the solar cells. Wiping the panels every few months with a micro-fiber cloth ensures your lights operate at peak performance levels.